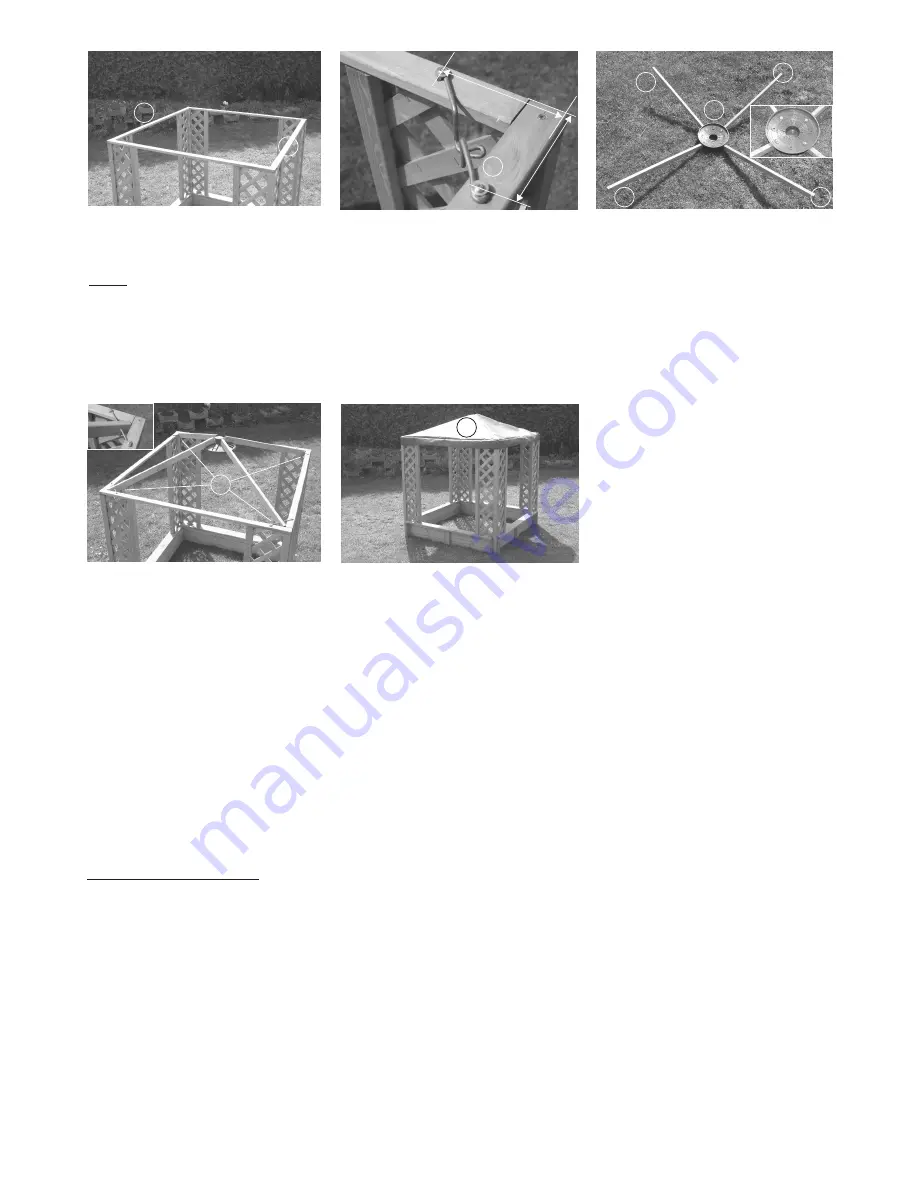
Fig. 10
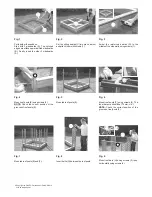
Mount roof bars (J) using screws (2).
NOTE:
Keep an eye on a right-angled
cornice!
.
Fig. 11
Mount the metal roof holding devices (L), as
illustrated above, in an axis distance of 130
mm
(5 1/8”),
using screws (5)(6).
Fig. 12
Mount top bars (N) on the multifunctional
roof-cone (M) using screws (5)(6).
Fig. 13
Attach the roof construction as done in fig.
12 and fix it using screws (5)(6).
Abb. 14
Put the tarpaulin (O) into place and fix it with
the strings.
© Copyright by GASPO Gartenmöbel GmbH, 9/2010
http://www.gaspo.at
Maintenance instructions:
The screws should be checked and tightened at regular intervals. If necessary, replace parts with original parts listed in the parts list of these
assembly instructions.
This product is mainly made from solid wood. Because it is a natural wood product, cracks can form due to extreme weather conditions,
especially after long hot periods. These cracks are not a sign of lack of quality, but a natural appearance. Depending on the weather
conditions, these cracks can close up again. Moreover, these cracks, which appear lengthwise in the wood, do not have any impact on the
sturdiness or resilience of the material. This means that the static properties are not affected. In order to prevent possible risk of injury, you
can fill in these cracks with silicone or a similar material or polish the wood.
The wood should be treated with a wood preserving paint from your colour specialty shop at least once per year. When treating the wood,
please make sure that the paint is suitable for children’s toys. We recommend discarding and replacing the play sand every five years. The
sandbox should be cleaned manually (leaves, excrement, etc.) every day because the play sand may become contaminated in spite of the
roof.
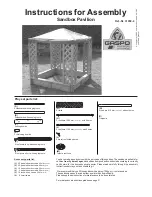
ATTENTION:
Adult assembly, installation and operation required! Install and use only on level, soft underground (e.g. lawn, rubber mats, etc.) both indoors
and outdoors! Ground dimensions approx. 130x130 cm
(~4x4 ft.)
. When installing the sandbox make sure to keep a safety distance of at least
two meters
(~ 7 feet)
to other units (e.g. swings, slides, etc.).
WARNING:
When the wind is strong, the tarpaulin must be removed!
The roof and tarpaulin is not for playing! Do not hang from the roof or climb on it or put any weight on it, etc.!
Children must be kept under a supervision of an adult when playing!
No more than 3 children should play at the same time in the sandbox!
J
J
L
M
N
130 m
m
3
1
0
m
m
N
N
N
O
5

