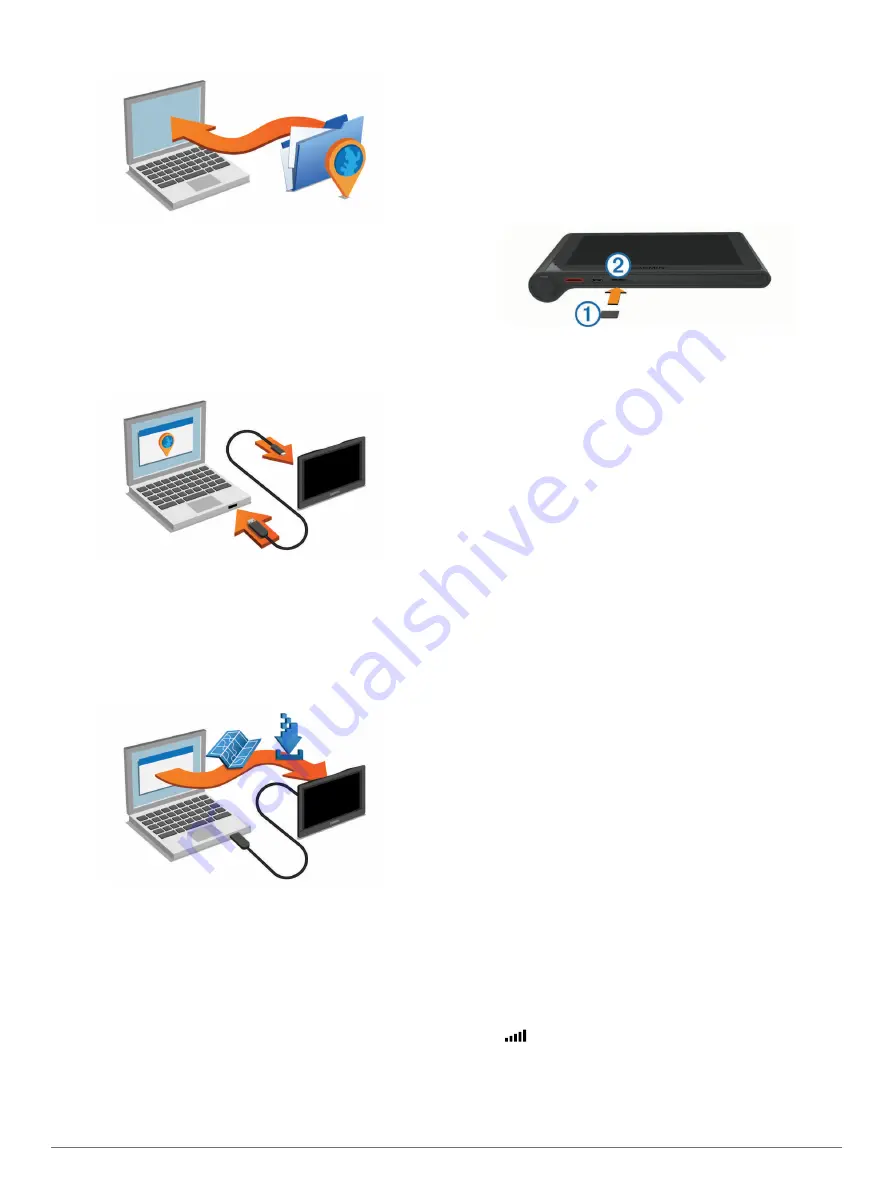
background image

1

On your computer, go to 

www.garmin.com/express

.

2

Select an option:
• To install on a Windows computer, select 

Download for 

Windows

.

• To install on a Mac computer, select 

Mac Version

.

3

Open the downloaded file, and follow the on-screen 

instructions to complete the installation.

4

Start Garmin Express.

5

Connect your Garmin device to your computer using a USB 

cable.

The Garmin Express software detects your device.

6

Enter an email address for product registration (optional).

7

Click 

save device

.

8

Click 

check for updates

.

A list of available map and software updates appears.

9

Select the updates to install.

10

Click 

Install Now

.

The Garmin Express software downloads and installs the 

updates onto your device. Map updates are very large, and this 

process may take a long time on slower Internet connections.

Data Management

You can store files on your device. The device has a memory 

card slot for additional data storage.

NOTE: 

The device is not compatible with Windows 95, 98, Me, 

Windows NT

®

, and Mac OS 10.3 and earlier.

About Memory Cards

You can purchase memory cards from an electronics supplier, 

or purchase pre-loaded Garmin mapping software 

(

www.garmin.com

). In addition to map and data storage, the 

memory card can be used to store files such as maps, images, 

geocaches, routes, waypoints, and custom POIs.

Installing a Memory Card for Maps and Data

You can install a memory card to increase the storage space for 

maps and other data on your device. You can purchase memory 

cards from an electronics supplier, or go to 

www.garmin.com

/maps

 to purchase a memory card with pre-loaded Garmin 

mapping software. The device supports microSD and 

microSDHC memory cards.

1

Insert a memory card 

À

 into the slot 

Á

.

2

Press it in until it clicks.

Connecting the Device to Your Computer

You can connect the device to your computer using a USB 

cable.

1

Plug the small end of the USB cable into the port on the 

device.

2

Plug the larger end of the USB cable into a port on your 

computer.
A picture of your device connected to a computer appears on 

the device screen.
Depending on your computer operating system, the device 

appears as either a portable device, a removable drive, or a 

removable volume.

Transferring Data From Your Computer

1

Connect the device to your computer (

Connecting the Device 

to Your Computer

).

Depending on your computer operating system, the device 

appears as either a portable device, a removable drive, or a 

removable volume.

2

On your computer, open the file browser.

3

Select a file.

4

Select 

Edit

 > 

Copy

.

5

Browse to a folder on the device.

NOTE: 

For a removable drive or volume, you should not 

place files in the Garmin folder.

6

Select 

Edit

 > 

Paste

.

Disconnecting the USB Cable

If your device is connected to your computer as a removable 

drive or volume, you must safely disconnect your device from 

your computer to avoid data loss. If your device is connected to 

your Windows computer as a portable device, it is not necessary 

to safely disconnect.

1

Complete an action:
• For Windows computers, select the 

Safely Remove 

Hardware

 icon in the system tray, and select your device.

• For Mac computers, drag the volume icon to the trash.

2

Disconnect the cable from your computer.

Viewing GPS Signal Status

Hold 

 for three seconds.

Power Cables

Your device can be powered various ways.
• Vehicle power cable
• USB cable

18

Appendix

Содержание nuviCam

Страница 1: ...n viCam Owner s Manual May 2015 Printed in Taiwan 190 01874 00_0C...

Страница 2: ...Vision myGarmin n viCam myTrends trafficTrends n Maps Guarantee and n Maps Lifetime are trademarks of Garmin Ltd or its subsidiaries These trademarks may not be used without the express permission of...

Страница 3: ...e Search Bar 7 Changing the Search Area 7 Points of Interest 7 Finding a Location by Category 7 Searching Within a Category 7 Navigating to Points of Interest Within a Venue 8 Foursquare 8 Search Tool...

Страница 4: ...luetooth Settings 16 Disabling Bluetooth 16 Display Settings 16 Traffic Settings 16 Units and Time Settings 16 Setting the Time 17 Language and Keyboard Settings 17 Proximity Alerts Settings 17 Device...

Страница 5: ...n magnets Under certain circumstances magnets may cause interference with some internal medical devices including pacemakers and insulin pumps Keep the device and its mount away from such medical devi...

Страница 6: ...cording NOTICE Legal Restrictions In some jurisdictions it could be considered an invasion of privacy rights to take or publicly display photographs or videos of people or their vehicles using this pr...

Страница 7: ...ased on your speed The FCWS activates when your vehicle speed exceeds 48 km hr 30 mph When the device detects you are too close to the vehicle ahead of you the device plays an audible alert and a warn...

Страница 8: ...s you receive for failing to follow all applicable traffic laws and signs As you travel the device guides you to your destination using voice prompts and information on the map Instructions for your n...

Страница 9: ...pping the Route From the map select Stop Changing the Route Calculation Mode 1 Select Settings Navigation Calculation Mode 2 Select an option Select Faster Time to calculate routes that are faster to...

Страница 10: ...finished select Save When you navigate the trip you should depart by the time shown under the starting point to reach your stops and destinations by the scheduled time The schedule is an estimate only...

Страница 11: ...to quickly search all location information Finding a Location Using the Search Bar Browse or search pre loaded points of interest by category Points of Interest Search and check into Foursquare points...

Страница 12: ...nk Connecting to Smartphone Link 2 On your smartphone open the Smartphone Link app 3 Open the Smartphone Link app settings and select Foursquare Login 4 Enter your Foursquare login information Viewing...

Страница 13: ...ing a Location by Category 2 From the search results select a location 3 Select 4 Select Save 5 If necessary enter a name and select Done Saving Your Current Location 1 From the map select the vehicle...

Страница 14: ...ap select Trip Data Customizing the Trip Data Fields Before you can customize the data that appears in the trip data fields on the map you must add the Trip Data tool to the map tools menu Enabling Ma...

Страница 15: ...ed to vehicle power to receive traffic information through a traffic receiver The powered traffic receiver and the device may need to be in data range of a station transmitting traffic data to receive...

Страница 16: ...es or the radio to increase the accuracy of the voice recognition Speak commands as they appear on the screen Respond to voice prompts from the device as needed Increase the length of your wakeup phra...

Страница 17: ...e connect It may take a few minutes for the call history to be available Some phones do not support this feature 1 Select Apps Phone Call History 2 Select a category A list of calls appears with the m...

Страница 18: ...that you want to view regularly Saving a Traffic Camera Before you can use this feature you must subscribe to the photoLive service and your device must be connected to a supported phone running Smar...

Страница 19: ...ftware and map updates 1 Select Apps myGarmin If you have unread messages the number of unread messages appears on the myGarmin icon 2 Select a message subject The full message appears Viewing the Wea...

Страница 20: ...arning System Lane Departure Warning Alerts you when the device detects you may be crossing a lane boundary unintentionally Lane Departure Warning System Camera Placement Allows you to indicate the pl...

Страница 21: ...device where prolonged exposure to extreme temperatures can occur because it can cause permanent damage Never use a hard or sharp object to operate the touchscreen or damage may result Do not expose t...

Страница 22: ...card with pre loaded Garmin mapping software The device supports microSD and microSDHC memory cards 1 Insert a memory card into the slot 2 Press it in until it clicks Connecting the Device to Your Co...

Страница 23: ...ow the on screen instructions Purchasing Accessories Go to http buy garmin com Troubleshooting The suction cup will not stay on my windshield 1 Clean the suction cup and windshield with rubbing alcoho...

Страница 24: ...storage mode A picture of the device connected to a computer appears on the device screen My phone will not connect to the device Select Settings Bluetooth The Bluetooth field must be set to Enabled E...

Страница 25: ...ollision warning system FCWS 3 fuel prices 14 stations 9 fuel economy 14 15 See also ecoRoute fuel price changing 14 fuse changing 19 G Garmin Express 17 registering the device 17 updating software 17...

Страница 26: ...cup 19 T theft avoiding 17 time settings 16 17 tolls avoiding 6 tools map 10 traffic 10 12 16 activating a subscription 12 adding subscriptions 12 alternate route 6 cameras 14 incidents 10 map 10 rece...

Страница 27: ......

Страница 28: ...39 02 36 699699 52 001 855 792 7671 0800 0233937 47 815 69 555 00800 4412 454 44 2380 662 915 35 1214 447 460 386 4 27 92 500 0861 GARMIN 427 646 27 0 11 251 9999 34 93 275 44 97 46 7744 52020 886 2 2...

Отзывы: