28
Introduction
28
Reference
•
‘Use Map’ to project a waypoint —
When ‘Use Map’ is selected, the unit will show a
map page. Use the
ROCKER
to move the Map Pointer to the desired reference loca-
tion and then press
ENTER.
On the Project Location page, enter a new bearing and
distance. When you have fi nished, highlight ‘Save’ and press
ENTER
. This will return
you to the Mark Waypoint page. The waypoints location will have changed, refl ecting
the projected bearing and distance from your reference point. To save the waypoint,
highlight’OK’ and press
ENTER
.
• ‘
Use Points Menu’ to project a waypoint —
When ‘Use Points Menu’ is selected, the
unit will display the Points Menu. You can now select any point that is available from
the waypoints list or any MapSource data that may be loaded in the unit. On the
Project Location page, enter a new bearing and distance. When you have fi nished,
highlight ‘Save’ and press
ENTER
. This will return you to the Mark Waypoint page.
The waypoint’s location will have changed, refl ecting the projected bearing and distance
from your reference point. To save the waypoint, highlight ’OK’ and press
ENTER
.
Delete Waypoint —
This option will delete the waypoint that is currently displayed.
After selecting this option a conformation window will be displayed. With ‘Yes’ high-
lighted, press
ENTER
to delete the waypoint.
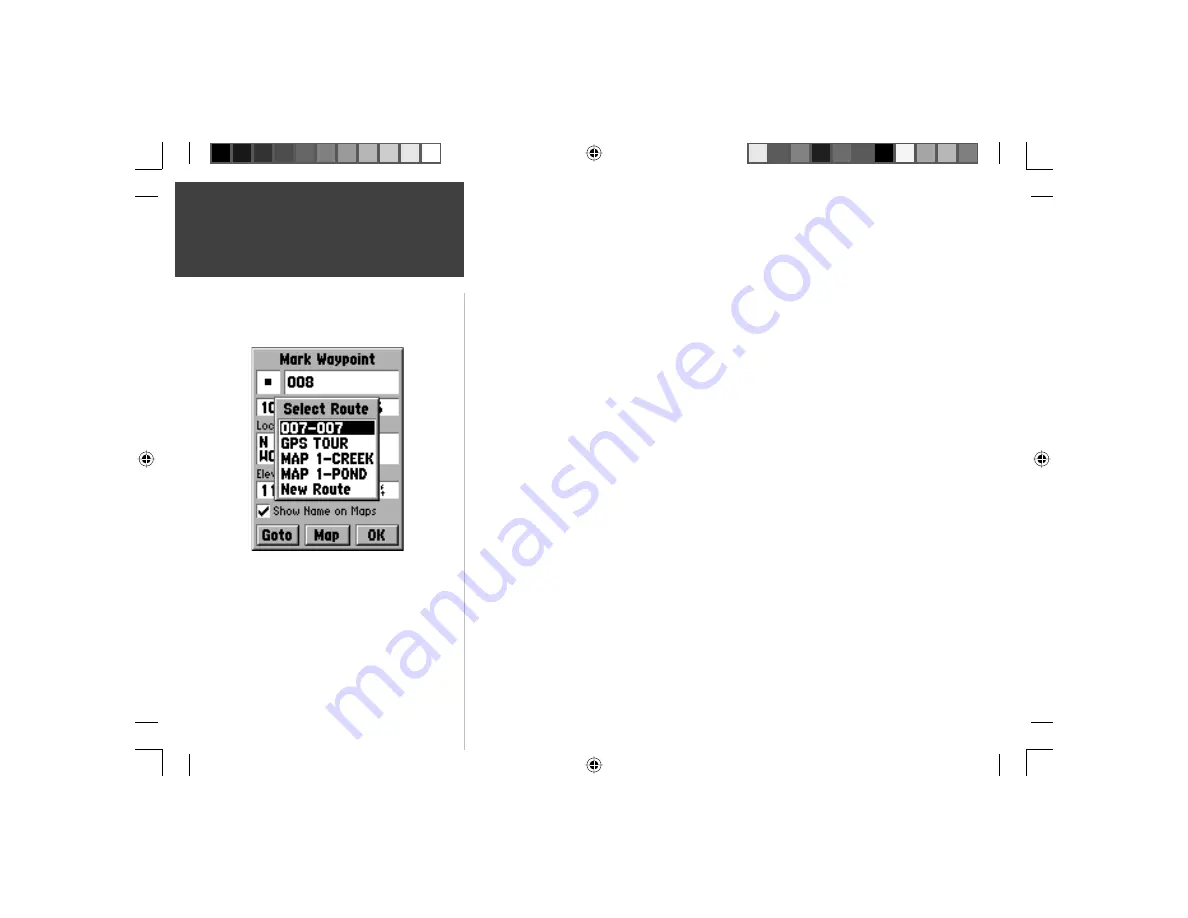
Append to Route —
This option will add the new waypoint to an exisiting or new route.
•
Add waypoint to an existing route —
A list of existing routes will be displayed when
‘Append to Route’ is selected. Select the desired route from the list and press ENTER.
The new route will be added to the end of the route.
•
Add waypoint to a ‘New Route’ —
When ‘New Route’ is selected, the waypoint will
be added to a new route. The new route will be named using the waypoint names.
Append to Route List
Creating Waypoints
190-00294-00_0B.indd 28
9/25/2002, 2:37:22 PM


