HF-7-602 Page 38
Note:
Maximum load applied to threaded rod must NEVER EXCEED 5 TONS.
35. Repeat step 34 to install bearing on gear-end of drive rotor shaft.
36. Verify gear-end axial clearance for both rotors. With gear-end up, rotate rotors so a feeler gauge can be
inserted between end of the rotor lobe and the inner surface of the bearing housing. Clearance should be
measured and recorded for all three lobes on both rotors.
Gear-end clearance: 0.005" min / 0.009" max
(when rotors are pushed to drive end)
Note:
Do not proceed with assembly if gear-end clearance is not correct! Refer to step 17 in Section 6
'Disassembly Instructions' to remove bearing housing. Repeat steps 25 through 36 making necessary
shim adjustments to achieve proper gear-end clearance.
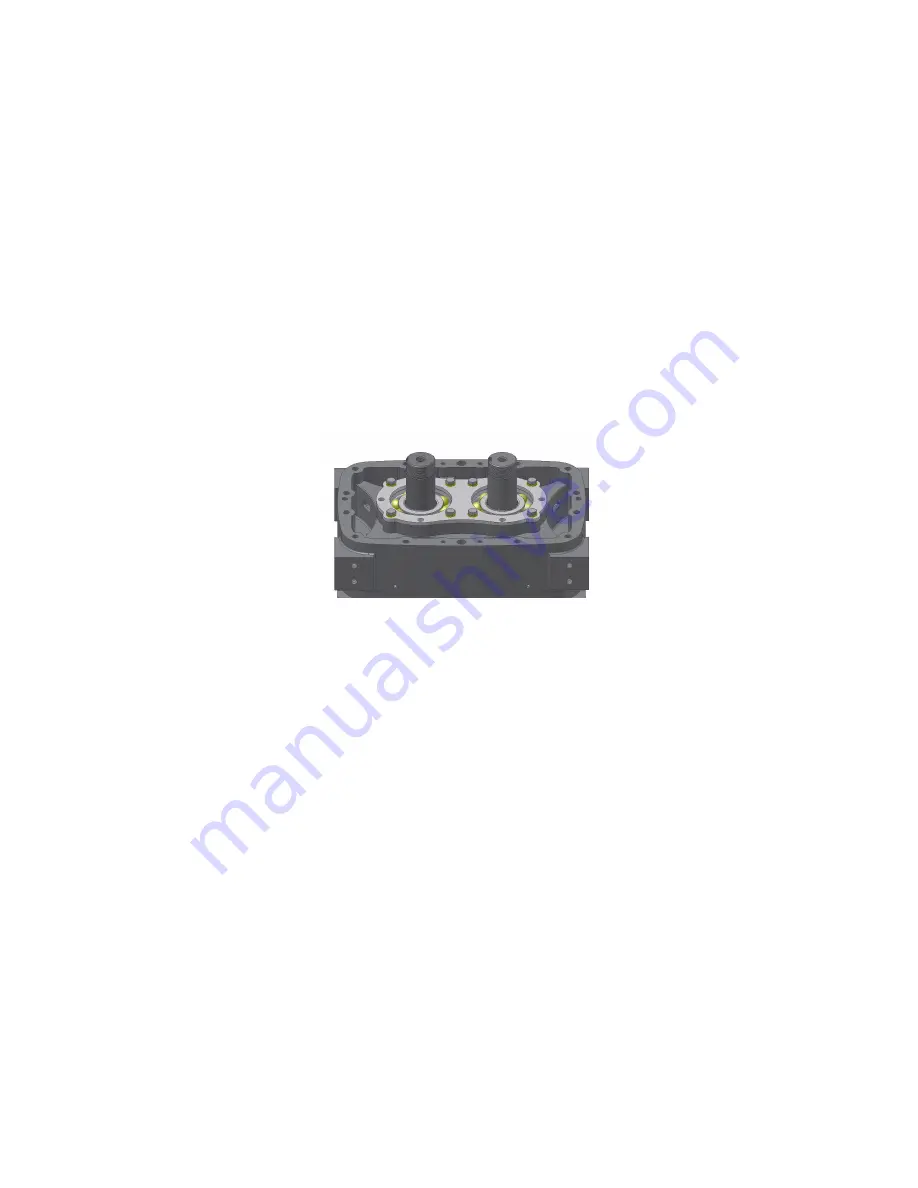
37. Install bearing retainer plate (15) onto gear-end bearing housing with eight bolts (17) and lock washers (16).
Reference FIGURE 7-10.
Torque: 40 ft-lbs
Figure 7-10 – BEARING RETAINER PLATE INSTALLATION
38. Rotate assembly vertical with drive-end on top.
39. Apply AEON PD oil to drive and idler rotor bearing bores in drive-end bearing housing. Lubricate internal
surfaces and rollers of bearings with oil. Drain all excess oil from bearing before installation. Oil should not be
dripping from bearing in mounted position.
40. Install spherical roller bearing (13) by placing bearing over drive rotor shaft with identification numbers facing
up. Thread 3/4" pull rod into end of idler rotor shaft. Place bearing driver EQ144211-1 over pull rod. Place a
portable hydraulic cylinder over pull rod and onto driver tool. Install 3/4" flat washer and nut onto pull rod and
tighten against hydraulic cylinder. Press bearing onto rotor shaft using hydraulic cylinder. Reference FIGURE
7-9.
Note:
Maximum load applied to threaded rod must NEVER EXCEED 5 TONS.
41. Repeat step 40 to install deep-groove ball bearing (12) on idler rotor shaft.
42. Verify drive-end axial clearance for both rotors. Rotate unit so gear-end is up. Rotate rotors into a position so
a feeler gauge can be inserted between the end of the rotor lobe and the inner surface of the bearing
housing. Clearance should be measured and recorded for all three lobes on both rotors.
Drive-end clearance: 0.017" min / 0.025" max
(when rotors are pushed to drive end)
Note:
Do not proceed with assembly if these drive end clearance is not correct!
Содержание Industrial Series
Страница 13: ...HF 7 602 Page 12 FIGURE 2 1 VERTICAL BLOWER MOUNTING CONFIGURATIONS AND OUTLINE 303HYE800 A Ref Drawing...
Страница 14: ...HF 7 602 Page 13 FIGURE 2 2 514 BLOWER MOUNTING CONFIGURATIONS AND OUTLINE 302HYE800 C Ref Drawing...
Страница 26: ...HF 7 602 Page 25 Figure 5 3 CARRIER SLINGER DRIVER EQ144211 3 Figure 5 4 INSERT DRIVER EQ144211 4...
Страница 27: ...HF 7 602 Page 26 Figure 5 5 FALSE BEARING EQ144211 5...
Страница 29: ...HF 7 602 Page 28 Figure 5 8 HAND CRANK EQ144211 8...
Страница 30: ...HF 7 602 Page 29 Figure 5 9 MECHANICAL SEAL DRIVER EQ144211 9...
Страница 31: ...HF 7 602 Page 30 Figure 5 10 FALSE BEARING SPACER EQ144211 10...
Страница 44: ...HF 7 602 Page 43 SECTION 8 PARTS LIST HYEL_AA 300HYE810 D Ref Drawing...
Страница 55: ...HF 7 602 Page 54 SECTION 10 PARTS LIST HYEL_AB 301HYE810 B Ref Drawing...
Страница 58: ......
Страница 59: ......


