18
Setting the Gripper Plate Spacing
The parallel plates of the string gripper are adjustable to
accomodate varying string gauges and types of string. If
the string slips through the gripper plates while pulling
tension, rotate the gripper adjustment screw counter-
clockwise. If the string is damaged while pulling tension,
rotate the gripper adjustment screw clockwise. The
gripper is properly adjusted when there is enough pres-
sure to securely grip the string without causing damage
to the string.
Gripper Adjustment
Screw
Buzzer Control
The stringing machine is equipped with a buzzer function that sounds when any key or button is pressed; it also sounds
an intermittent warning when the tensioner has pulled a string to the end of its travel and is not yet at tension, or if there
is an internal error in the machine. The buzzer can, however, be disabled for normal key / button presses. To toggle
between buzzer enabled / buzzer disabled modes:
Turn the machine on; while the display is counting down from 9 to 0, press the clear (C) and enter
(ENT) keys together. The machine will switch modes, and the changes will remain in effect until
the user toggles modes again.
NOTE:
In disabled mode, the buzzer will still sound if the tensioner has pulled a string to the end of its travel and is
not yet at tension, or if there is an internal error in the machine. This is meant to alert the user of a problem, and should
never be disabled.
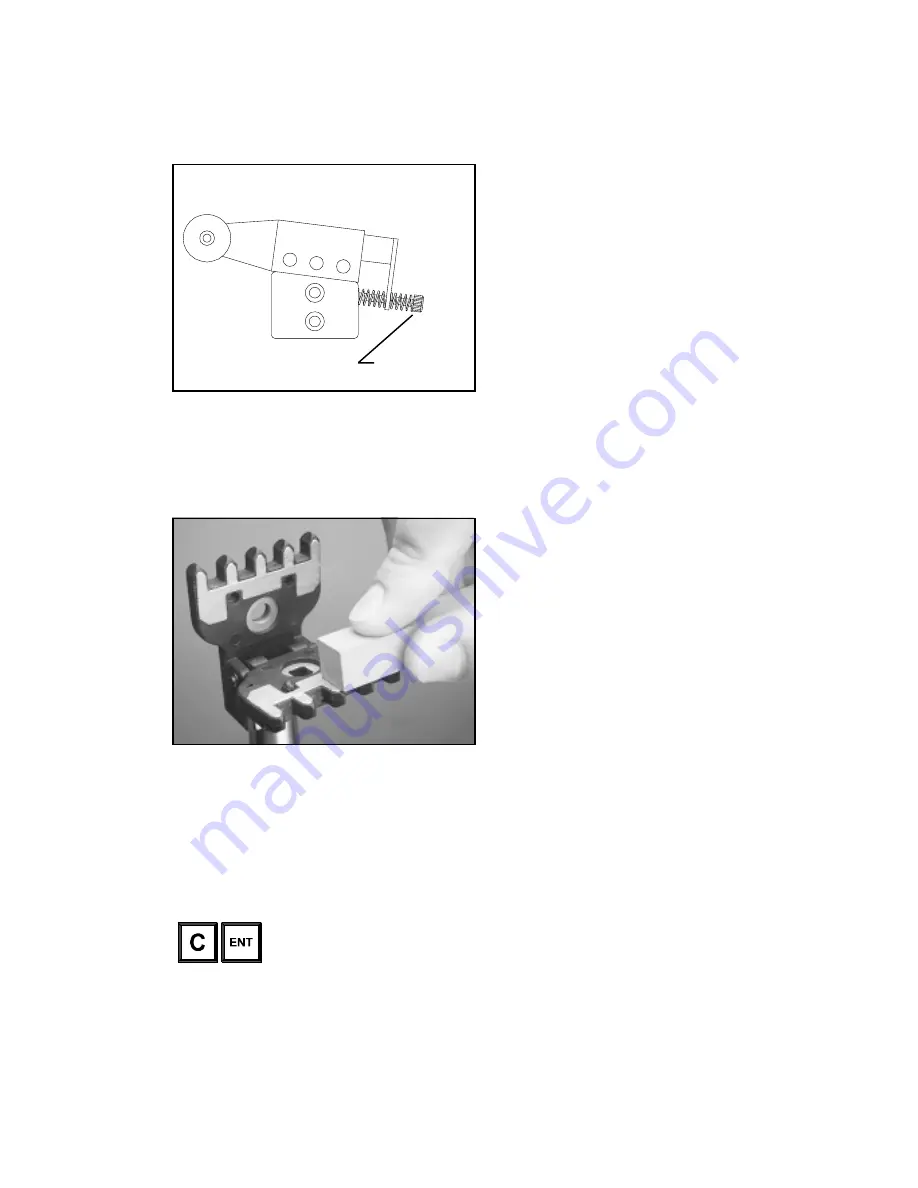
Cleaning Instructions for String Clamps
To thoroughly clean the diamond coated surfaces of the
clamp heads, remove the adjustment knob screw, lever
plate, and compression spring to expose the inside
surfaces of the clamps. Using the cleaning stone pro-
vided with your machine (you can also use a small tooth
brush or a sharpening stone for knives), scrub the
diamond coated plates until all debris is removed. Clean
any dust or residue with a damp cloth and re-assemble
the clamp head.


