Instruction Manual : 10’ BLIND TOWER
9
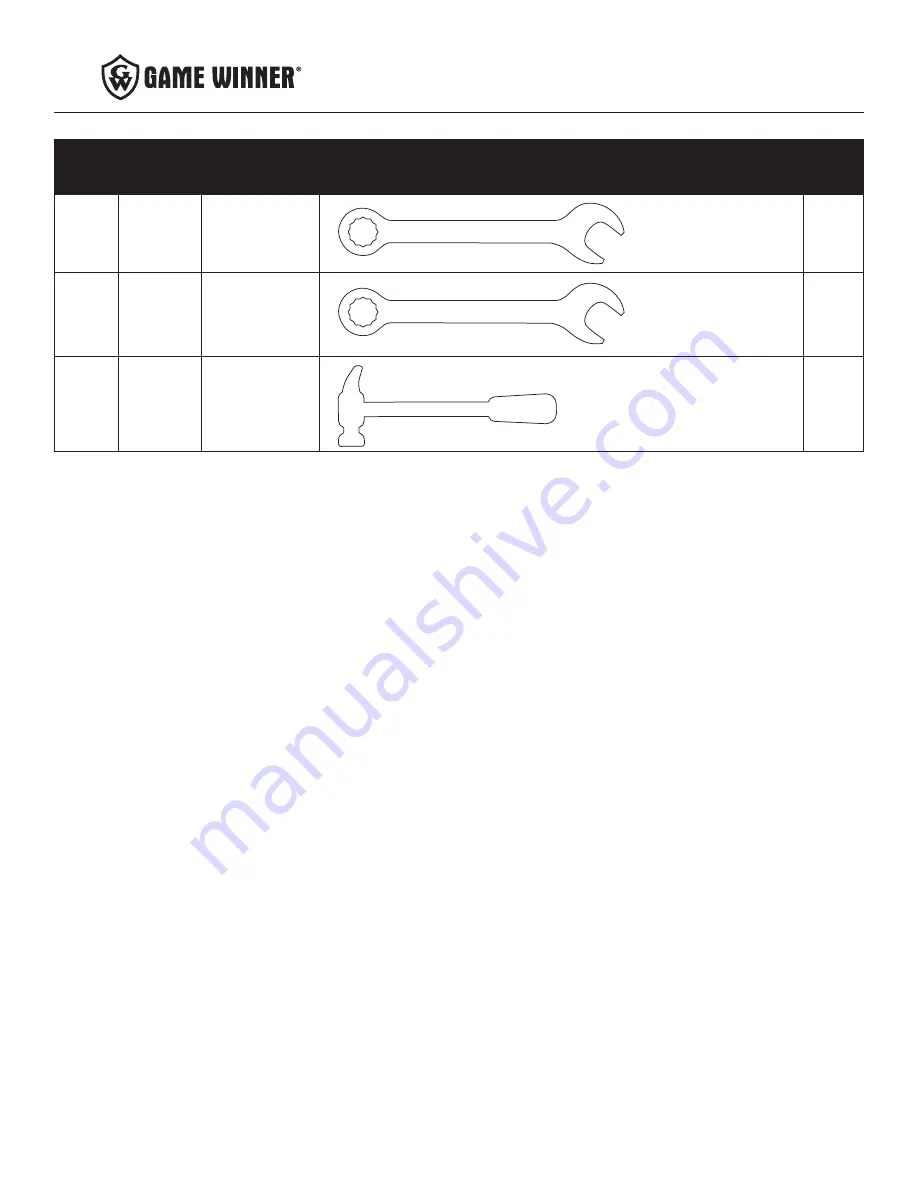
TOOLS REQUIRED
-
# 32563
7/16” WRENCHES
2
5/16” WRENCH
1
HAMMER
Страница 1: ...800 345 6007 Business Hours 8 00 am to 4 30 pm CST info huntriversedge com 2021 Ardisam All Rights Reserved 39032 REV1 05 04 2021 GAS RA 50 PARTICIPATING MEMBER PRODUCT MEETS INDUSTRY STANDARDS RECOG...
Страница 2: ...epair or replace in Ardisam s sole discretion any product that satisfies the conditions stated above Ardisam retains the right to change models specifications and price without notice This equipment h...
Страница 3: ...e such as a mobile phone radio whistle signal flare or personal locator device PLD must be on your person and readily available at all times Inspect the treestand or free standing platform stand and a...
Страница 4: ...lems help READ AND UNDERSTAND THE FOLLOWING WARNINGS BEFORE SETUP AND USE STOP WARNING Be sure only one person ascends or descends ladder at a time Be certain first person is fully off of the ladder a...
Страница 5: ...PARTS LIST NOT TO SCALE Item Part No Description Image Qty 1 38967 PLATFORM 2 2 38968 SHORT PLATFORM BRACE 4 3 38970 LONG CENTER PLATFORM BRACE 1 4 38971 ENTRY PLATFORM BRACE 1 5 38974 ENTRY PLATFORM...
Страница 6: ...Description Image Qty 7 38977 BOTTOM LADDER SECTION 1 8 38982 TOP LADDER SECTION 1 9 38984 ADJUSTABLE LADDER FOOT 2 10 38986 LADDER HAND RAIL 2 11 38987 LEG TO PLATFORM ATTACHMENT 4 12 38988 LEG 4 13...
Страница 7: ...ACE 1 17 38998 LEFT ENTRY PLAT FORM BRACE 1 18 38999 MALE CROSS BRACE 8 19 39001 FEMALE CROSS BRACE 8 HARDWARE LIST Item Part No Description Image Qty 20 48153B BOLT 1 4 X 2 IN 10 21 48250B BOLT 1 4 X...
Страница 8: ...art No Description Image Qty 26 8930B BOLT 1 4 X 3 4 IN 16 27 32205 ORANGE PLASTIC WASHER 6 28 48261B WASHER 1 4 IN 12 29 48752B NUT 1 4 IN 92 30 48650 1 8 IN CABLE CLAMP 4 31 24103 TIE DOWN CABLE 1 3...
Страница 9: ...Instruction Manual 10 BLIND TOWER 9 TOOLS REQUIRED 32563 7 16 WRENCHES 2 5 16 WRENCH 1 HAMMER 1...
Страница 10: ...Instruction Manual 10 BLIND TOWER 10 PRODUCT DIAGRAM PLATFORM 22 3 24 1 24 29 2 22 23 24 1 mesh hidden for clarity...
Страница 11: ...Instruction Manual 10 BLIND TOWER 11 PRODUCT DIAGRAM TOWER LEGS 28 22 26 32 11 29 19 20 18 13 14 23 12 20...
Страница 12: ...Instruction Manual 10 BLIND TOWER 12 PRODUCT DIAGRAM LADDER 4 23 17 29 20 8 9 21 7 27 10 23 27 16 5 24 23 6 27 mesh hidden for clarity...
Страница 13: ...anual 10 BLIND TOWER 13 FINISHED TOWER ASSEMBLED PLATFORM SECTION LADDER ASSEMBLY LEG ASSEMBLY Do not remove labels warnings from product they are there for your safety Recommended for adult use only...
Страница 14: ...sing two 1 4 20 X 2 1 2 IN bolts 22 and 1 4 20 nuts 29 for each brace SEE FIGURE 1 Attach the long center platform brace 3 to the platform section 1 using three 1 4 20 X 3 IN bolts 24 and 1 4 20 nuts...
Страница 15: ...r 1 4 20 X 2 1 2 IN bolts 22 and 1 4 20 nuts 29 SEE FIGURE 3 4 Attach the four leg to platform attachment parts 11 to the assembled platform using two 1 4 20 X 3 IN bolts 24 two 1 4 IN steel washers 2...
Страница 16: ...nuts 29 SEE FIGURE 5 Attach the entry platform 5 to the entry platform brace 4 using two 1 4 20 X 2 1 4 IN bolts 23 and 1 4 20 nuts 29 SEE FIGURE 5 6 Attach the two entry platform hand rails 6 to the...
Страница 17: ...at this time 8 Assemble each of the four legs by attaching an adjustable foot 13 to a leg 12 using a 1 4 20 X 2 1 4 IN bolt 23 and 1 4 20 nut 29 It is easiest to adjust the tower level later if you us...
Страница 18: ...ross brace 18 into each female cross brace 19 SEE FIGURE 9 10 Complete assembly of the cross braces by attaching two cross brace assemblies together using a 1 4 20 X 2 IN bolt 20 and 1 4 20 nut 29 to...
Страница 19: ...0 nut 29 for each foot It is easiest to adjust the ladder level later if you use the top adjustment hole now as shown SEE FIGURE 11 Securely tighten all loose hardware at this time 12 Tip the platform...
Страница 20: ...nter platform brace 3 using two cable clamps 30 SEE FIGURE 13B 14 While the tower is on its side it is now time to attach the Game Winner 6 x 6 Hybrid Blind sold separately to the tower With the help...
Страница 21: ...ttach the ladder assembly to the entry platform 5 by positioning the attachment plate on the top ladder section 8 on top of the entry platform 5 and by using two 1 4 20 X 2 IN bolts 20 and 1 4 20 nuts...
Страница 22: ...in the top of the auger to help partially screw it in Leave approximately 6 of the auger above the ground at this time Attach cable 31 to the auger with two cable clamps 30 as shown SEE FIGURE 17 Scr...
Страница 23: ...our product Discard any questionable product Inspect entire product for any structural damage pay close attention to all weld locations Return to factory for repair or discard product if any damage is...
Страница 24: ...re subject to change without notice Due to continuous product improvements product images may not be exact Warning labels in some product images may have been removed for photography purposes only Pro...