en-us
Installation procedure
8
¡
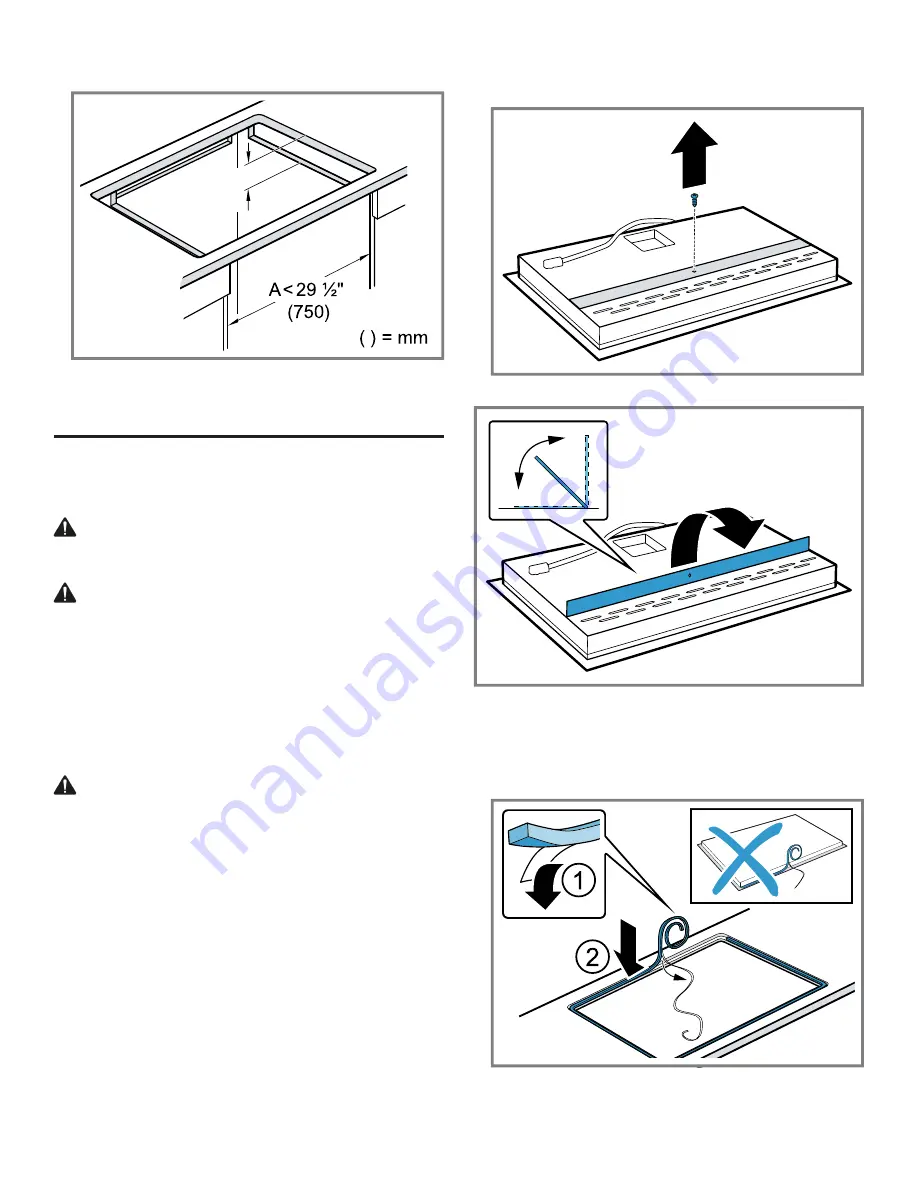
If the inside of the cabinet is no wider than
29 ½" (750 mm), make cutouts in the side panels.
min. 3¾"
(95)
¡
If the appliance is installed in an island unit or another
installation that is not described here, you must ensure
that the cooktop is sufficiently ventilated.
Installation procedure
4 Installation procedure
Installation procedure
Follow these instructions to install the cooktop into the
countertop.
CAUTION
Sharp edges.
▶
Use protective gloves when installing the appliance.
CAUTION
The appliance is heavy.
▶
It is recommended that two people install this appliance.
4.1 Installing the heat shield
For safety reasons, the heat shield must be properly in-
stalled when closed cabinets are used. This prevents com-
ponents from overheating as a result of the recirculation of
hot air from the cooktop. The heat shield is the same width
as the cooktop.
CAUTION
Sharp edges.
▶
Use protective gloves when installing the heat shield.
Requirement: You have unpacked the cooktop.
▶
For shipping, the heat shield is screwed to the bottom of
the cooktop. Unscrew the fastening screw on heat
shield.
a
The heat shield will be able to rotate freely.
4.2 Attaching the sealing tape for flush in-
stallation
▶
Attach the adhesive sealing tape around the edges of
the countertop cutout.
Note: Do not apply the sealing tape to the cooktop.


