2: Calibration
Important! do not extract the microphone housed in the RA0045 Ear Simulator since this will
invalidate the factory calibration. If it ever becomes necessary to extract the microphone, use the
special tool RA0071 available from G.R.A.S.
The following procedure, using a G.R.A.S. Pistonphone, should preferably be carried out at the
following times:
a)
before a first-time use of the 43AE to establish a baseline for subsequent checks
b) thereafter at appropriate intervals to check for repeatability
The Pistonphone must be fitted with a 1” Microphone Coupler RA0023 and used with a special
Adapter RA0119 for the 43AE, both available from G.R.A.S.
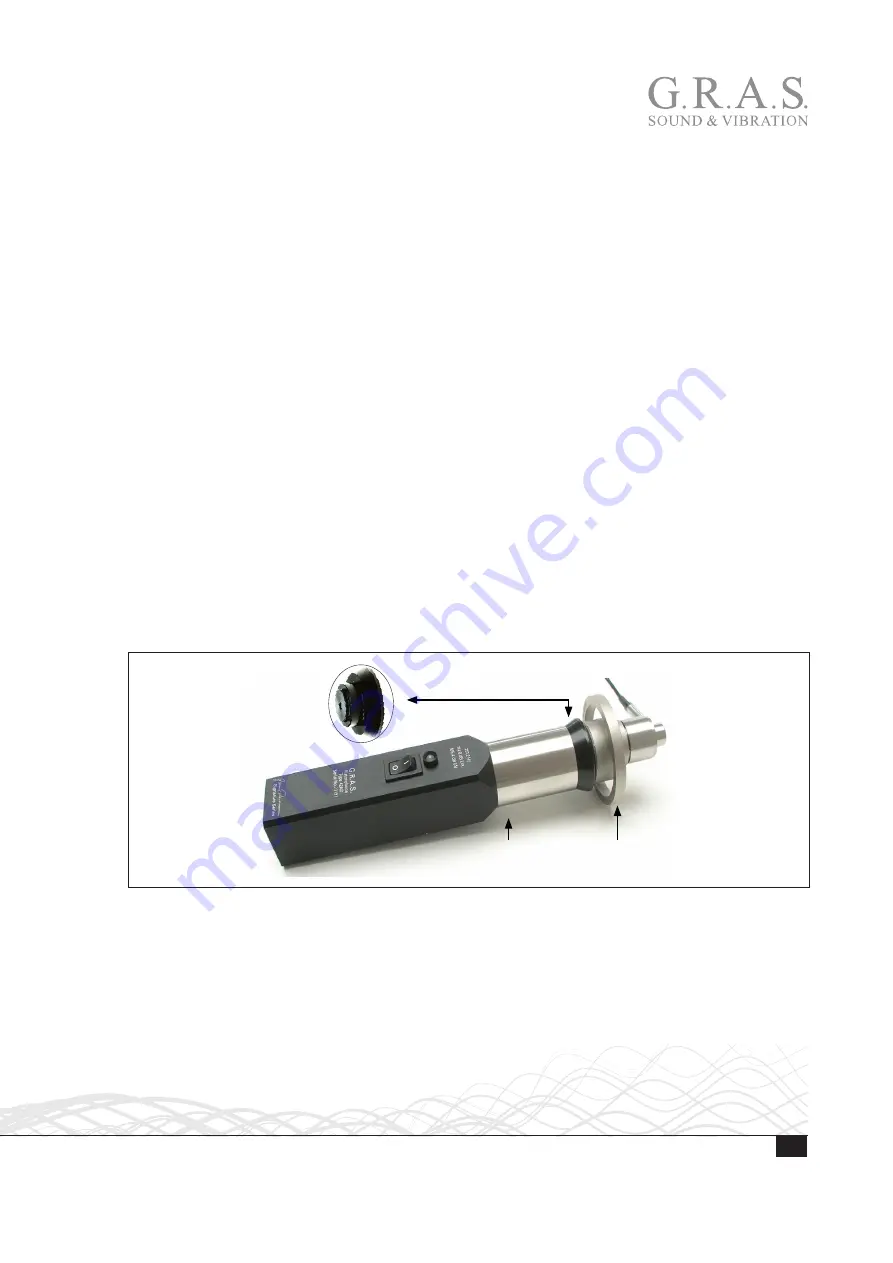
1) The set up for the calibration check is shown Fig. 5.
2) Make sure that the rubber seal of the Pinna Simulator seats firmly inside the Adapter.
3) Switch the Pistonphone on.
4) Set the Gain on the 12AK to 0.
5) Set the analyser to either wide band or to the
⅓
octave band whose centre frequency is 250 Hz.
6) When conditions are stable, note the reading in millivolts.
For a microphone of nominal sensitivity (12.5 mV/Pa) and a nominal Pistonphone signal of
114 dB, an approximate value for the Low-leak Pinna Simulator RA0056 is:
• 95 mV (representing a drop of
≈
2.4 dB)
7) Repeat, if required, with the High-leak Pinna Simulator RA0057 fitted, a corresponding
approximate value is:
• 15 mV (representing a drop of
≈
18.4 dB)
RA0023
1" Coupler
RA0119
Pistonphone Adapter
RA0056 Low-leak
Pinna Simulator
Fig. 5.
Calibration-check set-up. Make sure that the rubber seal of the Pinna Simulator seats firmly inside the Piston-
phone Adapter
8
LI0070 – 28 June 2017


