background image

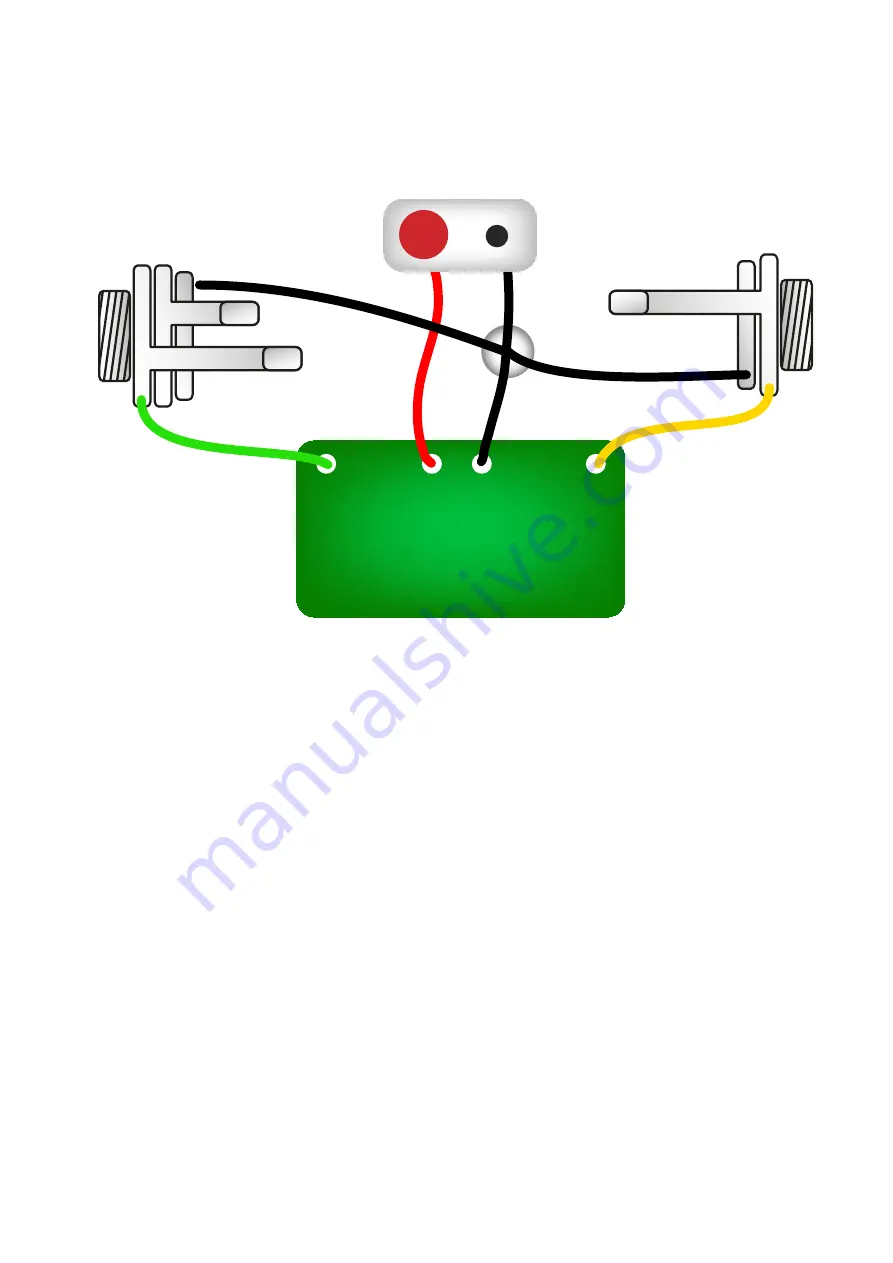
Test the board!

UNDER NO CIRCUMSTANCES will troubleshooting help

be offered if you have skipped this stage. No exceptions.

Once you’ve finished the circuit it makes sense to test is before

starting on the switch and LED wiring. It’ll cut down

troubleshooting time in the long run. If the circuit works at this

stage, but it doesn’t once you wire up the switch - guess what?

You’ve probably made a mistake with the switch.
Solder some nice, long lengths of wire to the board connections for

9V, GND, IN and OUT. Connect IN and OUT to the jacks as shown.

Connect all the GNDs together (twist them up and add a small

amount of solder to tack it). Connect the b lead to the 9V

wire, same method. Plug in. Go!
If it works, crack on and do your switch wiring. If not... aw man.

At least you know the problem is with the circuit. Find out why, get

it working, THEN worry about the switch etc.

BATTERY

IN

OUT

Your nice, new circuit board

INCLUDING WIRED POTS!!!!

IN

9V GND

OUT

Содержание Rodent

Страница 1: ...t Gnawingly good distortion with switchable clipping Contents of this document are 2015 Pedal Parts Ltd No reproduction permitted without the express written permission of Pedal Parts Ltd All rights reserved ...

Страница 2: ... 100p C4 33p C5 4u7 C6 2u2 C7 4u7 C8 3n3 C9 22n C10 1u C11 100u C12 47u C13 47n Q1 2N5458 IC LM308N or OP07 D1 1N4001 FILT 100KA DIST 100KA VOL 100KA RESP 1KB D2 3 1N4148 D4 5 3mm Red LED D6 1N4148 R4 goes in place of the RESPONSE pot if you re going stock without the Ruetz mod See next page CLIPPING DIODES see next page ...

Страница 3: ... the diode goes into the square pad The long leg anode of the electrolytic capacitors go into the square pads RUETZ RESPONSE MOD The Ruetz mod flattens the frequency response of the circuit and gives you extended but tight low end You can simply leave out R4 and C6 if you want to have this non adjustable and permanent However its more rewarding to make it adjustable To do this add either the RESPO...

Страница 4: ... different diode combinations in any of the spots and find your own favourite NOTE YOU MUST PUT A JUMPER WIRE ACROSS D6 IF YOU AREN T USING IT FOR A DIODE If you re using the diode selection switch just put a SPDT ON ON switch in there If you re making a 3 knob version you can t put the switch directly into the pads you ll have to wire it offboard and place it as shown HARD WIRING A SINGLE CLIPPIN...

Страница 5: ...wards in the three pot configuration with the tone becoming brighter when turned clockwise which actually makes much more sense to us but whatever If you want it as per the original you ll have to wire the pot in reverse and use a reverse log taper NOTE The above only applies if your PCB has round holes fo the toggle switch This has been fixed on boards with slots ...

Страница 6: ... ve probably made a mistake with the switch Solder some nice long lengths of wire to the board connections for 9V GND IN and OUT Connect IN and OUT to the jacks as shown Connect all the GNDs together twist them up and add a small amount of solder to tack it Connect the battery lead to the 9V wire same method Plug in Go If it works crack on and do your switch wiring If not aw man At least you know ...

Страница 7: ...ard pedals Boss etc and you can safely daisy chain your supply to this pedal The BOARD GND connections don t all have to connect to one point They can be daisy chained around the circuit using larger connection points such as jack socket lugs for multiple connections As long as they all connect together in some way L E D BOARD OUT BOARD 9V BOARD GND BOARD GND BOARD GND BOARD INPUT IN OUT L E D BOA...

Страница 8: ...ARD GND connections don t all have to connect to one point They can be daisy chained around the circuit using larger connection points such as jack socket lugs for multiple connections As long as they all connect together in some way PedalParts co uk Just because my pre drilled enclosure doesn t accommodate a battery it doesn t mean you can t add one yourself in a bigger box Follow this L E D BOAR...

Отзывы: