4-3
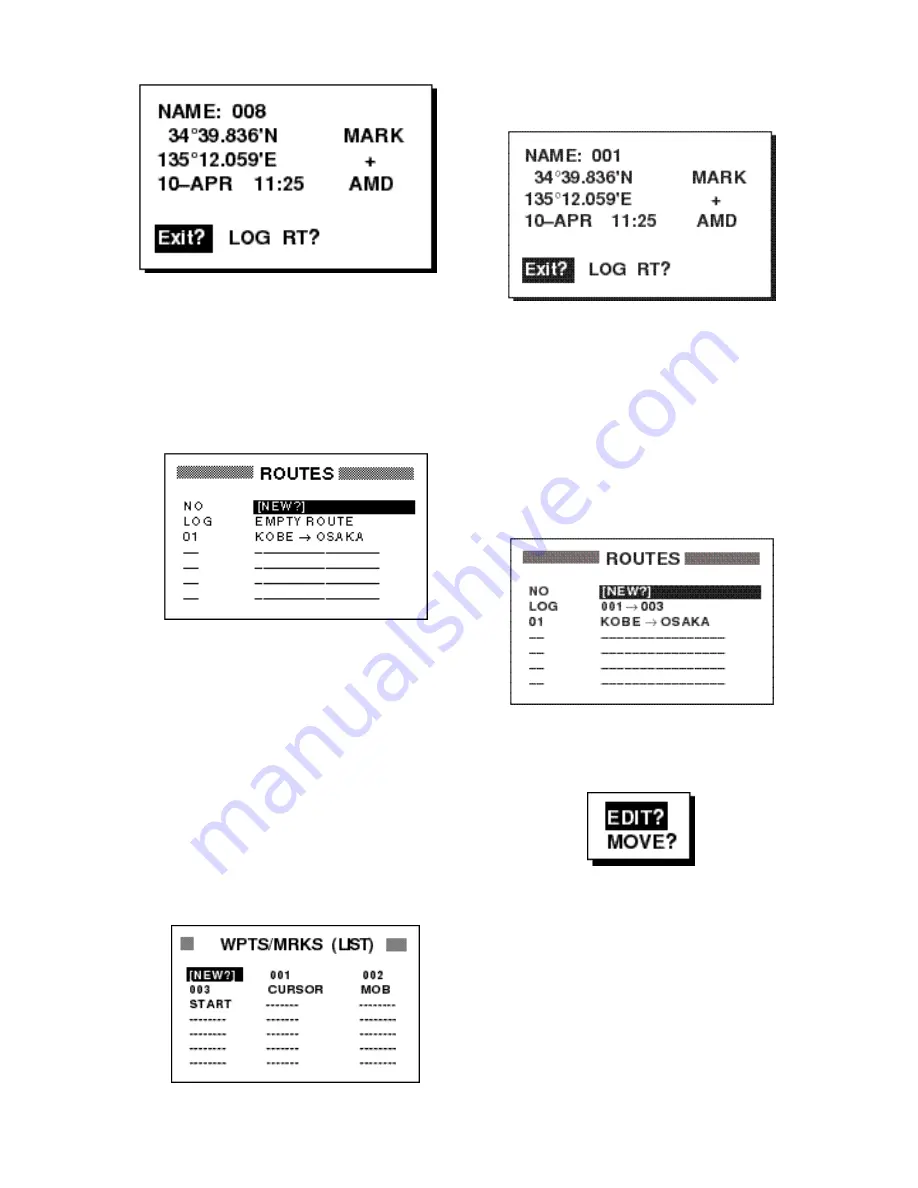
Figure 4-9Waypoint data screen
9. Select “Exit?.”
10.Press the [ENT] key to register the route.
Then, ROUTES list shows the name of
the first and last waypoints, next to route
number.
Figure 4-10 ROUTES list
11.Press the [MENU] key twice to finish.
Creating a route with preregistered
waypoints from the waypoint list
1. Press the [MENU] key once or twice to
display the menu.
2. Select WAYPOINTS and press the
[ENT] key.
3. Select LIST or NEAREST and press the
[ENT] key.
Figure 4-11 Waypoints/marks (list)
4. Select a waypoint and press the [ENT]
key. Your screen should look something
like the one in Figure 4-11.
Figure 4-12 Waypoint data screen
5. Select “LOG RT?” and press the [ENT]
key.
6. Repeat steps 4 and 5 to complete the
route.
7. Press the [MENU] key once.
8. Select ROUTES and press the [ENT]
key. Your screen should now look some-
thing like the one shown in Figure 4-12.
Figure 4-13 ROUTES list
9. Select the LOG field and press the [ENT]
key. The EDIT/MOVE window appears.
Figure 4-14 EDIT/MOVE window
10.Select “MOVE?” and press the [ENT]
key. The route is moved from the LOG
field and assigned the next sequential
route number.
Содержание GP-31
Страница 1: ...GPS NAVIGATOR DGPS NAVIGATOR GP 31 GP 36...
Страница 7: ...v SYSTEM CONFIGURATION GP 36 System configuration GP 31 System configuration...
Страница 18: ...This page is intentionally left blank...
Страница 22: ...This page is intentionally left blank...
Страница 28: ...This page is intentionally left blank...
Страница 63: ...AP 1 Menu Tree Default settings shown in boldface italic...
Страница 64: ...AP 2...
Страница 70: ......
Страница 71: ......
Страница 72: ......
Страница 73: ......
Страница 74: ......
Страница 75: ......
Страница 76: ......
Страница 77: ......
Страница 80: ......
Страница 81: ......


