background image

25

SMART-ER

®

 Hard Drive Monitor for Windows

1.  Insert Fujitsu CD into CD-ROM drive.

2.  Setup screen will pop up.  Click 

SMART-ER

 button.

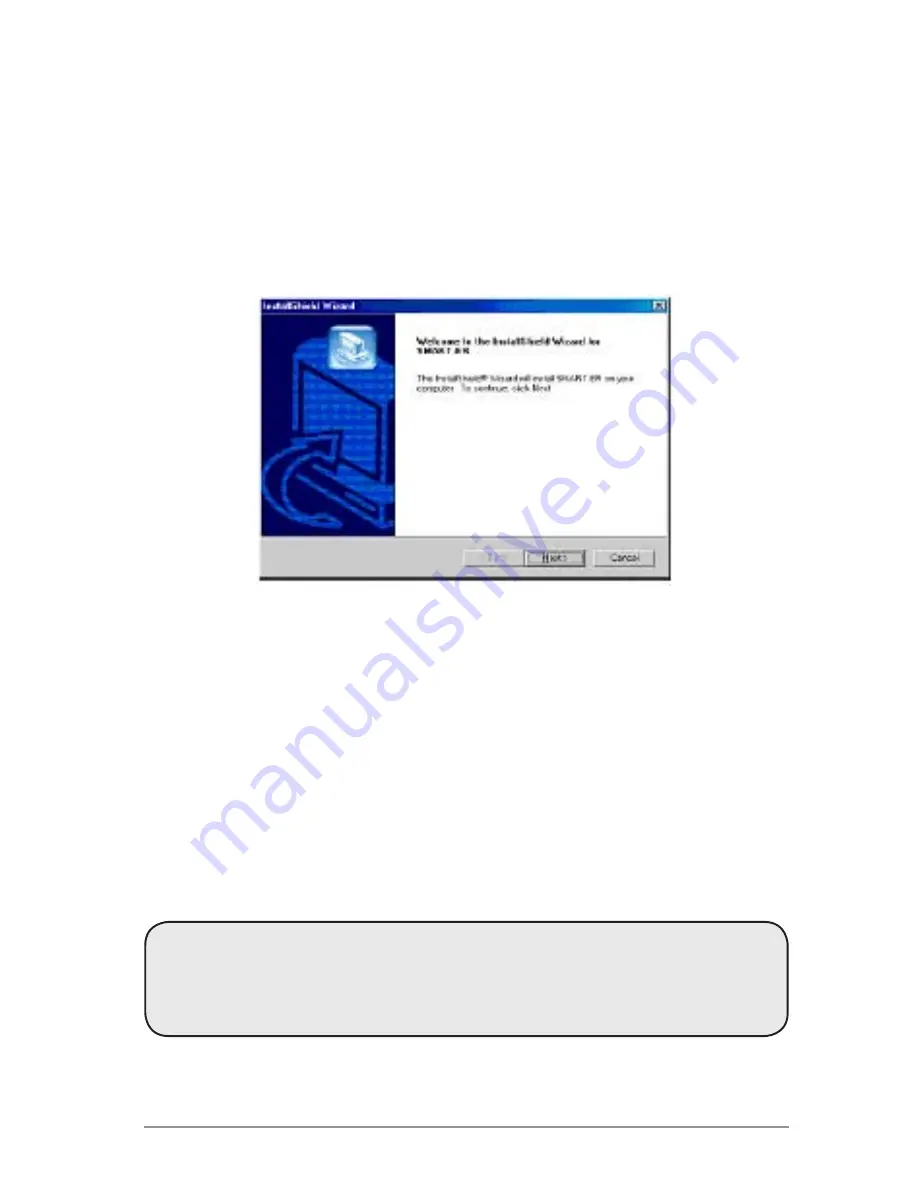
3.  The SMART-ER Setup program will appear (pictured below) with a text 

file containing your serial number. Click 

<Next>

4.   The License Agreement Dialog appears. Please read through first and 

Click 

<YES>

 if you accept the terms.

5.  Enter your name, organization and serial number from the text file. Click 

<Next>

6.  Choose the Destination Drive location. This will select the folder where 

Setup will install the files. Click 

<Next>

7.  Install wizard is complete!  Select ‚ 

Yes, I want to restart my computer 

now.™

  Click 

<Finish>

 and the computer will automatically reboot with 

SMART-ER installed.


Once you reboot your system, you will notice a Blue S in your 


system tray. Your system tray is located in the lower right-hand 


corner of your desktop. By pointing your mouse over the blue S, 


you will get a message 

SMART-ER status: OK

Содержание RE25U

Страница 1: ...User Manual ...

Страница 2: ...e used or copied only in accordance with the terms of such license Except as permitted by any such license no part of this guide may be reproduced without the prior written permission of Fujitsu Computer Products of America Inc Please note that the content in this guide is protected under copyright law even if it is not distributed with software that includes an end user license agreement The cont...

Страница 3: ...s 5 w Package Contents 5 w Specifications 6 3 Set Up 7 w Installation 7 w Disconnecting 8 w Reformatting your hard drive 10 4 Software 12 w Before you backup 12 w EZ Gig II 13 w Microsoft SyncToy 24 w SMART ER 25 5 Technical Support 26 w Contact Information 26 w RMA Policy 26 w Warranty 27 6 FAQs 29 ...

Страница 4: ...urable enclosure The 2 5 External Hard Drive is features a convenient integrated cable which wraps neatly around the drive when not in use The 2 5 External Hard Drive is completely powered by your notebook so no AC adapter is required In addition the 2 5 External Hard Drive protects your data from the rigors of travel with a unique shock mounting system and comes bundled with a Data Protection Sof...

Страница 5: ...t Windows 2000 Professional Windows XP Home and Professional Windows Vista Apple OS 9 2 or higher OS X 10 2 and later B Package Contents Data Protection Suite for Windows Apricorn s EZ Gig II Backup Software Microsoft SyncToy free download link SMART ER Hard Drive Health Monitor 1 meter extension cable USB Y cable Quick Start Guide Software CD Fujitsu 2 5 External Hard Drive ...

Страница 6: ...Synchronization Software Provides a variety of options for synchronizing your system for file sharing or backup Plug n Play Drivers not required for Windows XP 2000 Mac OS 9 2 or later Mac OS X or later Hot Swappable No need to power down your computer just plug and go Moving Files Excellent for synchronizing data between desktop and notebook computers Compatibility PC and Mac hardware compatible ...

Страница 7: ...d Macintosh 1 Ensure your computer is turned on 2 Plug the 2 5 External Hard Drive USB cable into the appropriate open port on your computer 3 The operating system will automatically mount the drive and it will appear on your computer Note In the rare case that the 2 5 External Hard Drive does not power up on a single USB connection the included USB Y cable may be required Pictured above Simply pl...

Страница 8: ... letter may be different 4 Wait for few seconds until the system prompts The hard disk storage device can now be safely removed from the system Click OK and then unplug the 2 5 External Hard Drive To protect against unexpected data loss Windows verifies that all files on the disk are closed before allowing the USB device to be removed If you receive an error message that says The device cannot be ...

Страница 9: ...unmount and then you can safely remove the drive 2 5 External Hard Drive To protect against unexpected data loss OS X verifies that all files on the disk are closed before allowing the device to be removed If you receive an error message that says The disk Fujitsu HDD is in use and could not be ejected Close all the programs that are using files from the drive then repeat steps 1 and 2 ...

Страница 10: ...Vista NTFS File System 1 1 Open My Computer or Windows Explorer 2 Right click on the Fujitsu HDD drive and select Format 3 This will open the format window a In the File system drop down box select NTFS b Use Default allocation unit size c Under Format options i Select Quick Format Optional ii Do not Enable Compression d Click on the Start button 4 The drive will now be reformatted 5 Verify the re...

Страница 11: ...own list select the Mac OS Extended 6 Enter Fujitsu HDD into the Name box 7 Select the check box next to Install Mac OS 9 Drivers This will allow you to see your Fujitsu HDD hard drive if you boot to Mac OS 9 x 8 Click the Erase button An alert will appear to confirm the erase process 9 Click Erase to start the formatting process 10 To confirm that the 2 5 External Hard Drive hard drive is properl...

Страница 12: ... work best when done on a regular basis Take a moment to establish a backup plan that works for you Disk Clone and Disk Image will both create a full backup of your system Use Disk Image and create a full backup each day week or month depending on how critical your data is and how far back you would like to recover a version of the files you are working with Use Disk Clone and create a full backup...

Страница 13: ...on of Apricorn s EZ Gig II for Windows 1 Insert Fujitsu CD into your CD ROM drive 2 Setup screen will pop up Click EZ GIG II button 3 EZ Gig II installation screen will pop up 4 Follow instructions for installation ...

Страница 14: ...display off after 20 minutes and Put the computer to sleep after 1 hour of keyboard or mouse inactivity It will take more than 20 minutes to backup most of today s larger hard drives If the system goes into display is turned off or the computer goes to sleep during the backup your backup may fail This will not damage your original hard drive in any way but you will have to restart the backup To av...

Страница 15: ...Drive is connected to your computer 2 To start EZ Gig II click Start Programs Fujitsu EZ Gig II and click on EZ Gig II This will open the main screen of EZ Gig II You can also click on the EZ Gig II icon on the Desktop 3 Under New Disk Deployment on the main screen double click on the Disk Clone icon to open Disk Clone Wizard Read all instructions carefully before cloning This is only a quick over...

Страница 16: ...continue 5 The Clone Mode screen will appear Select typical and click Next to continue 6 If the hard disk drive to receive the cloned data is new or blank proceed to step 10 If the hard disk drive to receive the cloned data either contains data or is formatted proceed to step 7 ...

Страница 17: ...k The interface and disk size can be used to help identify the correct disk number Click Next to continue 8 The Destination Hard Disk screen will appear Select the appropriate destination hard disk The destination hard disk is typically your new hard disk drive Click Next to Continue ...

Страница 18: ...ect the Delete partitions on the destination hard disk button Click Next to continue Note If you need to confirm that you have selected the proper source and destination drives click the Back button to check 10 The next screen outlines the operations that Disk Clone will perform Click Proceed to continue with cloning your hard disk drive 12 The computer will reboot and the cloning process will now...

Страница 19: ...ngratulations screen When the congratulations screen appears turn off your computer using the power button Then unplug the Apricorn product from the computer DO NOT REBOOT THE COMPUTER WITH A CLONED HARD DRIVE IN THE Apricorn product To do so may alter some settings of the Windows operating system 13 You have completed the cloning process and now have an exact bootable clone of your hard drive ...

Страница 20: ...ly if you have installed EZ GIG II on Windows go to start All Programs Fujitsu Apricorn EZ Gig II Apricorn EZ Gig II User Guide Imaging your hard drive with Create Image Wizard 1 Under certain conditions Apricorn EZ Gig II may require your computer to reboot Please save all work before starting Apricorn EZ Gig II 2 To start EZ Gig II click Start Programs Fujitsu EZ Gig II and click on Apricorn EZ ...

Страница 21: ...ection screen select the disk or partition s you would like to back up by checking the appropriate box Click Next to continue 6 At the Backup Image Location window find your Fujitsu 2 5 External Drive it will have the name Fujitsu HDD and the drive letter will vary depending on the configuration of your computer ...

Страница 22: ...ons window will open Select Use Default Options and then click Next to continue Note For detailed instructions on how to set the options manually read Chapter 5 Creating Backup Archives in the Apricorn EZ Gig II User Guide located on the Fujitsu software CD that came with your Fujitsu 2 5 External Hard Drive Alternately if you have installed EZ GIG II on Windows go to start All Programs Fujitsu Ap...

Страница 23: ...ns listed in the white box If there are corrections to be made click the Back button to change selected options The selected operations will not execute until the Proceed button is clicked If everything is correct you can click the Proceed button to create the image file 11 When Disk Image completes the selected options the Congratulations screen will appear 12 BACKUP COMPLETE Your Fujitsu 2 5 Ext...

Страница 24: ...ltiple sets of folders at the same time it can combine files from two folders in one case and mimic renames and deletes in another Unlike other applications SyncToy actually keeps track of renames to files and will make sure those changes get carried over to the synchronized folder The Fujitsu software CD provides a free download link to MicroSoft SyncToy 1 Insert Fujitsu CD into CD ROM drive 2 Se...

Страница 25: ...name organization and serial number from the text file Click Next 6 Choose the Destination Drive location This will select the folder where Setup will install the files Click Next 7 Install wizard is complete Select Yes I want to restart my computer now Click Finish and the computer will automatically reboot with SMART ER installed Once you reboot your system you will notice a Blue S in your syste...

Страница 26: ...ollowing steps 1 Simply call Fujitsu s technical support department with your 2 5 External Hard Drive part number and a description of the problem s you are experiencing 2 If the Fujitsu representative finds cause for a return they will issue an RMA number Please write this number down 3 Fill out an RMA authorization form with your package The RMA form is available on line at http www fujitsu com ...

Страница 27: ... required to demonstrate eligibility for warranty service Third Party Software Third party software is included with the Fujitsu Storage Product These non FCPA programs Third Party Software are licensed directly by their providers You agree to use the Third Party Software under the provider s terms and conditions These terms are provided in the end user license agreements presented at the time of ...

Страница 28: ...products is provided by the OEM Original Equipment Manufacturer as part of that manufacturer s product or system except as posted from time to time at the Warranty Service Guide page If any of the above excluded services are required they may be available through an Authorized Data Recovery Company at their hourly rates and at terms then in effect Repaired or replaced products assume the remainder...

Страница 29: ...devices can communicate at speeds of up to 480 Megabits sec 4 The 2 5 External Hard Drive power LED is on but the drive is not automatically detected by the operating system The mass storage device drivers are not installed correctly or there is a resource conflict in the system Use the Windows Add New Hardware Wizard to detect the drive or if the drive has already been installed use the Windows U...

Страница 30: ...image providing security for your data A detailed description for each image can be entered giving the user total flexibility to retain backups from multiple dates or multiple computers Microsoft SyncToy SyncToy provides an easy to use highly customizable program that helps to simplify the process of copying moving and synchronizing directories between your computer and your Fujitsu External Hard ...

Страница 31: ... External Hard Drive Yes EZ Gig II allows you to mount an image as a virtual hard drive You can access this virtual drive as if it was a physical hard drive You would use your Windows Explorer or My Computer and copy the file or folder and paste it on to your hard drive 10 Why am I unable to save a file larger then 4GB on to my 2 5 External Hard Drive Fat 32 has a file size limitation of 4 GB If y...

Страница 32: ...c All rights reserved Fujitsu and the Fujitsu logo are registered trademarks and The Possibilities are Infinite is a trademark of Fujitsu Ltd 1255 East Arques Avenue Sunnyvale CA 94085 4701 408 746 7000 800 626 4686 http us fujitsu com fcpa ...

Отзывы: