background image

E-2

SAFETY PRECAUTIONS

IMPORTANT INFORMATION

WARNING:

This is a Class A product.  In a domestic environment this product may cause radio interference in
which case the user may be required to take adequate measures.

WARNING:

TO REDUCE THE RISK OF FIRE AND ELECTRIC SHOCK, DO NOT EXPOSE THIS
PRODUCT TO RAIN OR MOISTURE.

FCC NOTICE

This equipment has been tested and found to comply with the limits for a Class A digital device, pursuant to Part 15 of the FCC Rules.  These
limits are designed to provide reasonable protection against harmful interference in a residential installation.  This equipment generates, uses
and can radiate radio frequency energy and, if not installed and used in accordance with the instructions, may cause harmful interference to
radio communications.  However, there is no guarantee that interference will not occur in a particular installation.  If this equipment does
cause harmful interference to radio or television reception, which can be determined by turning the equipment off and on, the user is
encouraged to try to correct the interference by one or more of the following measures:

Reorient or relocate the receiving antenna.

Increase the separation between the equipment and receiver.

Connect the equipment into an outlet on a circuit different from that to which the receiver is connected.

Consult the dealer or an experienced radio/TV technician for help.

IMPORTANT SAFETY INSTRUCTIONS

Electrical energy can perform many useful functions.  This unit has been engineered and manufactured to assure your personal safety.  But

IMPROPER USE CAN RESULT IN POTENTIAL ELECTRICAL SHOCK OR FIRE HAZARD

.  In order not to defeat the safeguards

incorporated into this product, observe the following basic rules for its installation, use and service.  Please read these “Important
Safeguards” carefully before use.

1) Read these instructions.
2) Keep these instructions.
3) Heed all warnings.
4) Follow all instructions.
5) Do not use this apparatus near water.
6) Clean only with dry cloth.
7) Do not block any ventilation openings. Install in accordance with the manufacturer’s instructions.
8) Do not install near any heat sources such as radiators, heat registers, stoves, or other apparatus (including amplifier’s) that produce heat.
9) Do not defeat the safety purpose of the polarized or grounding-type plug. A polarized plug has two blades with one wider than the other. A

grounding type plug has two blades and a third grounding prong. The wide blade or the third prong are provided for your safety. If the
provided plug does not fit into your outlet, consult an electrician for replacement of the obsolete outlet.

10) Protect the power cord from being walked on or pinched particularly at plugs, convenience receptacles, and the point where they exit

from the apparatus.

11) Only use attachments/accessories specified by the manufacturer.
12) Use only with the cart, stand, tripod, bracket, or table specified by the manufacturer, or sold with the apparatus.

When a cart is used, use caution when moving the cart/apparatus combination to avoid injury from tip-over.

13) Unplug this apparatus during lightning storms or when unused for long periods of time.

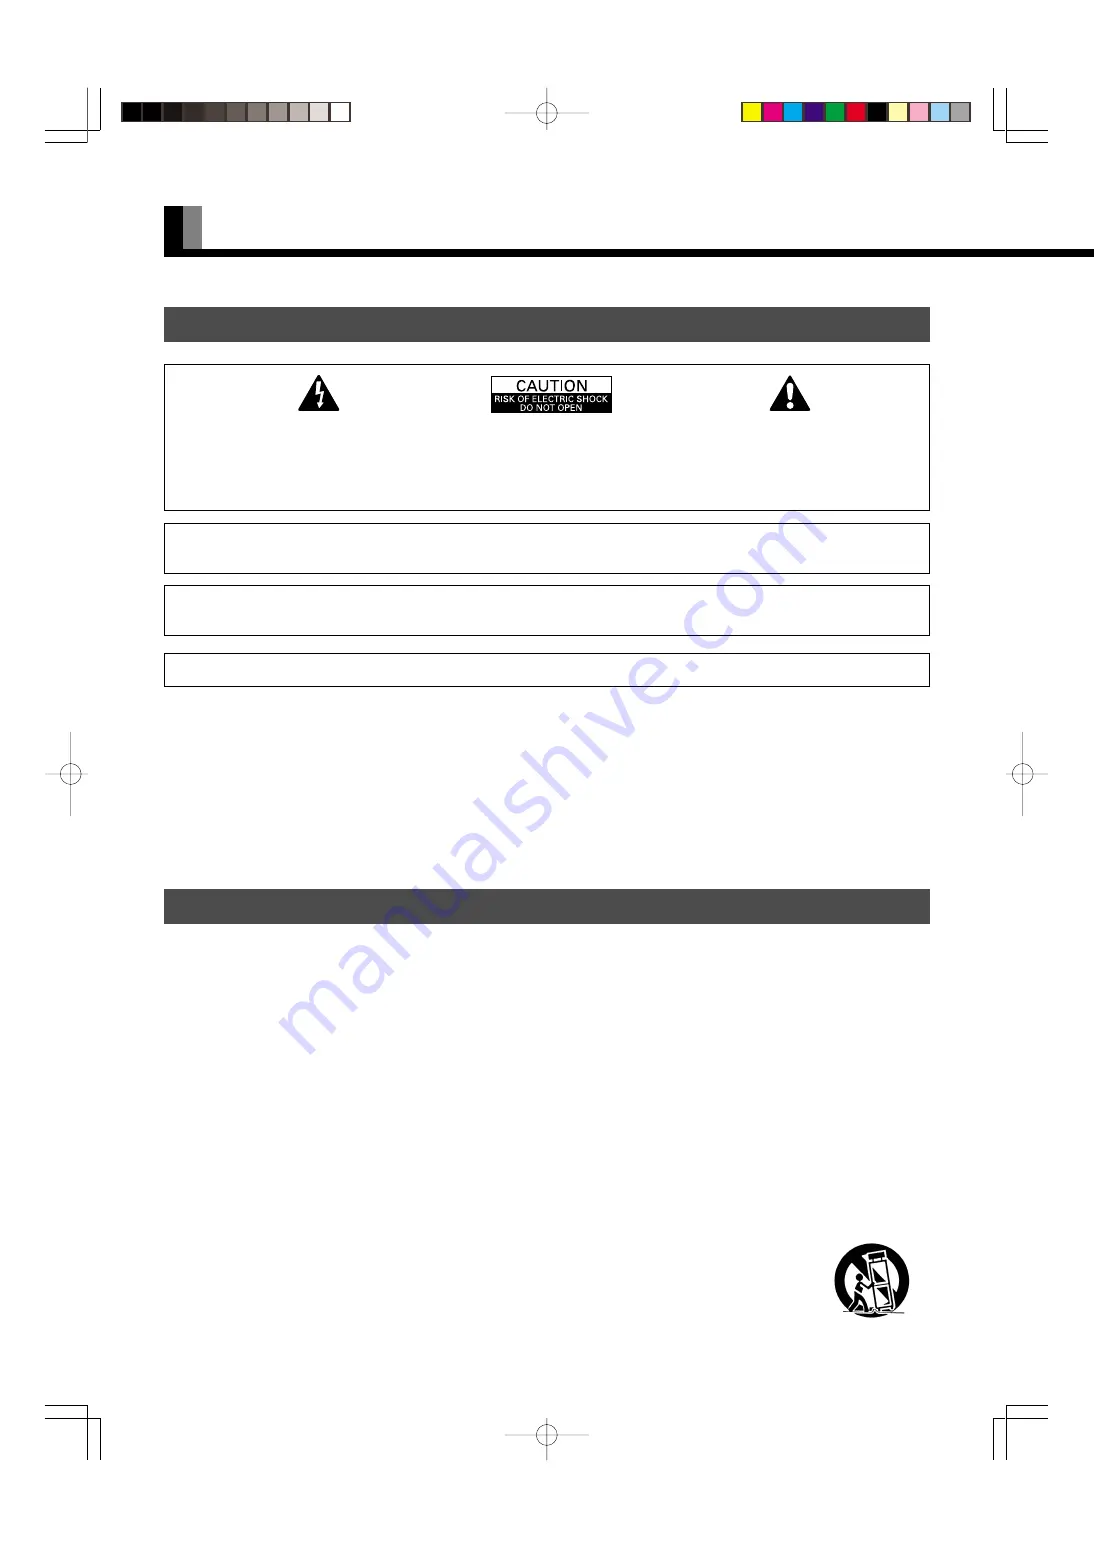
The lightning flash with arrowhead symbol, within
an equilateral triangle, is  intended to alert the user
 to the presence of uninsulated “dangerous voltage”
within the product’s enclosure that may be of
sufficient magnitude to constitute a risk of electric
shock to persons.

The exclamation point within an equilateral triangle
is intended to alert the user to the presence of
important operating and maintenance (servicing)
instructions in the literature accompanying the
appliance.

CAUTION:
TO PREVENT  THE RISK OF ELECTRIC

SHOCK, DO NOT REMOVE COVER (OR

BACK). NO USER-SERVICEABLE PARTS

INSIDE. REFER SERVICING TO QUALIFIED

SERVICE PERSONNEL.

IMPORTANT

 E-MDH00771-01(02-03)

03.11.12, 0:56 PM

Page 2

Adobe PageMaker 6.5J/PPC

Содержание Plasmavision W P50XCA30A

Страница 1: ...ies E 2 Part Names and Functions E 3 E 5 Installation E 6 Options E 7 Main Supported Signals E 8 Specification E 9 E 10 English Before Use Safety Precautions User s manual 2 2 Usage Handy Tips User s manual 2 2 Connecting the Display to External Equipment User s manual 2 2 Using the Remote Control User s manual 2 2 Basic Operations User s manual 2 2 Watching Pictures on the Wide Screen User s manu...

Страница 2: ... result in picture or color problems Make sure that all connectors are securely inserted into their terminals Ferrite cores These ferrite cores are used to attenuate undesired signals Two ferrite cores When connecting a cable to the power input terminal RS 232C terminal attach one of these ferrite cores to the cable near the terminal RS 232C Cable Ferrite Core Power Cable Ferrite Core A Type E Typ...

Страница 3: ...n Malfunction Flashes differently depending on the type of malfunction 2 Remote control signal receiver Receives signals from the remote control Warning If the power indicator lamp flashes red or green this signifies that the display has developed a problem When this happens be sure to remove the power plug from the receptacle and contact your dealer Leaving the display power ON can result in fire...

Страница 4: ...onnect it to the RS 232C terminal on the PC When connecting a cable attach a ferrite core to the cable See P E 2 3 RGB1 input terminal RGB1 INPUT mD sub Connect this terminal to the PC s display analog RGB output terminal or decoder digital broadcast tuner etc output terminal 4 Power input terminal Connect this terminal to the power cable supplied with the display When connecting a cable attach a ...

Страница 5: ...ing Indication RS 232C terminal RS 232C Pin No Input signal Pin No Input signal 1 Red 9 2 Green 10 Ground 3 Blue 11 4 12 5 Ground 13 Horizontal synchronization 6 Ground 14 Vertical synchronization 7 Ground 15 8 Ground Frame Ground RGB1 terminal RGB1 INPUT mD sub Terminal layout may differ and functions may not be available with some models and some device options E MHD00897 02 10 03 12 26 2 13 PM ...

Страница 6: ...ll this device in a well ventilated area Keep the air vents of the device free from obstruction Never attempt to tilt the display sideways or backward To prevent the power and other cables from being accidentally pulled be sure to make the wiring work along the wall or through the corners of floor To prevent an accident and ensure safety in the event of an earthquake fix the display securely into ...

Страница 7: ...nction and performance of optional accessories specifications and part names may change Consult your local dealer before purchasing Warning To prevent injury fire and electric shock arrange for options to be initially installed or installed at a different location by your dealer CAUTION This display P63XCA30 is for use only with Fujitsu General Limited s option P WB6300 P CT6300 P TT6300 This disp...

Страница 8: ...s not fall within the display s permissible range You can check input signals through Information on the FEATURES Menu screen See User s Manual 2 2 In order to facilitate the explanations pictures and diagrams in this manual may differ slightly from the actual items All terms i e company and product names used in this document are trademarks or registered trademarks Functions may be different or u...

Страница 9: ...1 RS 232C connector D sub 9 pin Specifications and external appearance may be change for the sake of improvement Viewing the screen constantly for extended periods can strain your eyes Be sure to stay at a proper distance at least 2 4 m or 7 9 feet for 63 from the screen and to look occasionally away while working is a worldwide trademark of Fujitsu General Limited and is a registered trademark in...

Страница 10: ... RS 232C connector D sub 9 pin Specifications and external appearance may be change for the sake of improvement Viewing the screen constantly for extended periods can strain your eyes Be sure to stay at a proper distance at least 1 9 m or 6 2 feet for 50 from the screen and to look occasionally away while working is a worldwide trademark of Fujitsu General Limited and is a registered trademark in ...

Страница 11: ...Contents USER S MANUAL 2 2 Precautions and Adjustment Methods WIDE PLASMA DISPLAY Page English Before Use Safety Precautions E 2 E 3 Usage Handy Tips E 4 Connecting the Display to External Equipment E 5 Using the Remote Control E 6 E 7 Basic Operations E 8 Watching Pictures on the Wide Screen E 9 Adjustments Adjusting Pictures PICTURE Menu E 10 E 11 Adjusting Screen Position and Size POSITION SIZE...

Страница 12: ...ead these instructions 2 Keep these instructions 3 Heed all warnings 4 Follow all instructions 5 Do not use this apparatus near water 6 Clean only with dry cloth 7 Do not block any ventilation openings Install in accordance with the manufacturer s instructions 8 Do not install near any heat sources such as radiators heat registers stoves or other apparatus including amplifier s that produce heat 9...

Страница 13: ...doors plugs receptacles and the point where they exit from the product For added protection for this product during a lightning storm or when it is left unattended and unused for long periods of time unplug it from the wall outlet and disconnect the cable system This will prevent damage to the product due to lightning and power line surges Do not overload wall outlets extension cords or convenienc...

Страница 14: ...d by the fan It may be very hot Contact your dealer if you find that the display does not seem to function properly when used with other audio visual equipment You may need to move your display if it produces degraded pictures or noise due to electromagnetic radiation or if the infrared remote control does not function properly Pictures may not be displayed properly if you connect a non standard P...

Страница 15: ...t to be connected Terminal layout may differ and functions may not be available with some models and some device options To RGB output mD sub To RGB1 input mD sub With a computer CONNECTING THE DISPLAY TO EXTERNAL EQUIPMENT Be sure to turn OFF the power to the display and external equipment before making any connections No cables are supplied with the display for connection to external equipment T...

Страница 16: ...an use these buttons to control up to four displays by assigning a unique number to each display PUTTING BATTERIES IN THE REMOTE CONTROL Remote Control 1 To remove the cover slide it outwards while pressing it down 2 Place two AA batteries in the remote control Make sure that the batteries are properly oriented 3 Close the cover until it snaps into place 2 5 4 1 3 6 9 7 8 CAUTION Be sure to use re...

Страница 17: ...ent such as benzene or thinner EFFECTIVE RANGE FOR THE REMOTE CONTROL Point the remote control at the display s signal receiver when using it Make sure that there are no obstacles between the remote control and the display s signal receiver Information The remote control may not function properly if you use a high frequency fluorescent lamp If you experience problems move the lamp or use the remot...

Страница 18: ...a public audience may constitute a copyright infringement For films try to select a mode having the same aspect ratio as the original picture this enables the director s original intentions to be preserved Reference See P E 12 E 13 for how to adjust the picture size and position Functions may not be available with some models and some device options Set the OFF STD BY switch at the bottom of the d...

Страница 19: ...Functions may not be available with some models and some device options Normal Displays pictures of normal size i e a 4 3 aspect ratio Wide Ideal for displaying vertically extended pictures such as squeezed pictures Zoom Enlarges horizontally extended pictures equally in all directions to maintain the aspect ratio constant SCREEN SIZE ASPECT RATIO The following aspect ratios are available Vertical...

Страница 20: ...ress when you finish Repeat steps 3 4 5 and 6 when you wish to make changes to other options 1 2 BASIC OPERATIONS EX ADJUSTING TINT Tint PICTURE selected in the main menu screen Tint selected in the PICTURE Menu screen You can make changes to all picture adjustment options in the PICTURE Menu The changes you make will be stored for a selected input mode Therefore you need to select a desired input...

Страница 21: ...t up when User is selected in Color Temp Press or to select Red Green or Blue and press to make adjustments Press to store Color Temp setup is switched to User The initial value of User Color Temp is adjusted individually at the factory On screen information disappears if you do not take any action for about 60 seconds Functions may not be available with some models and some device options The adj...

Страница 22: ...n to the right Moves screen to the left Press to store Press when you finish Repeat steps 3 to 7 when you wish to make changes to other options BASIC OPERATION EX ADJUSTING HORIZONTAL DIRECTION OF SCREEN POSITION POSITION SIZE selected from the main menu screen You can make changes to all screen adjustment options in the POSITION SIZE Menu The changes you make will be stored for the selected input...

Страница 23: ... height Height Increases height Reduces height Press to store Position adjustment screen Size adjustment screen English On screen information disappears if you do not take any action for about 60 seconds Functions may not be available with some models and some device options The adjustment range varies with the display signal You can adjust the display quality to the value you want within the adju...

Страница 24: ...Menu appears Press or to select Language Press The Language selection screen will appear Press or to select the language Press The menu is displayed in the selected language Press when you finish Repeat steps 3 to 8 when you wish to make changes to other options 1 2 BASIC OPERATION EX SELECTING LANGUAGE Language FEATURES selected in the main menu screen On Screen Menu screen You can make the follo...

Страница 25: ...t Manual Makes manual adjustment Press to adjust to minimize pictures blur Press to store Adjusting Clamp Position Clamp Position Normally the automatic setting ensures the optimal value Adjusts the extremely dark or bright pictures Press to adjust pictures optimally Press to store Selecting the Optimum Dynamic Range of Images Auto Calibration Receives a white screen signal and adjusts the dynamic...

Страница 26: ...2345678901 1234567890123456789012345678901 1234567890123456789012345678901 1234567890123456789012345678901 1234567890123456789012345678901 1234567890123456789012345678901 1234567890123456789012345678901 1234567890123456789012345678901 1234567890123456789012345678901 This fringe part is masked Setting Display Information OSD You can use this option to select whether to display information other tha...

Страница 27: ...DPMS Number Approximate time before DPMS starts Unit minutes The power indicator lamp turns orange while the DPMS is ON The power turns ON automatically when the display receives a signal 4 Can specify background color Press or to select background color Each time you press or one of the available choices appears in the following sequence Black White Black Mutes images in Black background White Mu...

Страница 28: ...n wide range About 15 pixels 6 Press to store When using the display continuously 1 Select Time for Mode Time within Screen Orbiter 2 Select a desired range for Moving Area within Screen Orbiter This causes the screen saver pattern to move in the same range at regular intervals When using the display occasionally Select a desired amount of time for DPMS Thus when the display does not receive a sig...

Страница 29: ...mode the resolution of VGA WVGA 480P XGA WXGA SXGA and SXGA may not be automatically distinguished Switch to the fixed display when the image is not displayed properly Specifying RGB Input Signal Code Setting Normally use this option in Auto mode You can use this option to specify and display the type of RGB input signal by code number Each time you press or one of the available choices appears in...

Страница 30: ...ars in the following sequence 90 Deg Displays text from left to right when the display is installed with the power indicator lamp at the top Normal Displays text normally 90 Deg Displays text from left to right when the display is installed with the power indicator lamp at the bottom Press to store Be sure to make this setup when changing the direction of installation Displaying System Status Info...

Страница 31: ... message of having completed the initialization will be displayed after initializing Press when you finish 1 2 You can also use the switches on the display s control panel to accomplish these steps FACTORY DEFAULT selected in the main menu screen Displays the message of whether to proceed the initialization 3 4 5 Displays the message of having completed the initialization You can restore the value...

Страница 32: ... plug from the receptacle and inform your dealer about how the lamp flashed The power indicator lamp flashes differently depending on the type of problem CLEANING AND MAINTENANCE Problem Power does not turn ON No pictures are displayed Remote control does not function properly The display makes a snapping sound The display makes a buzzing sound There are spots on the screen Degraded colors tints I...

Отзывы: