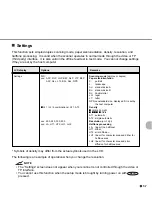
6-11
1.
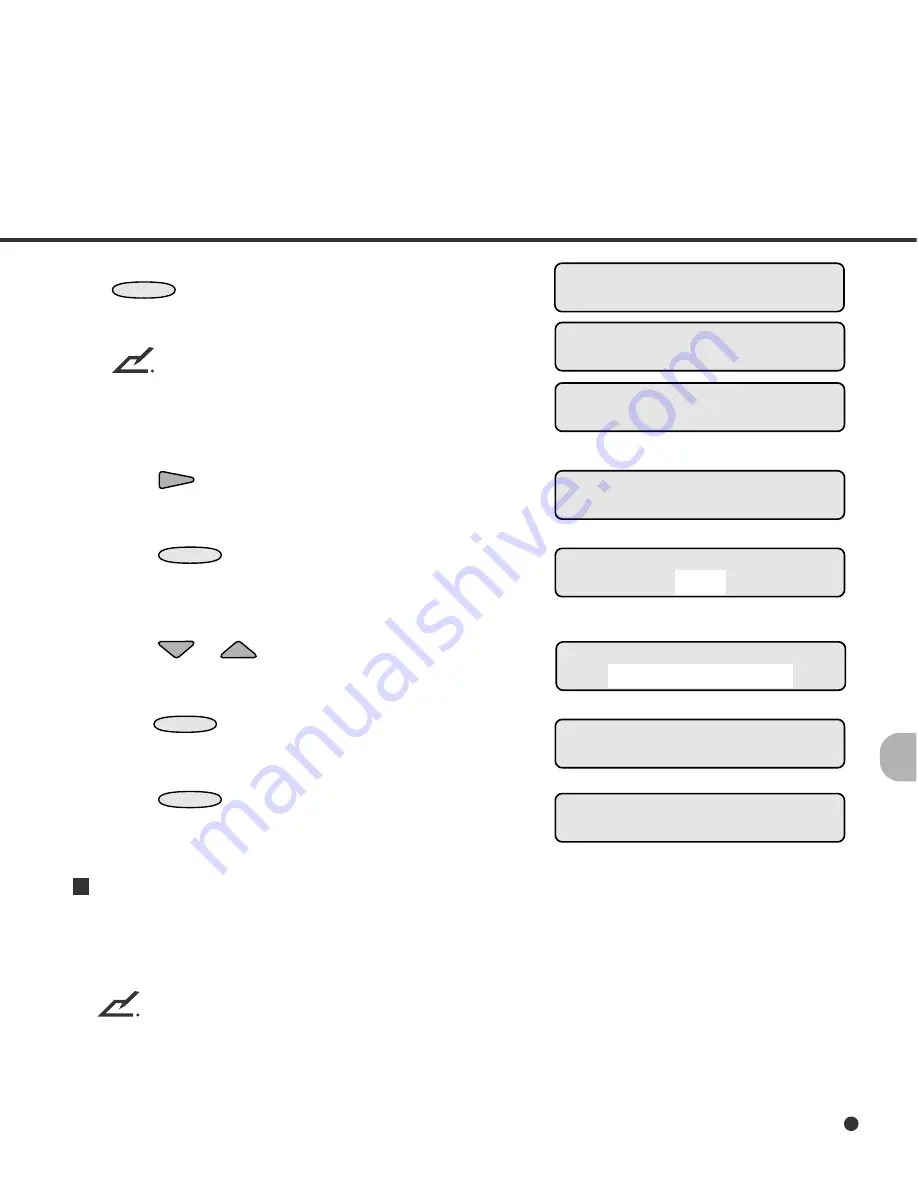
In <<SETUP MODE>> initial screen, press
ENTER
.
The <<SETUP MODE>> menu screen (Set-
tings or Paper Length Check) appears.
NOTE
The “Settings” screen does not appear and
the “Paper Length Check” screen first appears
when your scanner is not controlled through
the video or TP interface.
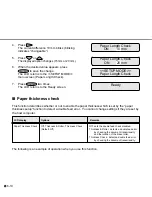
2.
Press
.
The <<SETUP MODE>> menu screen (Paper
Thickness Check) appears.
3.
Press
ENTER
.
The option select screen appears with the
current option OFF blinking (blinking indicates
“changeable”).
4.
Press
or
.
The displayed option changes (Thickness &
Roller blinks).
5.
Press
ENTER
to save the change.
The LCD returns to the <<SETUP MODE>>
menu screen (Paper Thickness Check).
6.
Press
CANCEL
two times.
The LCD returns to the Ready screen.
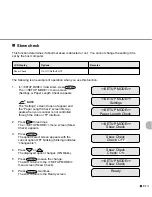
Paper thickness setup
This function sets the paper thickness which is used as the reference for detecting a double feed
error. Whether this function is enabled or disabled is determined by the “paper thickness check”
function in setup mode.
NOTE
This setting cannot be displayed in browse mode.
The following is an example of operation when you use this function.
<<SETUP MODE>>
Paper Thickness Check
Ready
Paper Thickness Check
OFF
<<SETUP MODE>>
Paper Thickness Check
Paper Thickness Check
Thickness & Roller
<<SETUP MODE>>
<<SETUP MODE>>
Settings
<<SETUP MODE>>
Paper Length Check
Содержание M4099D
Страница 1: ...P3PC E452 03EN M4099D Image Scanner Operator s Guide ...
Страница 21: ...2 2 This section describes how to check the labels Label A An example Inspection Three labels ...
Страница 42: ...5 2 External Dimensions unit mm ...
Страница 118: ......


