

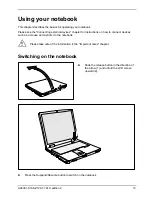


Using your notebook
24
A26391-K168-Z120-1-7619, edition 2
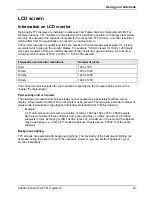
Monitor settings
Setting resolution (under Windows)
You can change the screen resolution under
Start - Settings - Control Panel - Display - Settings
and then
selecting from the
Resolution
field.
Setting font size (under Windows)
Under
Start - Settings - Control Panel - Display - Settings
you can choose between a larger and a smaller
font in the
Font size
field.
Setting the display brightness
You can adjust the brightness of your LCD screen with the keys
Fn
and
F6
or
F7
: With
Fn
and
F6
, screen brightness will be reduced and with
Fn
and
F7
increased.
Synchronising the display on the LCD screen and an external monitor
Your notebook supports the simultaneous display on the LCD screen and an external monitor. If the
picture does not appear correctly on the LCD monitor, press the key combination
Fn
+
F10
several times, or switch the external monitor off and then on again. This achieves good picture
synchronisation.
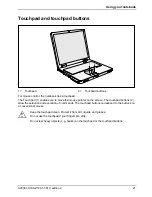
Adjusting the speed of the mouse pointer
You can change the speed of the mouse pointer under
Start - Settings - Control Panel - Mouse
and
clicking on the
Motion
tab.
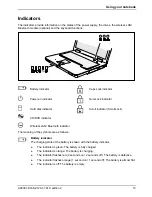
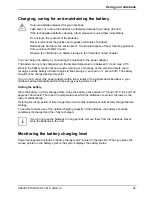
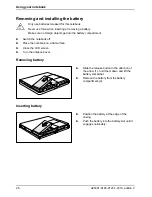
Battery
The battery supplies your notebook with the necessary power during mobile use. You can increase
battery life by enabling the system's power management features.
The remaining battery charge is indicated by the battery symbol in the status indicator panel (see
also the "Indicators" section).
The standard battery will last for roughly 500 charge/discharge cycles, this will vary according to
which battery pack is fitted.