201
Scan
5
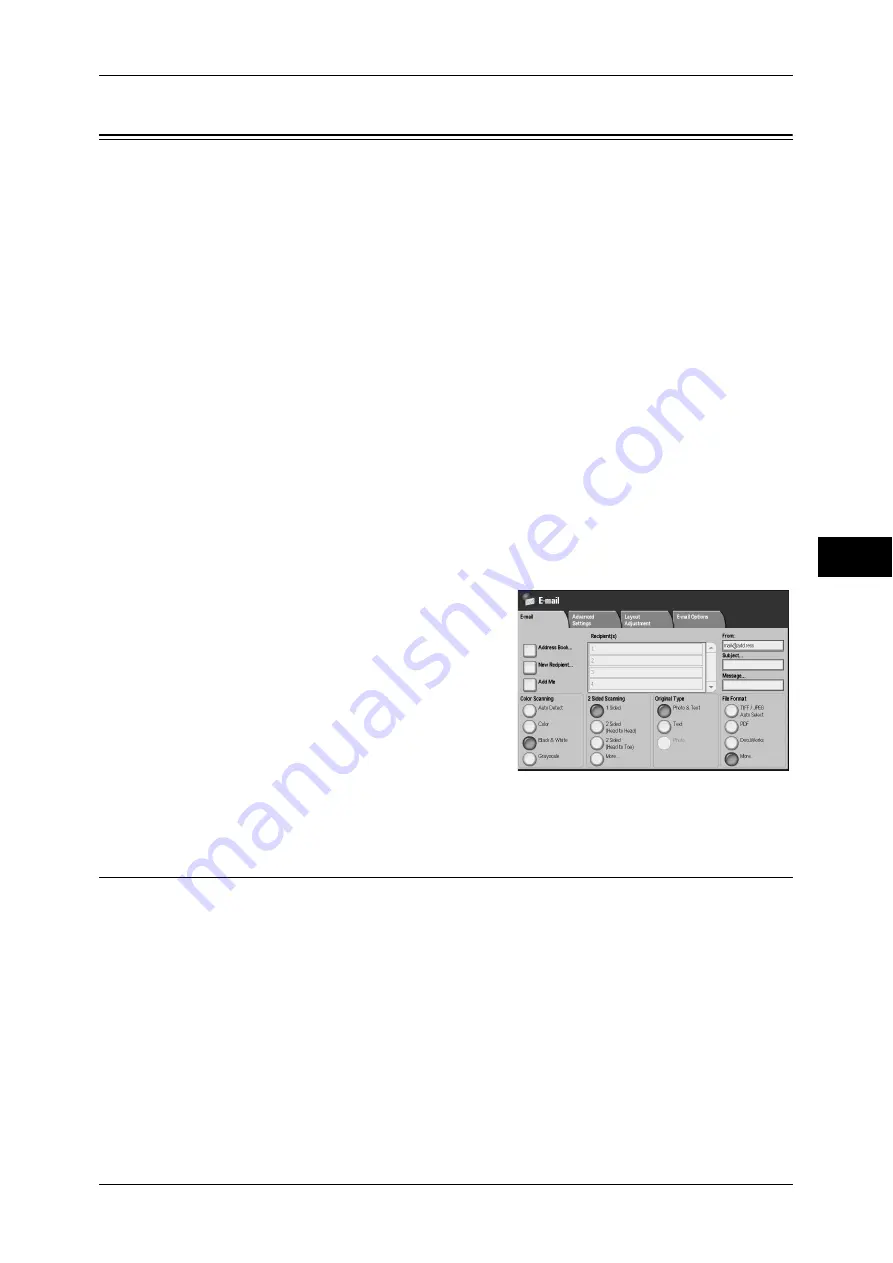
The following describes how to select features on the [E-mail] screen.
You can scan a document and send the scanned data as an e-mail attachment after
converting the data to TIFF, JPEG, PDF, DocuWorks, or XPS. The following shows the
reference section for each feature.
Address Book (Specifying an E-mail Address) ....................................................................... 201
New Recipient (Entering an Address)...................................................................................... 204
Add Me (Adding the Sender’s Address) .................................................................................. 205
Recipient(s) (Editing a Recipient)............................................................................................ 205
From (Setting the Sender’s Address) ....................................................................................... 206
Subject (Setting the Subject) .................................................................................................... 207
Message (Entering the E-mail Body) ....................................................................................... 207
The [Read Receipts] and [Split Send] features on the [Output Format] screen are only
available for the [E-mail] feature. The following shows the reference section for each
feature.
Note
•
This feature is not available for some models. An optional package is necessary to use the
feature. For details, contact our Customer Support Center.
Some e-mail settings are required to use this feature. For information on configuring scanner, refer to "9
Scanner Environment Settings" in the Administrator Guide.
1
Select [E-mail] on the [All Services] screen.
2
On the [E-mail] screen, specify recipients
using the Address Book or the keyboard.
Important •
You can only specify recipients registered
for e-mail.
•
Recipients cannot be specified with
address numbers using the numeric
keypad, one-touch buttons, or group
numbers.
•
Depending on the settings in the System
Settings, the [New Recipient], and [Add
Me] buttons are not displayed.
Address Book (Specifying an E-mail Address)
The following describes how to select a recipient using the Address Book.
When sending an encrypted e-mail,
select an e-mail address associated with a valid
certificate from the Address Book.
To use this feature, an e-mail address associated with a certificate for S/MIME must be registered in the
Address Book. For information on the Address Book, refer to "5 Tools" > "Setup" > "Add Address Book
Entry" in the Administrator Guide.
To encrypt an e-mail, prior settings are required. For information on the settings, refer to "12 Encryption
and Digital Signature Settings" > "Configuration of E-mail Encryption/Digital Signature" in the
Administrator Guide.
To verify invalidity of a certificate, prior settings are required. For information on the settings, refer to
"5 Tools" > "Connectivity & Network Setup" > "Security Settings" > "Certificate Revocation Retrieval
Settings" in the Administrator Guide.
Note
•
While displaying the Address Book, if a message indicating "Validating..." appears on the
screen, you can not start a scan job until the message disappears.
Содержание ApeosPort-3 C4400
Страница 1: ...ApeosPort III C4400 DocuCentre III C4400 User Guide...
Страница 34: ......
Страница 54: ......
Страница 116: ...3 Copy 114 Copy 3 On Enables ID card copying...
Страница 126: ......
Страница 256: ......
Страница 272: ......
Страница 288: ......
Страница 306: ......
Страница 326: ......
Страница 327: ...13 Appendix This chapter contains a list of terms used in this guide z Glossary 326...
Страница 334: ......


