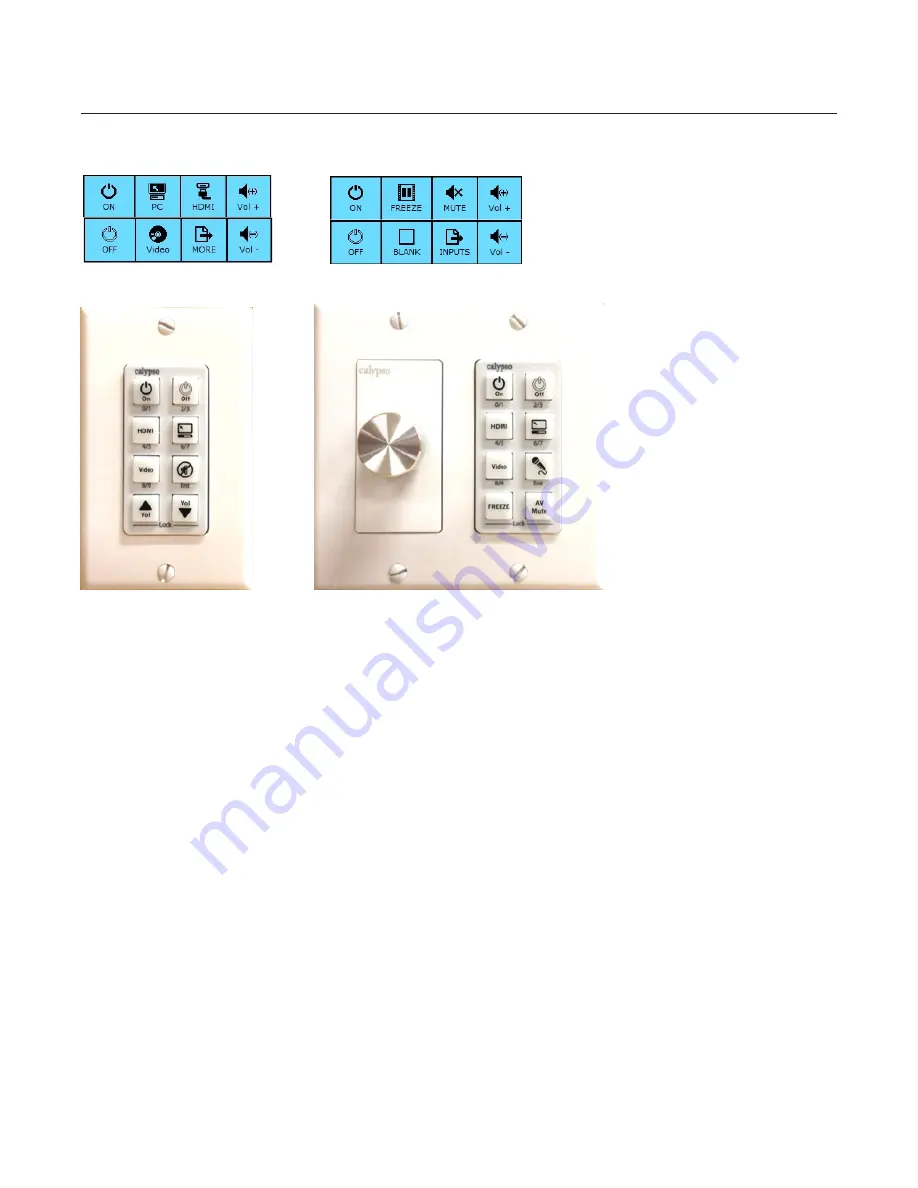
FrontRow ezRoom Скачать руководство пользователя страница 7

CB6000 Main Page

Step 4: Testing Room

•  Turn the projector ON from the CB6000.

•  Switch to each input and make sure that the projector switches properly.

•   Insert an audio source into the wall plates and ensure that the audio is heard and follow the appropriate projector inputs.

  • 

HDMI

 – audio heard will be from the HDMI source (CM3000 input 3).

  • 

PC

 – audio heard will be from the Decora VGA + Audio insert (CM3000 input 1).

  • 

Video

 – audio heard will be from the RED/WHITE RCA connectors on the Decora RCA insert (CM3000 input 2).

•  Turn the projector OFF from the CB6000.

•  Raise and lower the volume.

•   Test the MUTE button to ensure that the audio mutes. Pressing the mute button toggles the mute ON/OFF. Also raising 

and lowering the volume brings the audio out of mute.

•  Test FREEZE and BLANK if available on the CB6000.

•  Repeat the above tests from the Encore software if it has been installed on the teacher’s computer.

•  Test the microphone by turning the mic on and speaking. Walk around the room to ensure strong coverage from all areas.

CB6000 Page 2

7

CB2000 Default Setup

CB2050 Default Setup

Содержание ezRoom

Страница 1: ...nition setting of the CB6000 is targeted to the IP address of the CM3000 Install the Encore software onto the teacher s desktop if the computer is accessible Physical installation 1 Cut two dual gang...

Страница 2: ...Open a web browser we recommend Chrome but others can be used and log onto the CB6000 by entering into the browser s URL the default IP address 192 168 1 104 If the log in is successful you will see...

Страница 3: ...on files it is important to note that the CM3000 serial port Baud rate must be set identical to the projector that will be controlled by the CB6000 Description How to change the serial port also known...

Страница 4: ...of how to load the Encore software onto the teacher s desktop Contact Frontrow tech services and get the projector specific Encore exe installation file Move the file to a removable USB flash drive In...

Страница 5: ...rojector Attach the microphone ceiling sensor to the best available location Try to keep the sensor in a line of sight to wherever the teacher may be within the classroom Run all necessary cables see...

Страница 6: ...6 ezRoom Standard Grant Room Wiring 5 6 3 4 1 2 7 8 9...

Страница 7: ...rom the RED WHITE RCA connectors on the Decora RCA insert CM3000 input 2 Turn the projector OFF from the CB6000 Raise and lower the volume Test the MUTE button to ensure that the audio mutes Pressing...

Страница 8: ...you can change your network adapter from Obtain an IP address automatically referred to as DHCP to Use the following IP address referred to as static Making this change is essential for connecting you...

Страница 9: ...apter settings NOTE This selection may have different wording such as Manage Network Connections 9 5 Double click on Local Area Connection 6 Click on Properties 7 Select Internet Protocol Version 4 th...

Страница 10: ...Select OK then close each window and back out of these screens NOTE To change your computer back to DHCP follow the same process but select Obtain an IP address automatically from the General network...

Отзывы: