GAS COOKTOP INSTALLATION INSTRUCTIONS
5
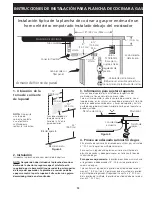
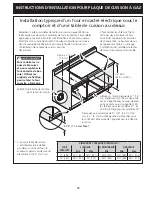
Wall Oven Cabinet
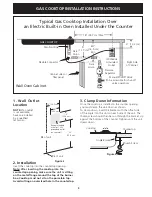
Typical Gas Cooktop Installation Over
an Electric Built-in Oven Installed Under the Counter
GAS COOKTOP
18” (45.7 cm) Max.
5”
(12.7 cm)
Flare
Union
4” (10.2 cm)
120V/60Hz
Grounded
Outlet
Right Side
of Cabinet
Pressure
Regulator
Flare
Union
Flexible Connector
Cabinet sides or
filler panel
6½”
(16.5 cm)
Min.
Manifold Pipe
Manual Shutoff Valve
(To be accessible for shut-off
valve operation)
Figure 3
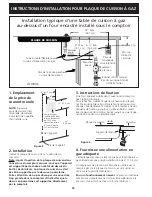
12" (30.5 cm)
8"
(20.3 cm)
10"
(25.4 cm)
22"
(55.9 cm)
CL
of unit
Recommended
area for 120V
grounded outlet
on rear wall
CL
of unit
NOTE:
If an outlet
is not available,
have one installed
by a qualified
technician.
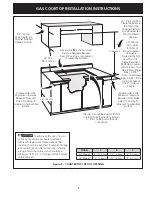
1. Wall Outlet
Location
2. Installation
Insert the cooktop into the countertop opening.
Note: After inserting the cooktop into the
countertop opening, make sure the unit is sitting
on the metal flange around the top of the burner
box. Cooktop must not sit on the porcelain top.
Avoid cutting an oversized hole in the countertop.
3. Clamp Down Information
Once the cooktop is installed in the counter opening,
you must clamp the unit down as shown.
To clamp down, insert the bracket with the offset side
of the angle into the slots on each side of the unit. The
thumb screw should then be run through the bracket, up
against the bottom of the counter. Tighten until the unit
draws down.
Cooktop
Countertop
Angle Bracket
Thumb Screw
Figure 4


