Charging the Vehicle
NOTICE
Rapid charging creates higher battery
temperatures and decreases battery life. When
possible, use low-charging methods to promote
battery longevity.
The vehicle must be stationary, the park brake
engaged, and the eStop button released for the
vehicle to charge.
During active charging, if the park brake is released,
vehicle movement is detected, or the eStop button is
pressed, charging will stop.
NOTE: The most successful way to charge the
eCascadia is to turn the key OFF to shut down
the vehicle, then turn the key back to the ON
position. Do
not
turn the key to the start
position. Plug the charger in and observe the
lights on the charger inlet. Once a charge
session initiation has been confirmed turn the
key to the OFF position and secure the vehicle.
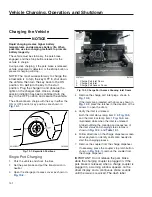
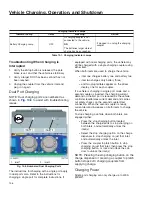
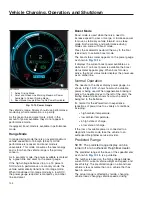
The eCascadia can charge with the key in either the
ON or OFF position; key positions are shown in
Single Port Charging
1.
Park the vehicle and chock the tires.
2.
Set the park brake and put the transmission in
neutral.
3.
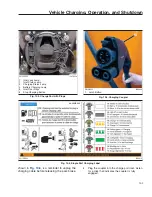
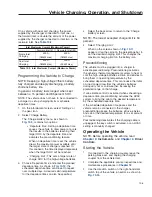
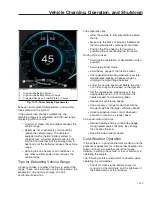
Open the charge port access cover as shown in
4.
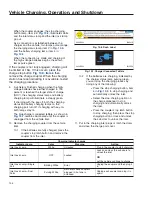
Remove the charge port inlet plugs, shown in
If the inlets are protected with doors as shown in
press the latches in the direction of the
arrows to open the doors.
5.
Verify the inlet is unlocked.
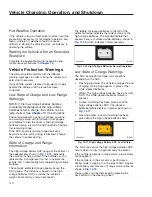
Both the inlet status lamp, item 3 in
and the inlet lock lamp, item 1
are
illuminated white when the inlet is unlocked.
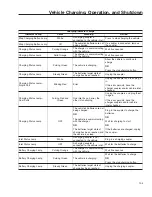
A label outlining the meaning and sequence of
the inlet status and charging status lamps is
shown in
and
6.
Follow directions on the charge dispenser screen
about payment or identity verification needed to
start the charging process.
7.
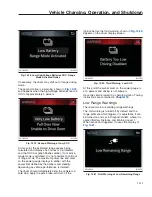
Remove the coupler from the charge dispenser.
If necessary, press the coupler’s top latch button,
shown in
to remove the coupler from
the charge dispenser.
IMPORTANT: Do not release the park brake
while the charging coupler is plugged in. If the
park brake is released when a charge coupler is
plugged in, a warning window appears on the
driver display and a continuous chime sounds
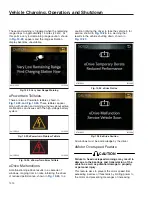
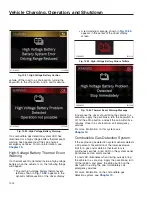
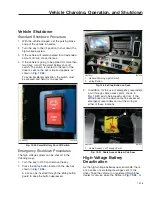
until the issue is resolved. The dash label
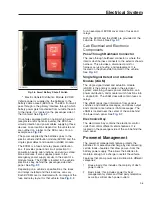
f610805
02/03/2017
Fig. 10.1, Keyswitch Positions
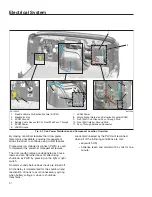
f547633
09/27/2021
1
2
3
1.
Charge Port Inlet Doors
2.
Charge Port Inlet
3.
Charge Port Access Cover
Fig. 10.2, Charge Port Access Showing Inlet Doors
Vehicle Charging, Operation, and Shutdown
10.1
Содержание PX113064S T 2016
Страница 4: ......
Страница 10: ......
Страница 18: ......
Страница 57: ...f611343 09 28 2016 AIR SLIDE SLIDE LOCK Fig 4 18 Fifth Wheel Air Slide Dash Switch Driver Controls 4 8...
Страница 58: ......
Страница 83: ...6 Driver Assistance Features Electronic Stability Control ESC 6 1 PasSmart 6 1 SafetyDirect by Bendix 6 2...
Страница 86: ......
Страница 112: ......
Страница 122: ......
Страница 142: ......
Страница 154: ......
Страница 155: ...12 Steering System Power Steering System 12 1...
Страница 158: ......
Страница 159: ...13 eAxle eAxle 2 Speed Transmission 13 1...
Страница 176: ......
Страница 190: ......
Страница 202: ......
Страница 222: ......
Страница 223: ...20 Emissions Information Noise Emissions 20 1 Greenhouse Gas Emissions 20 1...
Страница 229: ......
Страница 236: ......

