


10
APPENDIX
(Operation manual for the recorder with the Model 8346 TC/SYNC card installed)
Chase sync to external time code
The recorder with the Model 8346 installed can synchronize to incoming LTC by receiving the
external LTC via the recorder's
[TIME CODE INPUT]
terminal and setting the recorder's slave mode to
On.
<CAUTION>
• The recorder can chase incoming time code within
the range of continuously recorded time code.
If there is a discontinuity in the recorded time code,
when incoming time code runs across the
discontinuous point, “
Out of Zone!”
will appear in the
display and the recorder may stop chasing.
If the time code corresponding to the incoming time
code is recorded in a different area, play the recorder
to that area.
• You can locate the recorder to the beginning of a
discontinuous time code by pressing the
[NEXT]
or
[PREV]
key while holding down the
[SHIFT]
key.
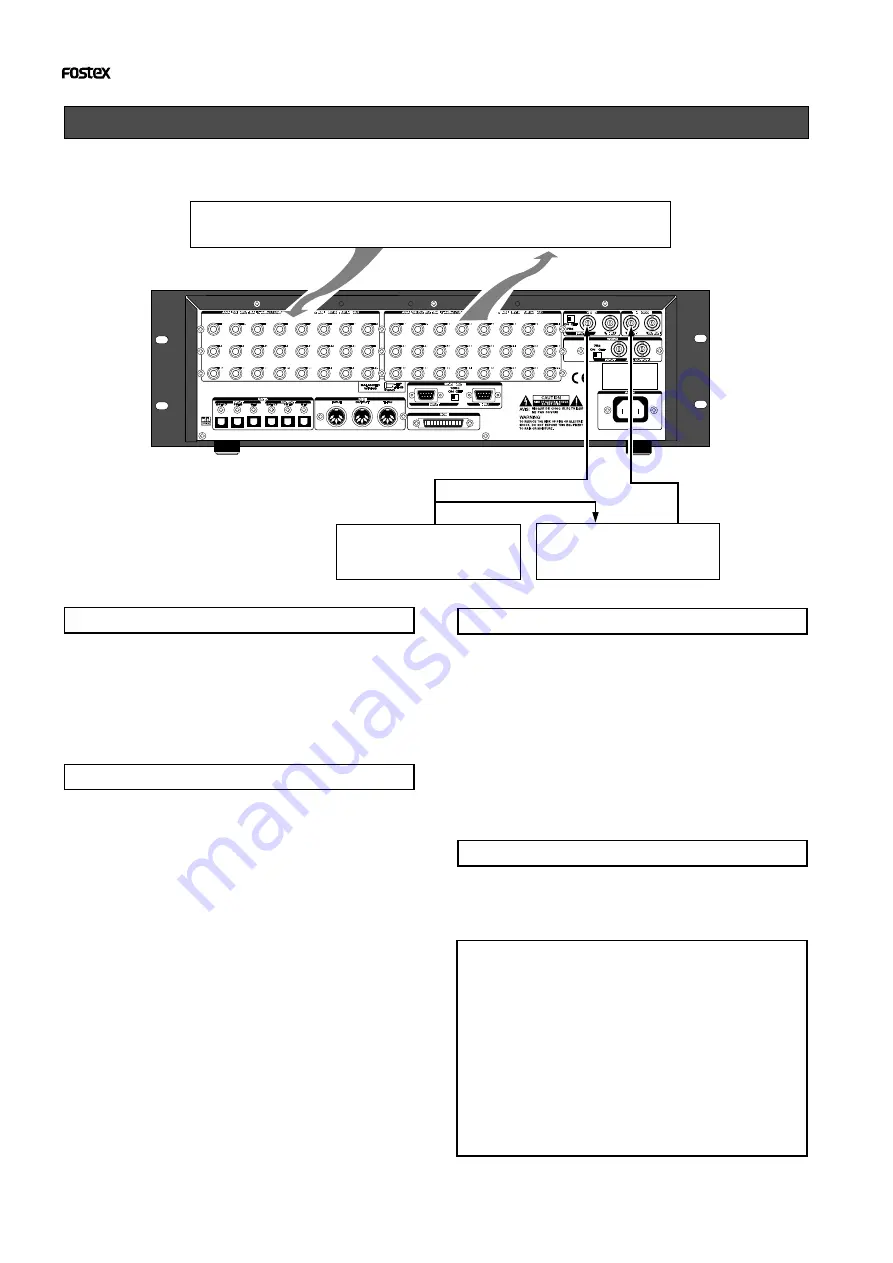
Connection
In this example, the recorder with the 8346 is a slave
while the VTR is a master. Feed the time code from
the VTR to the TIME CODE INPUT terminal of the
recorder with the Model 8346 to play the recorder
in sync with the VTR. Also feed the video reference
signal to both the VTR and recorder as shown above.
Recorder settings
1. Select the program to be played back.
2. Set the reference time code to “LTC” by using the
“Ref. TC?” menu of the Setup mode.
3. Set the recorder's frame rate to the same rate as
the incoming time code by the “Frame Rate ?”
menu of the Setup mode.
The “
Frame Rate?
” menu of the Setup mode allows you
to select the desired frame rate from 24, 25, 29nd, 29df,
30nd and 30df.
4. Set the slave mode to ON by pressing the
[EXECUTE/YES] key while holding down the
[SHIFT] key.
5. Set the desired offset value by the “MTC OFFSET?”
menu of the Setup mode.
By setting the desired offset value, the recorder will run
with the offset between the VTR and recorder.
After all settings above are completed, press
[EXIT/
NO]
key (or the
[STOP]
button) to exit the Setup mode.
Time code display
You can monitor the incoming time code in the
D2424LV display window.
1. Press the [DISP SEL] key while holding down the
[SHIFT] key to select “MTC”.
The display will show the current MTC offset value (the
default setting is "00H 59M 57S 00F").
2. While “MTC” is selected, press the DISP SEL key
to select the time code display.
When the recorder is receiving LTC, the display shows
the incoming LTC while “
TC IN
” lights in the display.
Synchronization with the VTR
1. Start playback of the VTR.
If an offset value is set, the recorder will start playback,
chasing the time code from the VTR with maintaining
the offset.
Analog Mixer
HOUSE SYNC
TC
VIDEO SYNC
Audio Signal
Audio Signal
VTR
VIDEO SYNC


