


4.
Select a product and place the filled sample cup in position.
The specific cup to use with the product can be selected together with the
product name in FossManager under
Operation Profiles
. Here, the cup type
indication can also be enabled/disabled.
Fig. 29
Cup type = “Large cup”
5.
Enter sample information in the
Sample Registration
dialogue and click
OK
.
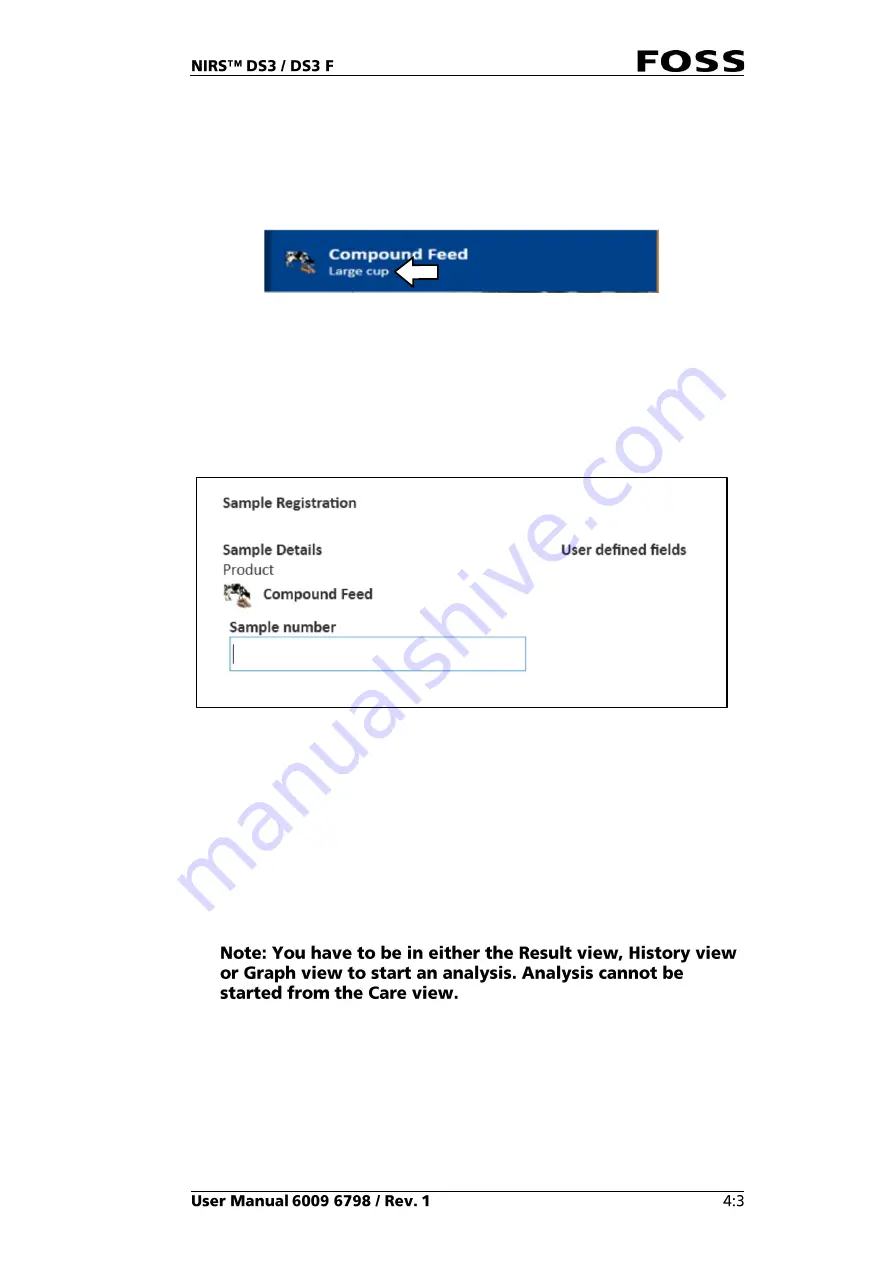
Sample detail fields and User defined fields can be configured in FossManager
where they can be enabled or disabled and set to be optional or mandatory.
Fig. 30
Sample Registration window
6.
Click the
Start
button to initiate the analysis.
7.
The results are presented in the
Result
view. They can be printed and/or saved
from the
Reports
dialogue.
Configuration of manual reports to be available is done in FossManager under
Instrument Settings
and
Operation Profile
.
For setting up automatic reporting or LIMS transfer, please refer to the
Automatic sample transfer wizard in the care view.
Содержание NIRS DS3
Страница 1: ......
Страница 3: ......
Страница 4: ......
Страница 5: ......
Страница 6: ......
Страница 8: ......
Страница 12: ......
Страница 14: ...Fig 2 Front view Fig 3 Rear view 1 1 2 3 4 ...
Страница 52: ...2 Enter the 4 digit code default 1234 Fig 71 Fig 72 3 Click Yes to continue Fig 73 ...
Страница 80: ......
Страница 82: ......
Страница 83: ...See 600968671 Parts Accessories and Consumables on the USB with documentation ...
Страница 84: ......
Страница 85: ......
Страница 86: ...Contact your local FOSS representative for information ...


