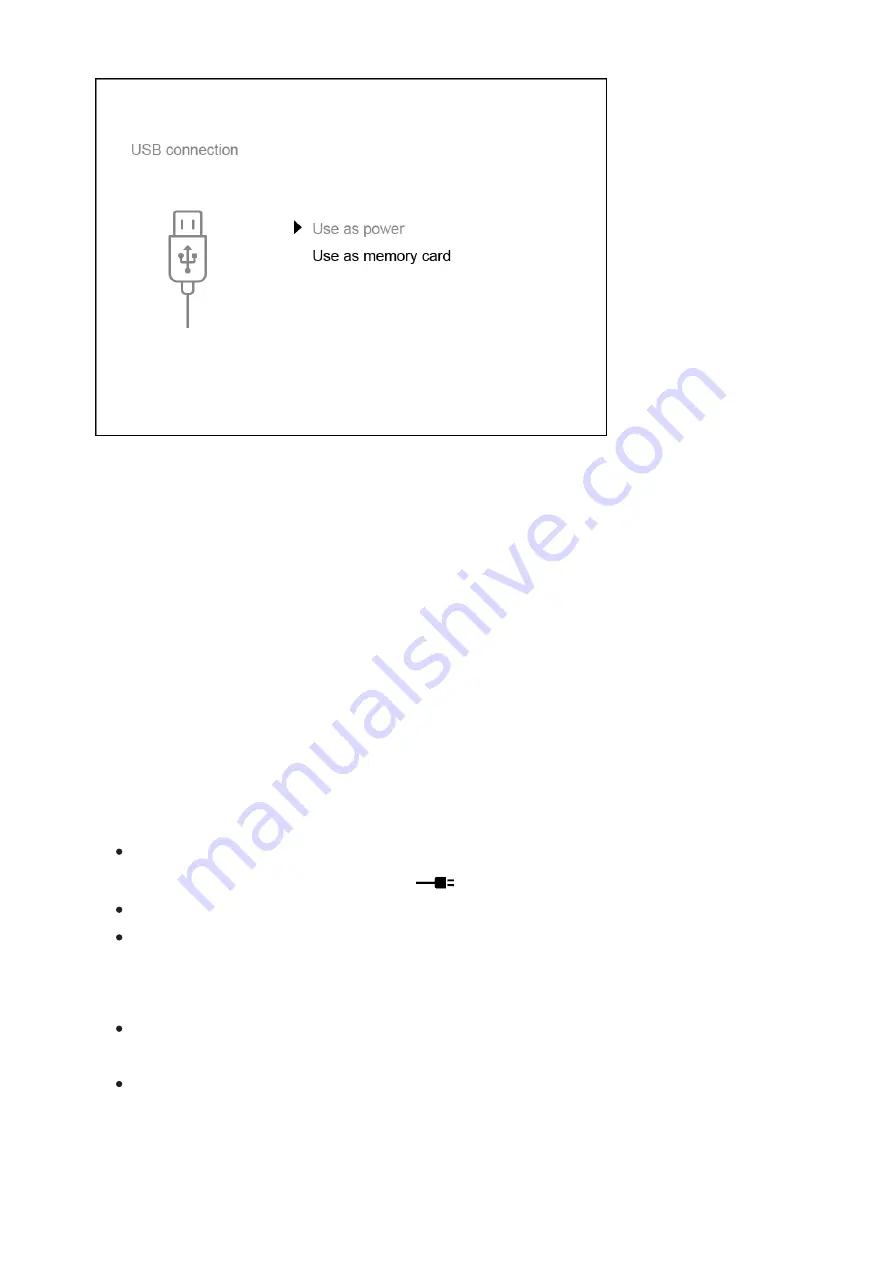
1. Power on the device by pressing the ON/OFF (9)button (the computer
will not detect the device if it is turned off).
2. Connect one end of the USB cable to the device’s microUSB connector
(14) and the other end to the port on your computer.
3. The device is detected automatically by the computer and no
installation of drivers is required.
4. Two connection modes will appear on the display: Power and Memory
card.
5. Select the connection mode with the RIGHT (6) and LEFT (8) buttons.
6. A short press of the M (7) button confirms the selection.
Connection options:
Power
When this mode is selected, the computer is used by the device as an
external power supply. An icon
will appear in the status bar.
The device will continue to function and all functions are available.
The battery pack installed in the device will not be charged.
Memory card
When this mode is selected, the device will be recognised by the
computer as a flash card.
This option is designed for working with files that are stored in the
device’s memory; the device’s functions are not accessible and the
device turns itself off. The device continues to function after
Содержание F455
Страница 1: ...Forward F455 Manual ...
Страница 18: ...Mounting Attachment on Optical Riflescope Show device diagram ...
Страница 24: ...Installing the IR Illuminator Show device diagram ...
Страница 32: ...5 Automatic exit from the main menu occurs after 10 seconds of inactivity General view of the menu ...
Страница 34: ...buttons 5 Confirm your selection with a short press of theM 7 button ...
Страница 45: ...SKU number serial number firmware version hardware version service information ...
Страница 68: ...USB Connection Show device diagram ...
Страница 82: ......


