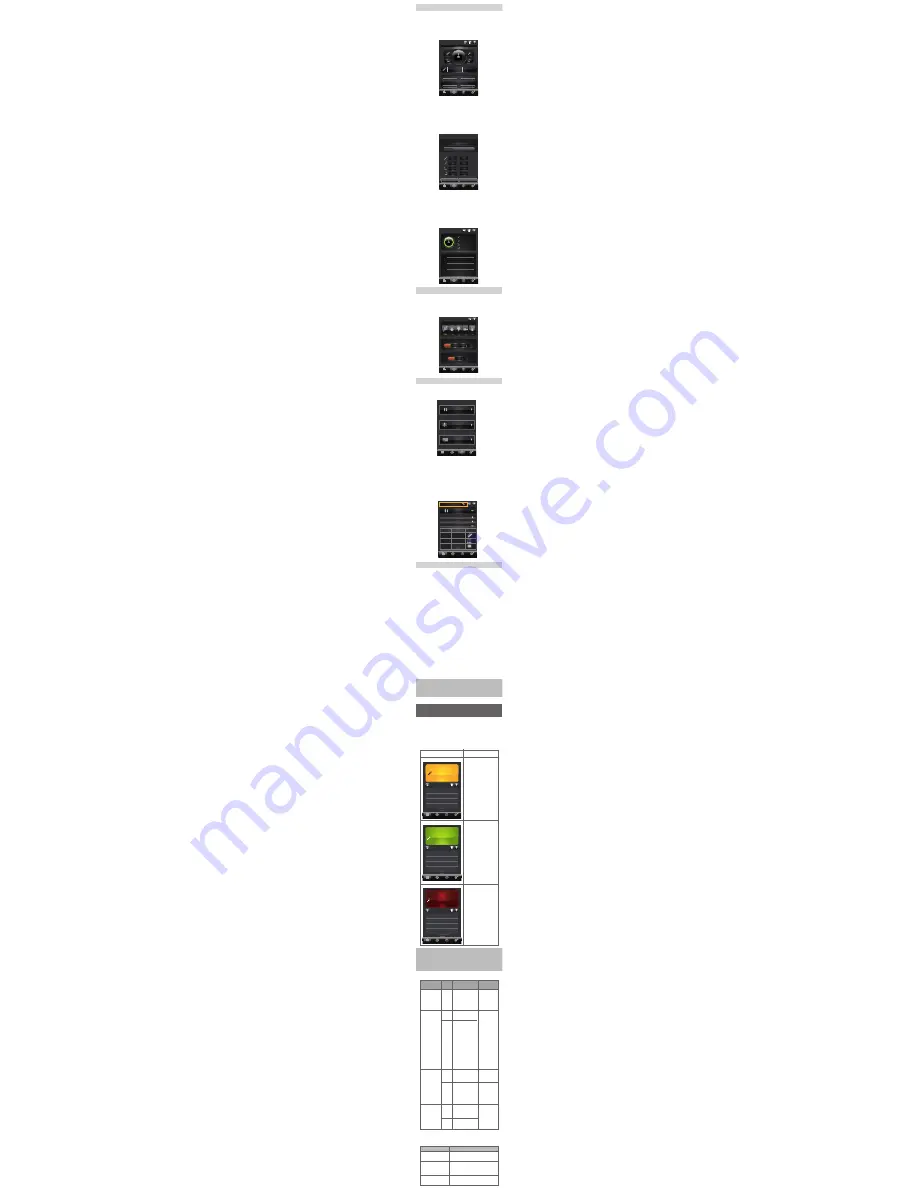
1.Select Plan on the Main Menu Bar to see
your Current Plan.
If you have already set up a plan before, the first
page you will see is the total overall percentage
of personal monitoring achievement during this
period.
2.You can set up your plan target and
duration period when you first enter the
Plan Mode.
The setting page will appear when you first enter
the Plan Mode. You
can set up your desired
period and glucose target after consulting your
doctor.
3.If you have historical plan but have not set
up a new current plan.
You will see the Plan List, and a dialogue window
to remind you to set up a new current plan. If
select “yes”, you will be direct to set up a new
current plan; if select “no”, exit the dialogue
window and return to the Plan List.
1.Select the FAQ mode from the Main Menu
Bar.
Select FAQ in the Main Menu Bar to enter, and
then the Sub Menu will appear. You will see the
information categorized into different sections,
such as medicine, diabetes 101 and tutorial. If
you wish to find the specific information much
quicker, you can also search by typing key words
in the search bar on the top of each section page.
** Please check with your health provider or
insurance company if you are eligible for the
TeleHealth program**
If you are eligible to join the TeleHealth program,
please follow the instruction below to register
your iDiamond to the system.
1.Go to your health provider with your iDiamond
and iPhone. They should assist you to set up
your own TeleHealth patient account and to
register your iDiamond to the TeleHeaelth system
for you.
2.Please make sure that the iFORA App, under
the Setting, should have the correct Server URL
for the TeleHealth so that the data will be
uploaded onto the correct server when you
update your data.
3.To check if you have successfully completed
the registration and set up procedures, please
carry out a test run.
If you follow the recommended action but the
problem persists, or error messages other than
the ones below appear, please call your local
customer service. Do not attempt to repair
yourself and never try to disassemble the meter
under any circumstances.
Note:
The user can set up the glucose target range in
the plan mode according to his/her own current
status after consulting the doctor to get better
control.
To manage your self-monitoring progress by
selecting the three options; diet, exercise and
prescription to examine whether those daily
action can achieve your goal to control glucose.
WARNING:
While the meter is uploading data to the
TeleHealth, it will be unable to perform a blood
glucose test.
Error Messages and
Troubleshooting
FAQ
SETTING
Medicine, Diabetes 101 and Tutorial
Uploading Results onto
TeleHealth System
Diary Management
Current Plan
2011/12/25 AM 09:15
mg/dL
68
Data
Plan
FAQ’s
Settings
2011/12/25 AM 09:15
mg/dL
124
Data
Plan
FAQ’s
Settings
68
%
100~180 mg/dL
126
mg/dL
AVG
Duration : jun 8, 2012 ~ jun 14, 2012
Data
Plan
FAQ’s
Settings
Self Monitoring
Diet Control
Exercise plan
Prescription
0%
Current Plan
100~180 mg/dL
%
0
100~180 mg/dL
%
0
100~180 mg/dL
%
0
100~180 mg/dL
%
0
Data
Plan
FAQ’s
Settings
Plan List
2011/06/24 to 2011/07/24
1.
0%
Data
Plan
FAQ’s
Settings
Food consumption
Grains
Fruits
Veges
Protein
Dairy
Physical activities (min)
None
<15
minutes
15~30
minutes
MORE
Medicine Taken
No
Yes
Not
Needed
Medicine
Diabetes 101
Tutorial
Data
Plan
FAQ’s
Settings
Data
Plan
FAQ’s
Settings
Brand Name
Actrapid HM
Apidra
Insulin
Glulisine
Humalog
Insulin Lispro
Generic Name
Regular
Human Insulin
Pic
Medicine
Oral Drugs
Non-insulin Injection
Insulin
Result Readings
Error Messages
MESSAGE
WHAT IT MEANS
Reading in yellow
when glucose is low.
Reading in green
when glucose is
normal.
Reading in red when
glucose is high.
Error Type
Accessory
Temperature
Strip
Measurement
Err23
Err28
Err41
Err42
Err25
Err26
Err24
Err30
Err40
Err45
Hardware error
Hardware error
Hardware error
Hardware error
Temperature
is too low
Temperature
is too high
Strip has been
used
Repeat with
a new test
strip.
Please
contact the
customer
service for
assistance.
Repeat the
test with a
new test
strip.
Rcode is out
of range
Strip is
removed during
measurement
Insufficient
blood sample
Please
contact the
customer
service for
assistance.
System
operation
range is
10°C to
40°C (50°F
to 104°F).
Repeat the
test after
the meter
and test
strip are in
the above
temperature
range.
Error
Code
Error Message
Display
What
To Do
2011/12/25 AM 09:15
mg/dL
98
Data
Plan
FAQ’s
Settings
Data
Plan
FAQ’s
Settings
Set New Plan
Duration
Goal :
Jun 13, 2012 ~ Jun 19, 2012
98
120
-
mg/dL
98
120
-
mg/dL
98
120
-
mg/dL
98
120
-
mg/dL
Save
Cancel
7 Days 14 Days 30 Days
Troubleshooting
POSSIBLE CAUSE
Battery of iPhone
exhausted.
Test strip inserted
upside down or
incompletely.
Defective meter or
test strips.
Recharge the battery of iPhone.
Insert the test strip with contact
bars end first and facing up.
Please contact customer services.
WHAT TO DO
1. If the meter does not display a message after
inserting a test strip:


