


13
Powering On
Powering On
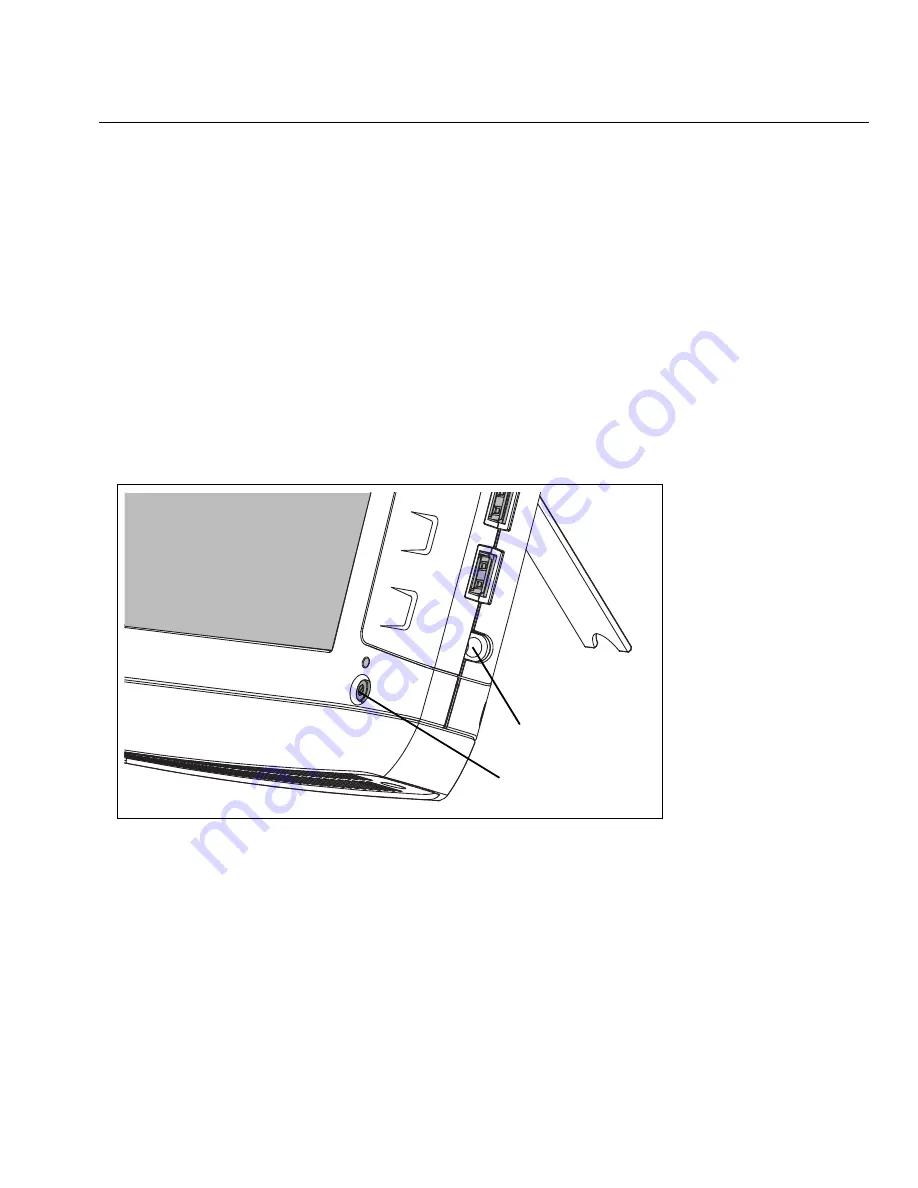
1. Connect the AC adapter to a power source and to the OptiView XG Network Analysis Tablet.
See Figure 8, “Powering On” for the location of the power connector and power button.The
batteries are not fully charged before shipment due to transportation regulations.
2. Charge the batteries to full capacity before disconnecting the AC adapter. Charge time is
approximately 3 hours. Run time is approximately 2 hours with fully charged batteries.
• If the OptiView XG is powered-on, see the Battery Status Window (see page 28) to verify
that batteries are fully charged.
• If the OptiView XG is powered-off use the Battery Charge Status LED (see page 27) or the
Battery Charge Indicators on the batteries (see page 28) to verify that batteries are fully
charged.
3. Press the green On/Off button to power-on the OptiView XG.
GLZ04.EPS
Figure 8. Powering On
The OptiView XG will power-up. The following screens will be displayed during power up:
1. Blank screen.
2. Fluke Networks splash screen.
3. Windows 7
operating system startup screens.
4. Fluke Networks desktop background.
Power button
Power connector


