E110-P
User Manual
FW_E110-P_M_v0301-01_EN
Page 19
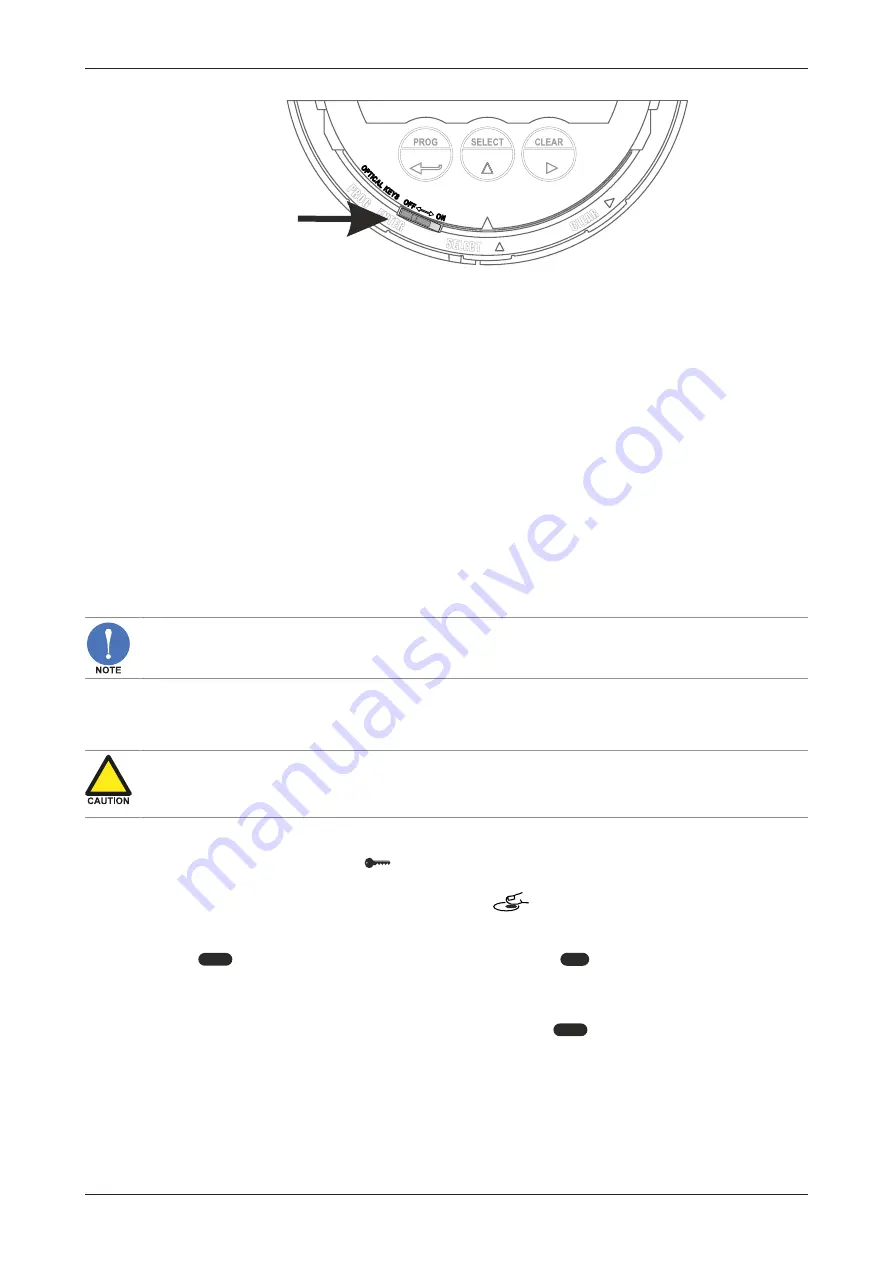
Fig. 16:
Disable switch for optical keys
Use this switch to permanently disable the optical keys:
●
Enable
: move to the right / ON position.
●
Disable
: move to the left / OFF position.
5.2.4
SAVING BATTERY LIFETIME (TYPE PB)
In case of a battery powered application, lifetime of the battery is an important subject. To prolong
the battery lifetime as much as possible, it is strongly advisable to use only necessary functions, and
disable functions if not in use. Factors that influence battery life are:
● Analog output signal
● Display update: the fast display update setting uses significantly more power
● Pulse output signal
● Communication
● Optical key activity
● Low temperatures: the available power will be less due to battery chemistry
● NPN and PNP inputs consume more energy than coil inputs
● High input frequency.
For battery powered applications, disable the optical keys with the switch on the MEM where
possible to significantly reduce power consumption.
5.3
CONFIGURING USING SETUP MODE
For an overview of Operating modes, see
Section 4.1.1: Operating modes [»9]
.
Changing settings may influence current operation
In SETUP mode the unit remains fully operational. Make sure the unit is not being used for any
application when changing settings.
5.3.1
ENTERING SETUP MODE
1. Check if the Key lock symbol
is displayed on the screen. If necessary, unlock the keys by
entering the unlock sequence (see
Section 4.2.2: Optical keys [»10]
).
2. Press the PROG-key for 7 seconds making sure
is continually displayed while pressing.
You may be prompted to enter a password (do so as described in
3. The
SETUP
indicator is now activated on the display and the
RUN
indicator is deactivated.
5.3.2
NAVIGATING THE SETUP MENU
The SETUP menu contains several menu groups, which each contain various menu items. Each
menu item has a unique number which is displayed below the
SETUP
indicator at the bottom of the
display. Additionally, each menu item is expressed with a keyword.
The menu number is a combination of two figures separated by a dot:
● the first figure indicates the selected menu group (e.g. 1. TOTAL).
● the second figure indicates the menu item (e.g. 1.1 UNIT).


