FlashSight™ User’s Guide
Copyright © 2006, FLIR Systems, Inc. 431-0002-09-10 Version 100
9
4.3 Image Capture Button
FlashSight provides internal storage of up to 70 captured images. Image
capture is accomplished by pressing then releasing the “Image Capture”
button, located on the top of the FlashSight assembly. (Note that the image is
captured when you release the button, not when you first press it.) Each time
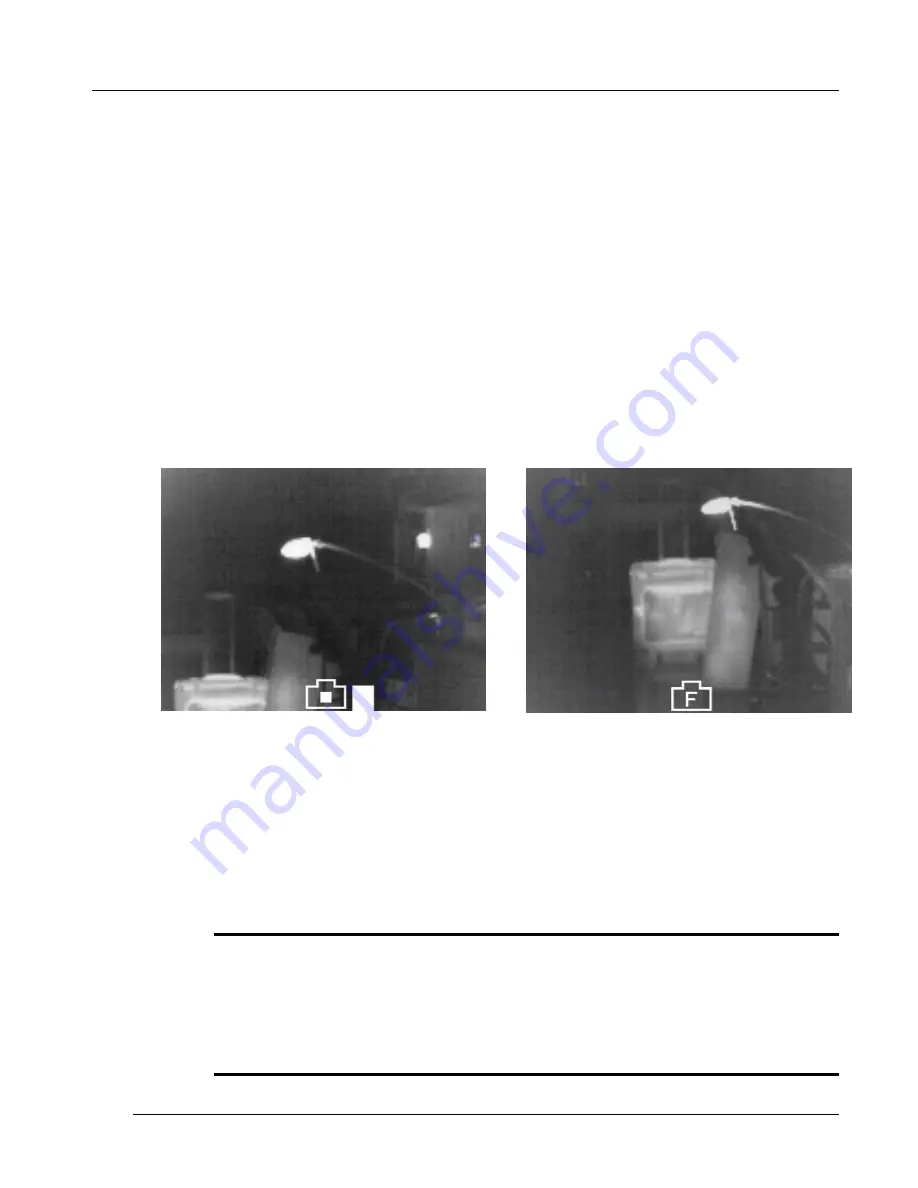
the button is released, a camera icon will appear in the bottom portion of the
image, indicating the image has been captured and is being stored in internal
memory; this typically takes several seconds. The FlashSight menu and
crosshairs are not stored with the saved image. A gauge of remaining storage
capacity is displayed, as shown in Figure 10. The gauge starts empty (0%
full) and rises to 100% full as the storage capacity is filled. When the gauge
reaches 100%, a “memory full” icon will appear when you attempt to capture
another frame, which indicates no more images can be stored without first
deleting the full contents of memory. The memory-full icon is shown in Figure
11.
Figure 10: FlashSight image-capture icon
and capacity gauge.
Figure 11: FlashSight 100% full icon.
To delete the image memory, hold the image-capture button continuously for
six seconds. The camera icon will begin blinking on the screen after the first
three seconds (which gives the user time to abort image delete mode) and it
will turn solid once the delete operation is initiated. When the icon turns solid,
the image-capture button can be released.
Note
It is not possible to delete a single image – the entire image memory must be erased.
It is recommended that the erase process be performed as a first step each time the
sight is used so that the full memory is available. Images are NOT deleted during the
download process. You must always use the delete process described above to
clear image memory.


