background image

Page 7   


© 2019 FlexRadio 

Once the cables are oriented correctly, carefully close both halves of the Maestro chassis together 
ensuring that none of the cables have been pinched. 

This action must be done smoothly and without excessive pressure. If it does not fit together easily with a 
snug fit, open again and check the position of the audio cable with the ferrite core. 

Make sure that the Ethernet connector is oriented correctly so that it fits through the back chassis hole 
properly. 

When both halves of the Maestro chassis are in the proper position, they can be closed easily. 

Check to make sure that the USB A connector end of the battery bank power cable is properly fed into the 
battery bank compartment and did not slip back into the unit while closing both halves of the Maestro 
chassis. 

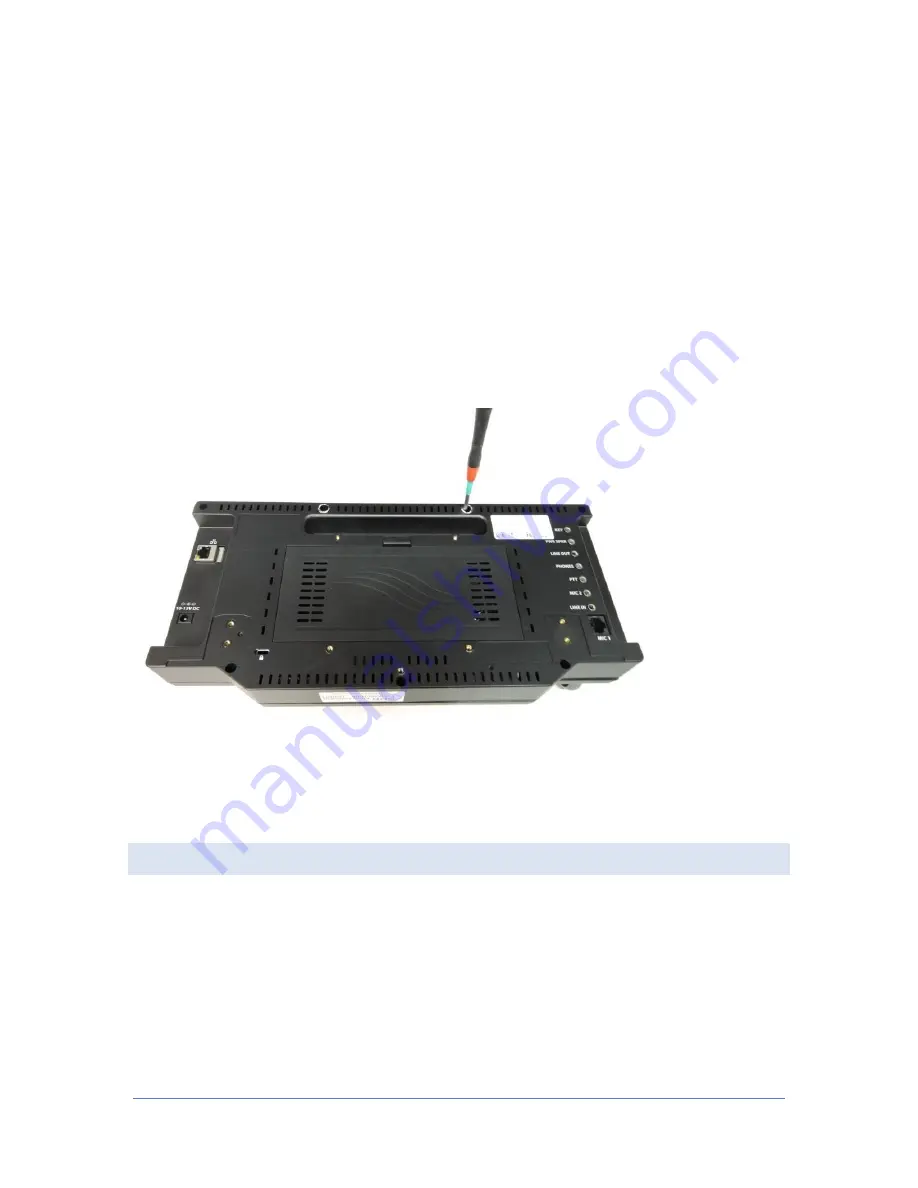
Replace all seven (7) screws on the Maestro rear chassis.  Tighten snugly, but do not over tighten. 


Using the #2 Phillips screwdriver, reinstall the tilt feet or the fixed tilt stand on the Maestro. 

You can connect the battery bank to the USB connector and replace the battery compartment cover at 
this time. 

Final Maestro Battery Charging 

NOTE: At this point, the internal display battery is not fully recharged.


The initial charging is done with the computer or Smartphone charger only provided enough charge to 
enable the display to initialize the power charging logic of the display, so a complete charge is necessary. 

Once the Maestro has been reassembled, to completely recharge the internal display battery requires 
charging for several hours at a higher amperage using the supplied AC Power Adapter.  When the AC 
power adapter is connected to the Maestro, it will boot up.  Press and release the power button to shut it 
down during this last charge cycle.  Allowing the Maestro to charge for six (6) to eight (8) hours is 
recommended before using. 

Содержание Maestro A

Страница 1: ... by step procedure for charging the internal battery for a Maestro version A control console Table of Contents OBTAINING TECHNICAL SUPPORT 2 INFORMATION ABOUT THIS PROCEDURE 2 PREREQUISITES 2 Required Tools and Cables 2 OPENING THE MAESTRO CASE 3 CONNECTING THE CHARGING CABLE 5 CLOSING THE MAESTRO CASE 6 FINAL MAESTRO BATTERY CHARGING 7 ...

Страница 2: ...d at the top left hand side of the case If the original Maestro referred to as Maestro A is not used for 6 8 weeks the internal display battery can discharge to such a low level that when power is connected to the Maestro the display cannot initialize the charging circuitry to recharge the internal battery In this state the Maestro is no longer operational This procedure describes how to recharge ...

Страница 3: ...ut them in a secure place for reassembly later See the image below NOTE Be careful not to lose the ON OFF button with the small spring inside located at the top of the front chassis If you have purchased the clear front panel Maestro cover leaving it on will secure the power bottom in place Alternatively you can use a small piece of tape to hold it in place too NOTE It is not generally necessary t...

Страница 4: ...is no more than 90 degrees Opening the chassis just enough to access the Display micro USB cable is highly recommended When opening the case wider be mindful of the tiny speaker and the audio cable at the bottom of the Maestro See the image below ...

Страница 5: ... USB A charging cable to as shown below red arrow on the image below In the Charging cable connect the USB A male connector to the low amperage USB charger The charger can be powered by a laptop s USB port or a Smartphone battery charger that accepts a USB A cable Allow the Internal Display battery to charge for at least one 1 hour Do not use a high amperage tablet charger as the display requires ...

Страница 6: ...ank power cable 2nd from the bottom and audio cable with ferrite bead making sure they are securely fixed in place by the adhesive tape Make sure that the USB A connector end of the battery bank power cable is properly fed into the battery bank compartment as shown below Properly orientate the thick audio cable with the ferrite core around the bottom of the speaker as shown below ...

Страница 7: ...screws on the Maestro rear chassis Tighten snugly but do not over tighten Using the 2 Phillips screwdriver reinstall the tilt feet or the fixed tilt stand on the Maestro You can connect the battery bank to the USB connector and replace the battery compartment cover at this time Final Maestro Battery Charging NOTE At this point the internal display battery is not fully recharged The initial chargin...

Отзывы: