


FlexDSL Telecommunications AG
Steinackerstrassse 31
8902 Urdorf
Switzerland
Page 2/6
Tel: +41 44 741 52 90
Fax: +41 44 741 52 93
Email: [email protected]
Web: www.flexdsl.ch
Quick Installation Guide
Enter a MiniFlex Device
You can use the Monitor (Local Craft Terminal, USB) interface with Hyper Terminal (or any equal program) or you can
address the device with Telnet through the Ethernet interface.
Monitor (LCT, USB) Interface:
•
Configure the COM port: Bits per second:9600, Data bits: 8, Parity: None, Stop bits: 1, Flow control: None
•
Press <ENTER>.
Telnet through Ethernet Interface:
•
Type in command line <Telnet 192.168.0.235> and press <ENTER>. This is the default Ethernet Address for MiniFlex
devices.
After a successful entering the main menu of the device will be displayed.
Configure a MiniFlex Device
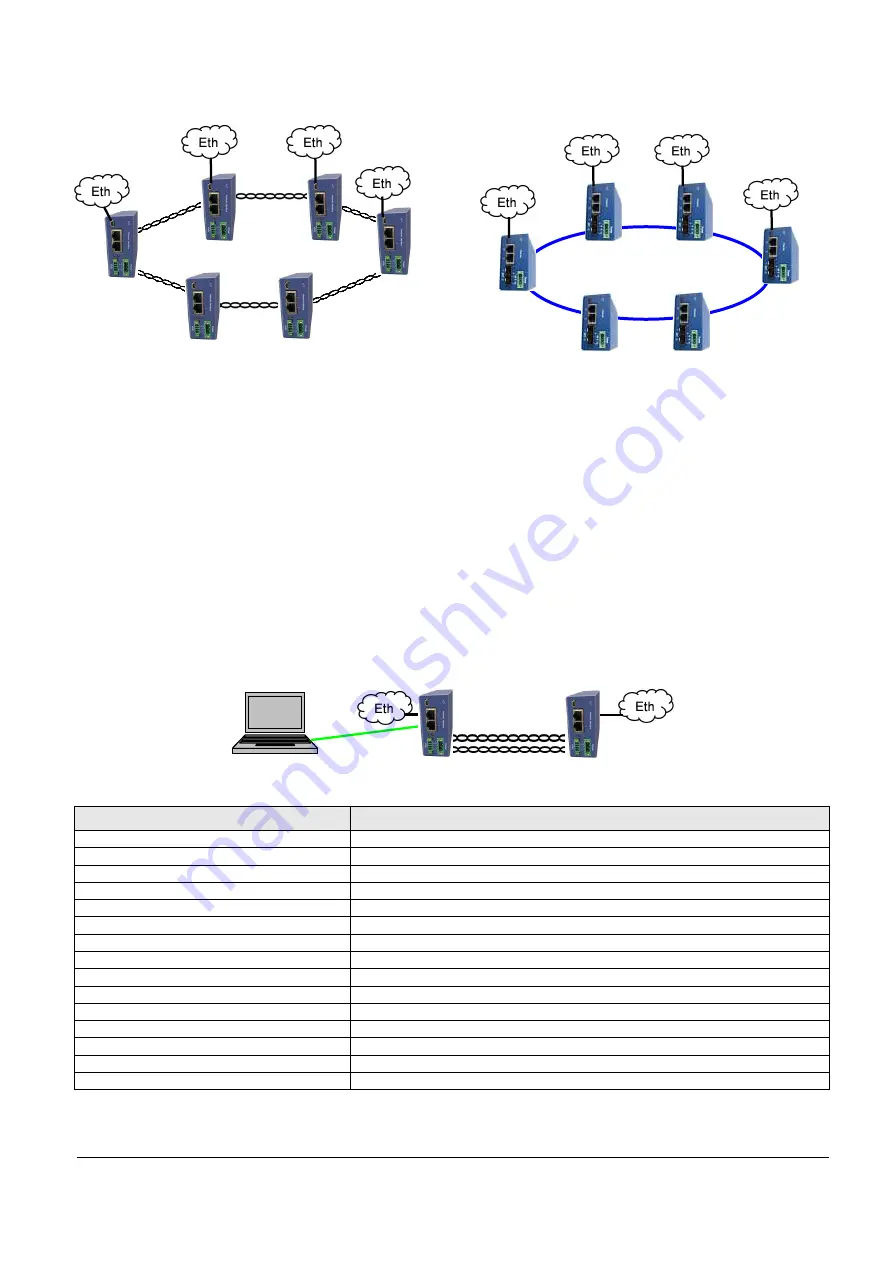
A first installation example with the most important commands and points to care about is shown below. We just like to have
an Ethernet transmission between the two devices over 2 SHDSL copper pairs with a speed of 11.4Mbit/s. The pairs should
aggregate (bundle) the data traffic and in case of any SHDSL pair failure, the remaining pairs should continue to work.
Enter in device 1 with the Monitor (LCT, USB) or Telnet interface.
Type following commands
Description
3 <
↵
>
Go to Configuration Management (CM)
<DEFAULT EVERYTHING> <
↵
>
Set everything to default configuration
<MASTER ON 1> <
↵
>
Configure SHDSL 1 as MASTER
<MASTER ON 2> <
↵
>
Configure SHDSL 2 as MASTER
<PAYLOAD WAN 1> <
↵
>
Configure Ethernet over SHDSL 1
<PAYLOAD WAN 2> <
↵
>
Configure Ethernet over SHDSL 2
<NET> <
↵
>
Go to NET menu
<SETIP 10.0.2.200> <
↵
>
Set the IP-address of the device
<NETMASK 255.0.0.0> <
↵
>
Set the subnet mask
<GATEWAY 10.0.0.101> <
↵
>
Set the default gateway
<M> <
↵
>
Go to Configuration Management (CM)
<M> <
↵
>
Go to Main Menu
2 <
↵
>
Go to Fault and maintenance management (FMM)
<APPLY ALL> <
↵
>
Apply all configurations (written in the running config.)
<CONFIRM> <
↵
>
Confirm all configurations (written in the startup config.)
Device 1
Device 2
Computer
100Mbps Fiber Ring
15Mbps Copper Ring


