background image

1YEAR

In order to obtain warranty service, the product must be delivered to and picked up from and Authorized Sanyo Factory
Service Center at the user's expense, unless specifically stated otherwise in this warranty.  the names and addresses of
authorized Sanyo Service Centers may be obtained by calling the toll-free number listed below.

Subject to the OBLIGATIONS above and EXCLUSIONS below, SANYO  FISHER COMPANY (SFC) warrants this
SANYO product against defects in materials and workmanship for the periods of  LABOR  and  PARTS  specified below.
SFC will repair or replace (at its option) the product and any of its parts which fall to conform to this warranty.  The
warranty period commences on the date the product was first purchased or rented at retail.

SANYO INDUSTRIAL VIDEO

LCD PROJECTOR LIMITED WARRANTY

OBLIGATIONS

For product operation, authorized service center referral, service assistance or problem resolution, call

For accessories and/or parts not available form an authorized dealer, call

CUSTOMER INFORMATION 1-800-421-5013

Weekdays 8:00 AM - 5:00 PM Pacific Time

PARTS ORDER INFORMATION 1-800-726-9662

Weekdays 8:00 AM - 5:00 PM Pacific Time

THIS WARRANTY IS VALID ONLY ON SANYO PRODUCTS PURCHASED OR RENTED AND USED IN THE UNITED STATES OF
AMERICA, EXCLUDING ALL U.S. TERRITORIES AND PROTECTORATES, FOR INDUSTRIAL PROFESSIONAL OR
COMMERCIAL PURPOSES.  
THIS WARRANTY APPLIES ONLY TO THE ORIGINAL RETAIL USER.  THE ORIGINAL DATED BILL
OF SALE, SALES SLIP OR RENTAL AGREEMENT MUST BE SUBMITTED TO THE AUTHORIZED SANYO SERVICE CENTER AT
THE TIME WARRANTY SERVICE IS REQUESTED.

EXCLUSIONS

This warranty does not cover (A) the adjustment of customer-operated controls as explained in the appropriate model's
instruction manual, or (B) the repair of any product whose serial number has been altered, defaced or removed.

This warranty shall not apply to the cabinet or cosmetic parts, knobs or batteries or routine maintenance.
This warranty does not apply to uncrating, setup, installation, removal of the product for repair or reinstallation of the
product after repair.

This warranty does not apply to repairs or replacements necessitated by any cause beyond the control of SFC including,
but not limited to, any malfunction, defect or failure caused by or resulting from unauthorized service or parts, improper
maintenance, operation contrary to furnished instructions, shipping or transit accidents, modification or repair by the user,
abuse, misuse, neglect, accident, incorrect power line voltage, fire, flood or other Acts of God, or normal wear and tear.

The foregoing is in lieu of all other expressed warranties and SFC does not assume or authorize any party to assume for
it any other obligation or liability.

SFC DISCLAIMS ALL WARRANTIES WHICH MAY BE IMPLIED BY LAW (INCLUDING THE WARRANTIES OF MERCHANTABILITY
AND FITNESS),  SFC'S LIABILITY FOR ANY AND ALL LOSSES AND DAMAGES RESULTING FROM ANY CAUSE WHATSOEVER,
INCLUDING WARRANTOR'S NEGLIGENCE, ALLEGED DAMAGED OR DEFECTIVE GOODS, WHETHER SUCH DEFECTS ARE
DISCOVERABLE OR LATENT, SHALL IN NO EVENT EXCEED THE PURCHASE PRICE OF THE EQUIPMENT.

ATTENTION

For your protection in the event of theft or loss of this product,
please fill in the information below for your own personal records.
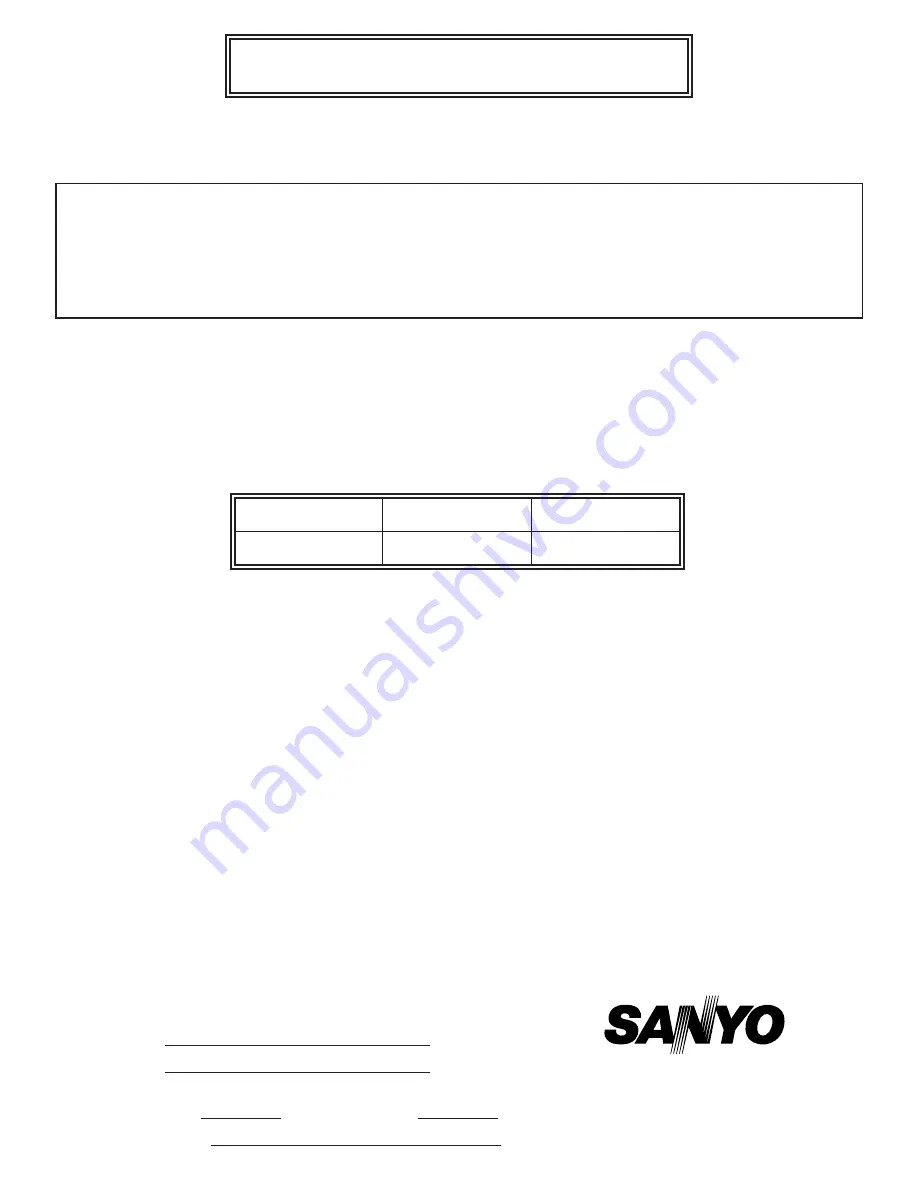
LABOR

PARTS

LAMP

1YEAR

90DAYS

Model No.

Serial No.

(Located on back or bottom side of unit.)

Date of Purchase 

Purchase Price 

Where Purchased  

21605 Plummer Street, 
Chatsworth, California 91311

Printed in Japan

Part No. 610 274 7096 (1AA6P1P1572-- M8EA)

Содержание PLC-XR70N

Страница 1: ...Owner s Manual PLC XR70N Multimedia Rear Projection Display MODEL...

Страница 2: ...ld have been prevented if the owner had followed the instructions in the manual You can often correct operating problems yourself If your projector fails to work properly see TROUBLESHOOTING section o...

Страница 3: ...projector yourself as opening or removing covers may expose you to dangerous voltage or other hazards Refer all servicing to qualified service personnel Unplug this projector from wall outlet and ref...

Страница 4: ...MODE 26 SELECTING COMPUTER SYSTEM 27 PC ADJUSTMENT 28 COMPATIBLE COMPUTER SPECIFICATIONS 29 PICTURE IMAGE ADJUSTMENT 30 PICTURE POSITION ADJUSTMENT 32 PICTURE SCREEN ADJUSTMENT 32 SELECTING VIDEO MODE...

Страница 5: ...5 FEATURES AND DESIGN...

Страница 6: ...uld not be left inside the cabinet l Be careful not do drop any part or tool like screw into the appliance If it should contact a service center l Never touch the Projection Screen Lens and Mirror dir...

Страница 7: ...d metallic parts This part will become hot while the projector is used l The brightness in the room has a great influence on the quality of a picture Adjust the light little darker to provide fine pic...

Страница 8: ...8 INSTALLATION...

Страница 9: ...Change two batteries at the same time l Do not use a new battery with a used one l Avoid contact with water l Charging or reconstructing l If batteries have leaked on the Remote Control Units carefull...

Страница 10: ...fer to page 11 for installation Do not block the vent slot This projector is equipped with the Cooling Fan to protect it from overheating Pay attention to the following to ensure the ventilation and a...

Страница 11: ...not sure of the type of power supply being in use Connect the projector with the peripheral equipment before turning the projector on Refer to page 14 17 for connection Connect the AC Power Cord supp...

Страница 12: ...input such as DVD player Refer to page 16 and 17 u When the audio input of the audio equipment is monaural connect it to the left jack S VIDEO Connect the S VIDEO output from the video equipment to th...

Страница 13: ...Composite Video output from the BNC terminal to this terminal When connecting to this terminal do not connect any input source to the VIDEO terminal AUDIO R L Connect the Audio output to this terminal...

Страница 14: ...N 1 terminal To COMPUTER IN 2 terminal To COMPUTER IN 3 terminal To connect with the IBM compatible computer refer to the figure below VGA CABLE supplied MOUSE CABLE FOR PS 2 PORT or SERIAL PORT suppl...

Страница 15: ...15 CONNECTING THE PROJECTOR COMPUTER IN 1 VIDEO IN 1 CONTROL PORT 1 AUDIO 1 STEREO S VIDEO VIDEO Y C Cb B Y Cr R Y...

Страница 16: ...quipment Video Audio cable not supplied S VIDEO cable not supplied BNC Cable not supplied VIDEO R L VIDEO R L VIDEO R L VIDEO R L u The Video input includes S VIDEO Jacks to allow connection to an S V...

Страница 17: ...R AUDIO L MONO S VIDEO VIDEO VIDEO BNC R C JACK R AUDIO L MONO Refer to the figure below to connect the component video output equipment like DVD player L R Cr C Cb Y L R Cr C Cb Y L R Cr C Cb Y CONN...

Страница 18: ...Contrast or Brightness VOLUME BUTTON Used to adjust volume Refer to page 25 NORMAL BUTTON Used to reset to the normal picture adjustment preset by the factory Refer to page 31 36 POINT BUTTON Used to...

Страница 19: ......

Страница 20: ...reset to normal picture adjustment preset by the factory FRONT CLICK BUTTON Used as right button of PC mouse in wireless mouse operation SELECT BUTTON Used to execute the item selected or to increase...

Страница 21: ...n the projection lamp on or off VOLUME BUTTON Used to adjust volume FREEZE BUTTON Used to freeze on screen image SELECT BUTTON Used to execute the item selected or to increase or decrease the values i...

Страница 22: ...control and adjust this projector through ON SCREEN MENU Refer to P18 35 to operate ON SCREEN MENU 1 MOVING THE POINTER 2 SELECT THE ITEM Move the pointer see the NOTE below by pressing POINT button S...

Страница 23: ...to select Surround or Mute Refer to P25 SCREEN MENU Used to adjust the size of the image Refer to P32 AUTO IMAGE MENU Used to adjust Fine sync Total dots and Picture Position automatically Refer to P3...

Страница 24: ...CTOR USES AN UHP LAMP TO MAINTAIN THE LIFE OF THE LAMP ONCE YOU TURN IT ON WAIT AT LEAST 5 MINUTES BEFORE TURNING IT OFF Power off The message disappears after 4 seconds TURNING ON OFF THE PROJECTOR W...

Страница 25: ...to select SOUND and press the SELECT REAR CLICK button Another dialog box SOUND ADJUST Menu will appear Press the POINT DOWN button and a red arrow icon will appear Move the arrow to the item that you...

Страница 26: ...Terminal Press the MENU button and the ON SCREEN MENU will appear Press the POINT LEFT RIGHT buttons to select Computer and press the SELECT REAR CLICK button Another dialog box COMPUTER MODE Menu wil...

Страница 27: ...rectly Refer to TROUBLESHOOTING on page 43 Go PC adj No signal Selecting Computer System Manually Press the MENU button and the ON SCREEN MENU will appear Press the POINT LEFT RIGHT buttons to select...

Страница 28: ...the selected Mode Mode free It terminates the PC ADJUST Menu Quit When the parameter data adjustment finishes to be set select Stored and press the SELECT REAR CLICK button OK dialog box is displayed...

Страница 29: ...11 800 600 32 70 51 09 ON SCREEN DISPLAY RESOLUTION H Freq kHz V Freq Hz XGA 10 1024 768 XGA 11 1024 768 XGA 12 1024 768 Interlace XGA 13 1024 768 62 04 77 07 XGA 14 1024 768 61 00 75 70 XGA15 1024 76...

Страница 30: ...ly Fine sync Adjust the picture as necessary to eliminate flicker from the display From 0 to 127 This item can be adjusted by pressing the FINE SYNC button on the Front Control or the Remote Control U...

Страница 31: ...ired to make fine image Refer to PICTURE IMAGE ADJUSTMENT on page 30 to adjust Fine sync or Total dots and PICTURE POSITION ADJUSTMENT on page 32 to adjust Picture Position The normal picture level is...

Страница 32: ...other dialog box PICTURE SCREEN Menu will appear Move the arrow to a screen size that you want to set by pressing the POINT UP DOWN buttons and then press the SELECT REAR CLICK button 1 2 True It set...

Страница 33: ...terminated and the projector starts to work the function of the button you pressed To resize the picture image select SCREEN again The normal Panning Operation may not function properly if the comput...

Страница 34: ...ideo 3 Computer 1 Computer 2 or Computer 3 appears on the screen for a few second The Video 1 Video 2 or Video 3 appears when pressing the VIDEO button Menu Operation Displaying the image from Video 1...

Страница 35: ...N This box indicates the system being selected SELECTING VIDEO SOURCE This projector can detect the signal from the video equipment with component video signal like DVD player When connecting to thos...

Страница 36: ...button located on the Front Control or on the Remote Control The Normal display will be displayed on the screen for a few seconds Normal Function Normal It terminates the PICTURE IMAGE ADJUSTMENT Men...

Страница 37: ...ess the POINT DOWN button and a red arrow icon will appear Move the arrow to the screen size that you want to set and then press the SELECT REAR CLICK button 1 2 Regular Normal Video Image size with 4...

Страница 38: ...ff Preparation Display The Number counting down Display Mode Display Volume Display Mute Display Normal Display The Lamp age function is designed to reset the lamp replacement monitor timer When repla...

Страница 39: ...Wireless Remote Control Unit as the Wireless Mouse for a PC installation of the mouse driver not supplied is required Make sure that the mouse driver is properly installed in your computer And make su...

Страница 40: ...mpatible Computer Keyboard and Mouse of Macintosh Computer To the IBM Keyboard Terminal To the IBM Mouse Terminal To the Macintosh Keyboard Mouse Terminal To a Keyboard or a Mouse terminal of IBM Comp...

Страница 41: ...y will reduce the Cooling Fans effectiveness and may result in internal heat build up and effect on the life of the projector To clean the Air Filters follow the cleaning procedures below AIR FILTER C...

Страница 42: ...Timer when the Lamp Assembly is replaced When the Lamp Replacement Monitor Timer is reset the LAMP REPLACEMENT indicator stops to lighting Turn the projector on and press the MENU button and the ON S...

Страница 43: ...sing the power ON OFF button l Check the TEMPERATURE WARNING indicator If the indicator flashes red the projector cannot be turned on See TURNING ON OFF THE PROJECTOR section on page 24 l Check the Pr...

Страница 44: ...mputer 1 10W 2 EIAJ AC 100 120 V 50 60 Hz 3 2 A Max Ampere 1532mm 1968mm 747mm 60 3 77 5 29 4 145kg 319 7 lbs except for the cabinet shelves Wireless Remote Control Transmitter 1 Wireless Wired Remote...

Страница 45: ...Range WIRED WIRELESS REMOTE CONTROL 45mm 19mm 170mm 1 8 0 7 6 7 92 g 0 2 lbs including the batteries Dimensions W H D Net Weight 1532mm 60 3 217mm 8 5 747mm 29 4 870mm 34 3 547mm 21 5 1968mm 77 5 Fro...

Страница 46: ...nt of customer operated controls as explained in the appropriate model s instruction manual or B the repair of any product whose serial number has been altered defaced or removed This warranty shall n...

Отзывы: