


5
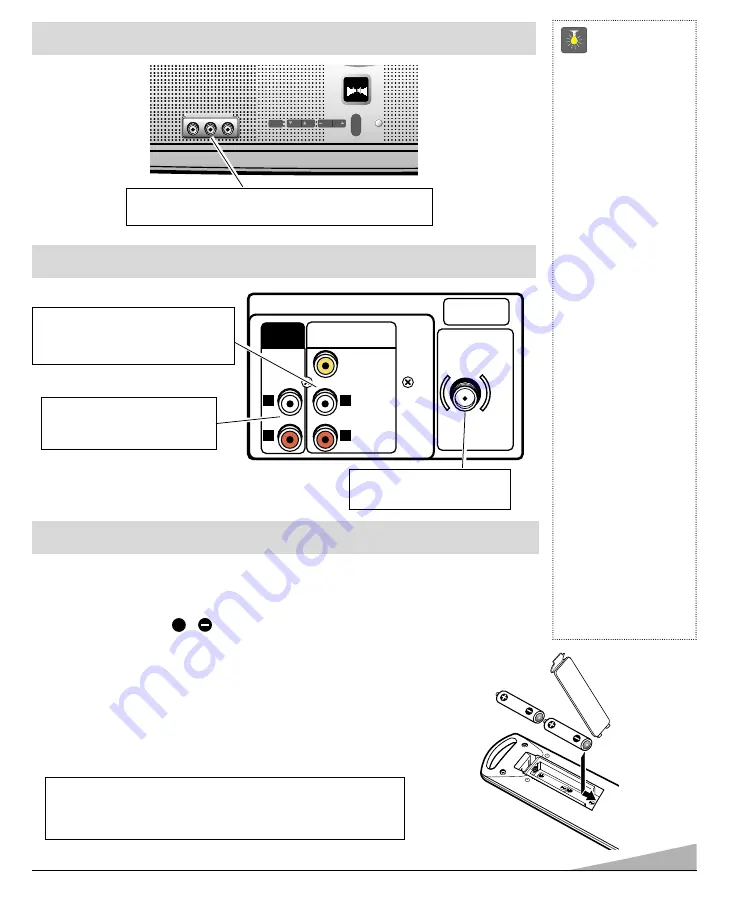
REAR PANEL
Audio / Video Input Jacks (AV2)
Connect external video equipment
here (see page 9).
Audio Output Jacks (Fixed)
Connect external audio
equipment here (see page 9).
AUDIO VIDEO INPUT
AV2
(MON0)
L
R
L
R
VIDEO
AUDIO
UHF/VHF/CATV
75
Ω
AUDIO
OUTPUT
QuickTips
■
Make sure all cable
connectors are fully
seated on jacks.
See pages 8~9 before
connecting external
video equipment.
■
Cables are not
supplied for connect-
ing your external
equipment.
■
A solid Blue screen
with the word Video
displayed means that
the Video mode is
selected, but no signal
is being detected at
the Video jack.
Check connection,
and turn on external
equipment.
■
Be sure batteries are
installed correctly.
■
Point the remote
control toward the
equipment you want
to operate. Objects
between the remote
control and the equip-
ment may cause
misoperation of the
remote control
function.
REMOTE CONTROL
INSTALLING BAT TERIES (2 AAA not included)
1. Remove the battery cover by pressing the tab and tilting the cover upward. Insert batteries.
Make sure you match
/
signs on the batteries with marks inside the remote control.
2. Replace battery cover. The remote control is ready!
Notes:
– Do not mix old batteries with new ones or mix different types of
batteries together.
– Remove the batteries if the remote control will not be used for a month
or more. Weak batteries may leak and cause damage.
+
IMPORTANT NOTE: Spent or discharged batteries must be recycled or dis-
posed of properly in compliance with all applicable laws. For detailed
information, contact your local County Solid Waste Authority.
FRONT PANEL
Audio / Video Input Jacks (AV1)
Connect external video equipment here (see page 8).
MTS
MTS
STEREO
MENU
MENU
CH
CH
VOL
VOL VOL
VOL
POWER
VIDEO IN L- AUDIO -R
CH
CH
MTS
MTS
STEREO
Cable / Antenna Input
Terminal (75 ohms)


