


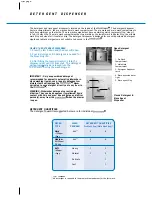


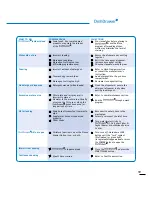


LOCK BUTTON
(optional)
The Lock button activates/deactivates
the Keylock or the Childlock functions.
KEYLOCK
The Keylock function disables all the
buttons on the
. To activate,
press and hold the LOCK button until you
hear one beep (3 seconds).
CHILDLOCK
The Childlock feature locks the
and disables all the buttons.
To activate, press and hold the LOCK
button until you hear two beeps (5
seconds).
To cancel Keylock or Childlock, press and
hold the LOCK button until you hear
one beep and the Lock symbol disappears
from the electronic display.
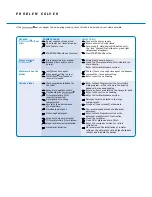
NOTE
If the
is operating and a power outage occurs, it will stop. The
may be unable
to be opened during this time. When the power supply is resumed, the
will restart in the
same part of the wash program.
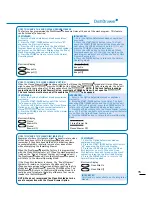
Start
Close the
. Press the
START/PAUSE button to initiate the
wash program.
This button also
functions as the Delay Start.
Pause
To pause the
during its
wash cycle, press the START/PAUSE
button and wait for three beeps
before opening. Restart by pressing
the START/PAUSE button. Forcing
the drawer open while in mid cycle
may cause damage or injury.
7
Finish
The
will beep six times to indicate the end of the wash program. At the
end of the wash program the drying fan will continue to run for a set time or until
the drawer is opened. The fan assists with drying and uses negligible amounts of
energy. It is normal for some water to remain in the drain fi lter area after the
wash program is complete.
8
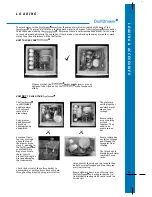
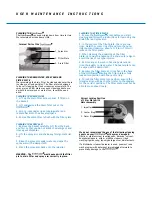
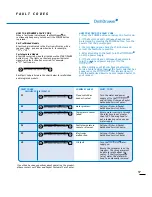
Check
Ensure the drain fi lter is fl ush
with fi lter plate and the spray
arm can rotate about the center
easily.
6
DELAY START MODE
(optional)
The start of the wash program can be
delayed from 1 to 12 hours.
To activate Delay Start
1. Press and hold the START/PAUSE
button until the delay symbol
appears on the Electronic Display.
2. Continue holding the START/PAUSE
button until the desired delay time
has been reached.
3. The
will start once the
delay time has elapsed.
To cancel Delay Start, press the
POWER button or hold the START/
PAUSE button until the “delay”
symbol disappears.
5
trim page
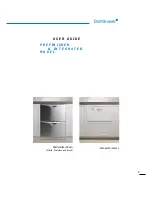
Содержание DishDrawer DD603 PREFINISHED
Страница 1: ...U S E R G U I D E ...


