


Page 7
PRODUCT OVERVIEW
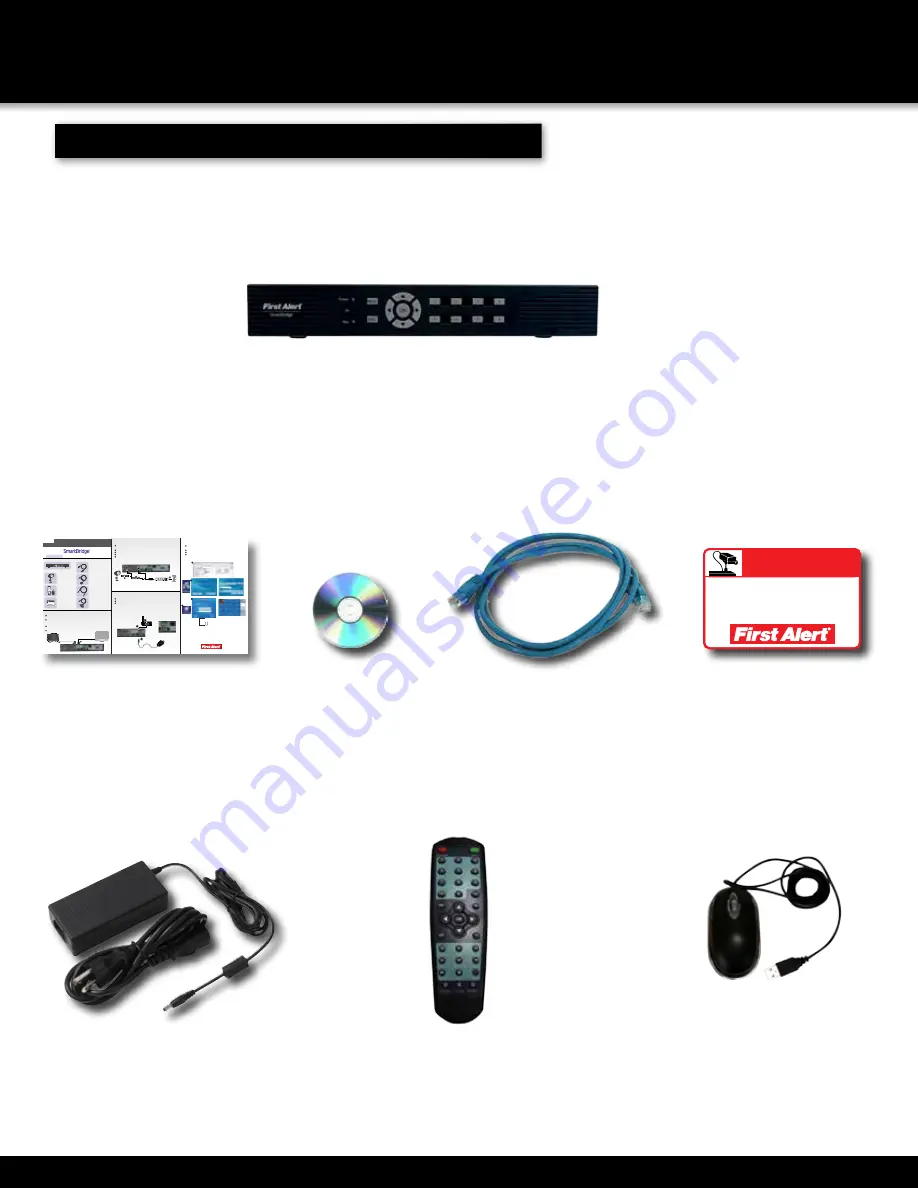
PACKAGE CONTENTS
What,s in the Box*
H.264 8 channel Digital DVR
with 500 GB or 1 TB Hard Drive
DVRA0405/DVRA0805: 500 GB
DVRA0810/DVRA1610: 1TB
USB 2.0 Mouse
WARNING
PROTECTED BY
THESE PREMISES ARE UNDER
24 HOUR VIDEO SURVEILLANCE
3 Window
Warning Decals
Installation
Software
Power Supply
for DVR
RJ45 Ethernet Cable
Quick Install Guide
Remote Control
DVR QUICK START GUIDE
POWER SPLITTER FOR
DVR AND CAMERAS
(9 way supplied with 8 Camera systems;
5 way supplied with 4 camera systems)
BNC VIDEO & DC POWER CABLE
(1 supplied with each camera)
REMOTE CONTROL &
USB 2.0 MOUSE
POWER SUPPLY
DVR & CAMERAS
RJ45 ETHERNET CABLE
Step 2: Connecting the Cameras / DVR
Connect the BNC & power from camera with BNC power cable using the side labeled
"Camera Side”
Using other side of BNC power cable connect BNC to BNC video input on DVR
Connect power cable to one of the multi power splitter ends
Plug (red) connector on power splitter to 12V DC input on DVR
Plug DVR power supply into wall outlet
Step 3: Connecting your Mouse and Ethernet Cable
Connect the USB mouse to the bottom USB slot on the back
Connect the Ethernet cable to the back of the DVR labeled either NET or RJ45
Connect the other end of the cable directly to your router, modem or high speed
internet connection input
Note: Please consult the networking section of your manual to configure the DVR for
remote viewing.
1
Back of DVR
3
ENGLISH
BACK of DVR
Step 1: Connect the DVR to your Monitor or TV
(Monitor Option)
Connect a VGA cord
(not included)
from your monitor to the VGA Output port on the back of your DVR.
(TV Option)
Connect the end of the BNC-RCA
(BNC SIDE ONLY)
cable to the back of the
DVR labeled “Video Output”
Connect the BNC-RCA
(RCA SIDE ONLY)
cable to an open video (yellow RCA) input on your TV/Monitor
(note the input name or number)
Turn on your TV and select the appropriate input
(noted above)
1
1
2
3
1
2
3
4
Step 4: Downloading the SmartBridge Software
Insert install CD into CD Rom Drive Double click SmartBridge.exe or let
CDRom run automatically.
Install SmartBridge Software.
On your computer desktop, Double click installed Smartbridge Software Icon.
Select the Connect Tab. Enter Auto ID DVR Code (On DVR system, right click and
select “Net Status” to obtain Auto ID DVR Code). Password is default 123. Select
Login to start viewing your Smartbridge security system remotely.
2
1
3
4
5
1
2
3
VGA
1
1
2
2
Product Contents
Power
IR
Rec
MENU
1
2
3
4
1
2
3
4
ESC
DVR
CAMERA(S)
STICKERS
WARNING
PROTECTED BY
THESE PREMISES ARE UNDER
24 HOUR VIDEO SURVEILLANCE
3
2
3
4
5
1
(Attach for each camera)
(5 or 9-Way Power Splitter)
Go to firstalert.com and search for model # to find complete instruction manual of
your First Alert DVR.
© 2012 BRK Brands, Inc. All rights reserved. Distributed by BRK Brands, Inc., Aurora, Illinois
60504. BRK Brands, Inc. is a subsidiary of Jarden Corporation (NYSE: JAH). First Alert® is a
registered trademark of the First Alert Trust. Due to continuing product development, the product
inside the packaging may look slightly different than the one on the package. To obtain warranty
service, contact the Consumer Affairs Division at 1-800-323-9005, Monday through Friday, 7:30
a.m. - 5 p.m., Central Standard Time.
www.firstalert.com
iPhone, iPad, Android Compatible*
1
2
3
4
* iPhone and iPad are registered trademarks of Apple Inc. Android is a trademark of Google, Inc.
Содержание DVRA0405
Страница 1: ...USER S MANUAL Model DVRA0405 DVRA0805 DVRA0810 DVRA1610 SECURITY SYSTEM S...
Страница 28: ...Page 28 wizard is finished Double click the icon to run the Smartbridge Software REMOTE ACCESS NETWORK SETUP...
Страница 40: ...Page 40 Device Logs Screen PTZ Options Screen REMOTE CONFIGURATION CAMERA SETTINGS...


