


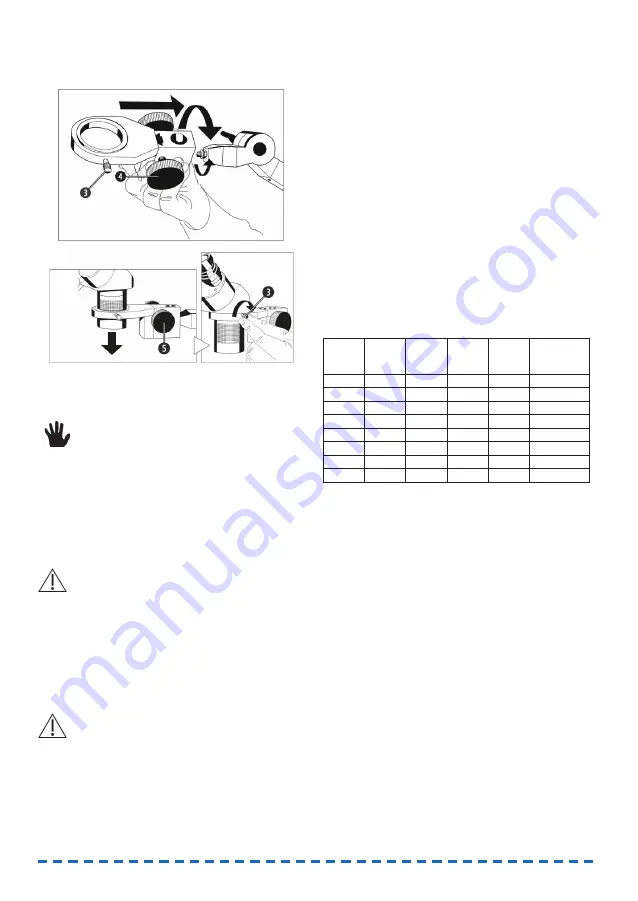
• With the drive box seated horizontally, secure
using the hex nut.
• Place the microscope head back into the drive
box and seat securely using the clamp screw (3).
Joint adjustment
The joint arm has a friction joint that is addi-
tionally supported at the centre and in the foot by
internal springs.
In order to adjust the joint arm, the wing nuts on the
joint arm must not be opened. The wing nuts are
used for basic adjustment of the friction and for
occasional readjustment.
Note:
The foot joint is adjusted using the quick-
release lever. The quick-release lever can transmit
forces that are so strong that the joint is completely
blocked. In this case, it is essential that the quick-
release lever is opened slightly prior to adjusting the
joint arm, as the joint arm will otherwise be dama-
ged.
Tip:
If the lever is pulled a little to the side away
from the joint, the lever can be moved to any requi-
red position without opening the joint.
Using the microscope:
• Place both ocular viewfinders (8) on the oculars
(1).
• Unscrew the protective cap from the objective
tube (4) by turning it anticlockwise.
• Look through both oculars (1) and adjust the ocu-
lar distance in line with the interpupillary distance
by turning the objectives (9) inwards or outwards.
• Place the specimen to be viewed under the
microscope on the specimen stage.
• In the case of larger specimens, the distance
setting selected using the drive knobs at the side
may not be sufficient.
Adjusting the distance using the joint arm (see
sec tion on joint adjustment).
Guide values:
W= Widefield; Oculars 10x (supplied), other magnifi-
cations optionally available.
• Required magnification (1x or 2x) by turning the
objective tube (4) by 90° in each case.
• For fine adjustment, use the drive button (5) to
modify the distance to the object in order to
achieve maximum image precision.
• Set dioptre compensation (2) to suit individual
requirements.
• The working distance and field of vision can be
further increased using the optional FINO add-on
lens with 0.5x reducing optics (item no. 86006).
The add-on lens can be screwed onto the
quick-action revolver.
Objective
magnification
Ocular
magnification
Overall
magnification
Working
distance
(mm)
Field of view
ø (mm)
Field number =
Field of view ø
(mm) x objective
magnification
1x
W 5x
5x
79
20
20
2x
W 5x
10x
84
10
20
1x
W 10x
10x
83
19
19
2x
W 10x
20x
83
9,5
19
1x
W 15x
15x
83
12,4
12,4
2x
W 15x
30x
83
6,2
12,4
1x
W 20x
20x
83
9,6
9,6
2x
W 20x
40x
82
4,8
9,6
6
Содержание 86000
Страница 9: ...9 ENU ...


