


English
- 9 -
6ZLWFKLQJ2Q2ႇ
To Switch the TV On
Connect
the
power
cord
to
a
power
source
such
as
a
wall socket (220-240V
A
C, 50 Hz).
To
switch on the
TV from standby mode either:
Press
the
“
” button,
Programme
+
/-
o
r a
numeric
button on the remote control.
Press
the
middle
of
the
side
function
switch
on
the
TV in.
7R6ZLWFKWKH792ႇ
Press the “
”
button on the remote control or press
the
middle
of
the
side
function
switch
on
the
TV
in
and
hold
it
down
for
a
few
seconds,
the
TV
will
switch
into
standby mode.
To
p
ower
down
the
TV
c
ompletely
,
unplug
the
power cord from the mains socket.
Note:
When the TV is switched into standby mode, the
standby LED can blink to indicate that features such as
Standby Search, Over
Air Download or T
imer is active. The
LED can also blink when you switch on the TV from standby
mode.
First T
ime Installation
When
turned
on
for
the
first
time,
the
language
selection
screen
is
displayed.
Select
the
d
esired
language and press
OK
.
On
the
next
screen,
set
your
preferences
using
the
directional buttons.
Note:
Depending on the
Country
selection you may be asked
WR
VHW
DQG
FRQ¿UP
D
3,1
DW
WKLV
SRLQW
7KH
VHOHFWHG
3
,1
FDQQRW
EH
<
RX
KDYH
WR
HQWHU
LW
LI
\RX
DUH
DVNHG
WR
HQWHU
D
3
,1
for any menu operation later
.
About Selecting Broadcast T
ype
Digital
Aerial:
If
Digital
Aerial
b
roadcast
search
option
is
turned
o
n,
the
T
V
will
search
for
d
igital
terrestrial
broadcasts
after
other
initial
settings
are
completed.
Y
ou
can
activate
Store
Mode
o
ption
at
this
p
oint.
7KLV
RSWLRQ
ZLOO
FRQ¿JXUH
\RXU
7
9
V
VHWWLQJV
IRU
VWRUH
environment
and
depending
on
the
TV
m
odel
being
used,
the
supported
features
of
it
m
ay
be
displayed
on
the
top
of
the
screen
as
an
info
banner
. This
option
is
intended
only
for
store
use.
It
is
recommended
to
select
Home
M
ode
for
home
use.
T
his
option
will
be
available
in
System>Settings>More
m
enu
and
can
EHWXUQHGRႇRQODWHU
Depending
on
the
m
odel
of
your
T
V
and
the
country
selection
Privacy
Settings
m
enu
may
appear
a
t
this
point.
Using
this
m
enu
you
can
set
your
privacy
privileges.
Highlight
a
feature
and
use
Left
and
Right
directional
buttons
to
enable
o
r
disable.
R
ead
the
related
explanations
d
isplayed
on
the
screen
for
each
highlighted
feature
before
m
aking
any
changes.
Y
o
u
can
use
Programme
+
/-
b
uttons
to
scroll
up
and
down
to
read
the
entire
text.
Y
ou
will
be
able
to
change
your
preferences
at
any
time
later
from
the
Settings>Privacy
Settings
m
enu.
If
the
Internet
Connection
o
ption
is
disabled
Network/Internet
Settings
screen will be skipped and not displayed.
Press
OK
b
utton
on
the
remote
control
to
continue
and
the
Network/Internet
Settings
m
enu
will
be
GLVSOD\HG
LI
\RX
FRQ¿UP
WKH
SUHYLRXVO\
GLVSOD\HG
message
asking
whether
you
want
to
do
the
network
settings.
P
lease
refer
to
&RQQHFWඈYඈW\
V
HFWඈRQ
WR
FRQIඈJXUH
D
ZඈUHG
RU
D
ZඈUHOHVV
FRQQHFWඈRQ
$IWHU
WKH
VHWWඈQJVDUHFRPSOHWHGSUHVV
OK
E
XWWRQ
WR
FRQWඈQXH
.
To
skip
to
the
next
step
without
doing
anything
select
No
a
nd
press
the
OK
b
utton
when
the
message
is
displayed
asking
w
hether
you
want
to
do
the
network
settings.
On
the
next
screen
you
need
to
agree
to
the
terms
and
conditions
of
Freeview
Play
to
make
use
of
the
related
services.
Scroll
the
page
to
read
the
entire
text
using
the
up/down
directional
buttons
or
Programme
+/-
buttons.
Highlight
Ye
s
and
press
OK
on
the
UHPRWH
WR
FRQ¿UP
DQG
SURFHHG
+LJKOLJKW
No
a
n
d
press
OK
WR
SURFHHG
ZLWKRXW
FRQ¿UPDWLRQ
)
RU
IXUWKHU
requirements
for
Freeview
Play
services
refer
to
the
Freeview Play Platform
section.
After
the
initial
settings
are
completed
TV
will
start
to
search
for
a
vailable
b
roadcasts
of
the
selected
broadcast types.
After
all
the
available
stations
are
stored,
scan
results
will
be
displayed.
Press
OK
t
o
continue.
T
he
Edit
Channel
List
m
enu
will
be
displayed
next.
Y
ou
can
edit
the
channel
list
according
to
your
preferences
or
press the
Menu
button to quit and watch
T
V
.
While
the
search
continues
a
message
m
ay
appear
,
asking
whether
you
want
to
sort
channels
according
to the LCN
(*)
. Select
Ye
s
and press
OK
WRFRQ¿UP
.
(*)
/&1
LV
WKH
/RJLFDO
&KDQQHO
1
XPEHU
V\VWHP
WKDW
RUJDQL]HV
DYDLODEOH
E
URDGFDVWV
LQ
DFFRUGDQFH
ZLWK
D
UHFRJQL]DEOH
channel number sequence (if available).
Note:
'R
QRW
WXUQ
RII
WKH
79
ZKLOH
LQLWLDOL]LQJ
ILUVW
WLPH
LQVWDOODWLRQ
1RWH
WKDW
VRPH
RSWLRQV
P
D\
QRW
EH
DYDLODEOH
depending on the country selection.
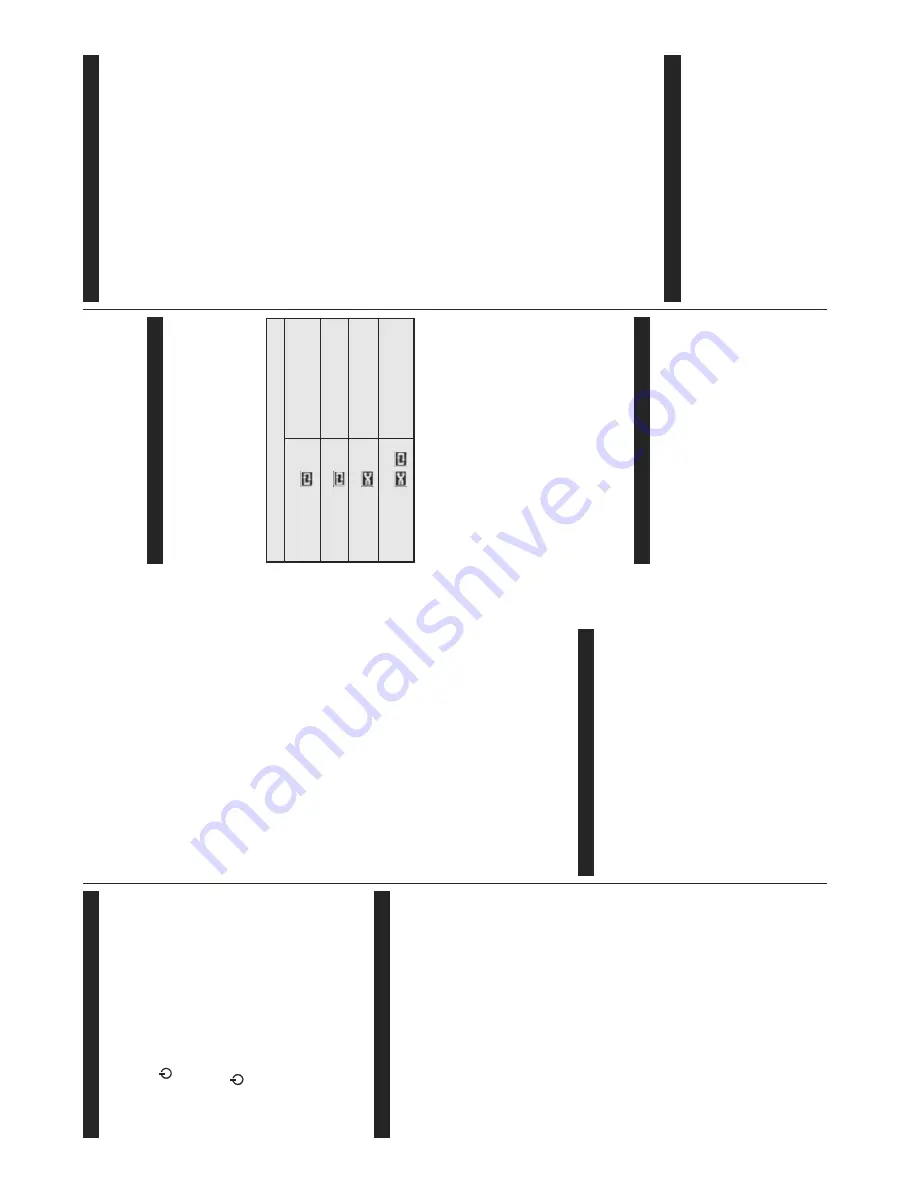
Media Playback via USB Input
Y
ou can connect 2.5” and 3.5” inch (hdd with external power
supply) external hard disk drives or USB memory stick to your
TV by using the USB inputs of the TV
.
IMPORT
ANT!
%
DFN
XS
WKH
¿OHV
RQ
\RXU
VWRUDJH
GHYLFHV
before
connecting
them
to
the
TV
.
Manufacturer
will
QRW
EH
UHVSRQVLEOH
IRU
DQ\
¿OH
GDPDJH
RU
GDWD
ORVV
Certain
types
o
f
USB
devices
(e.g.
MP3
P
layers)
or
U
SB
hard
disk
drives/memory
sticks
may
not
be
compatible
with
this
T
V
. T
he
TV
supports
FA
T
32
and
NTFS disk formatting.
W
ait
a
little
while
before
each
plugging
and
unplugging
DV
WKH
SOD\HU
P
D\
VWLOO
EH
UHDGLQJ
¿OHV
)DLOXUH
WR
GR
so
m
ay
cause
physical
damage
to
the
U
SB
player
and
the
USB
device
itself.
Do
not
pull
out
your
drive
ZKLOHSOD\LQJD¿OH
Y
ou
can
use
USB
hubs
with
your
T
V’
s
USB
inputs.
External
power
supplied
USB
hubs
are
recommended
in such a case.
English
- 10 -
It
is
recommended
to
use
the
TV’
s
U
SB
input(s)
directly
, i
f you
are
going
to
connect
a
USB
hard
disk.
Note:
:
KHQ
YLHZLQJ
LPDJH
¿OHV
WKH
Media Browser
menu
FDQ
RQO\
GLVSOD\
LPDJH
¿OHV
VWRUHG
RQ
WKH
FRQQHFWHG
USB device.
Media Browser Menu
<
RX
FDQ
SOD\
SKRWR
P
XVLF
DQG
PRYLH
¿OHV
VWRUHG
RQ
D
USB
disk
by
connecting
it
to
your
T
V
. Connect
a
USB
disk
to
one
of
the
USB
inputs
located
on
the
side
of
the
TV
. Pressing
the
Menu
button
while
in
the
Media
Browser
m
ode
will
access
the
Picture
,
Sound
and
Settings
m
enu
options.
Pressing
the
Menu
b
utton
again
will
exit
from
this
screen.
Y
ou
can
set
your
Media
Browser
preferences by using the
Settings
menu.
/RRS6KXH0RGH2SHUDWLRQ
Start playback with the
Play
button and activate
$OO¿OHVLQWKHOLVWZLOOEH
continuously played in original
order
Start playback with the
OK
button and activate
7KHVDPH¿OHZLOOEHSOD\HG
continuously (repeat)
Start playback with the
Play
button and activate
$OO¿OHVLQWKHOLVWZLOOEH
played once in random order
Start playback with the
Play
button and activate
,
$OO¿OHVLQWKHOLVWZLOOEH
continuously played in the
same random order
.
Custom Boot Up Logo
Y
ou
can
personalize
your
TV
and
see
your
favorite
image
or
photo
on
the
screen
each
time
your
T
V
boots
XS
7R
GR
WKLV
FRS\
\RXU
IDYRULWH
LPDJH
¿OHV
LQWR
D
86%
disk
and
open
them
from
the
Media
Browser
m
enu.
When
you
have
chosen
the
desired
image,
highlight
it
and
press
OK
to
view
it
in
full
screen.
Press
OK
again
WR
FKRRVH
WKH
LPDJH
DV
FXVWRP
ORJR
$
F
RQ¿UPDWLRQ
message
will
be
displayed.
S
elect
Ye
s
and
press
OK
again.
If
the
image
is
suitable
(*)
y
ou
will
see
it
on
the
screen during the
TV’
s next boot up.
Note:
If you perform a
First T
ime Installation
the TV will
return to using the default logo, if any
.
(*)
Images must have an aspect ratio between 4:3 to 16:9
DQG
WKH\
P
XVW
EH
LQ
MSHJ
MSJ
RU
MSH
¿OH
IRUPDWV
7KH
LPDJH
cannot be set as boot logo, which’
s resolution doesn’t appear
on the info banner
.
FollowMe TV (if available)
With
your
m
obile
device
you
can
stream
the
current
broadcast
from
your
smart
T
V
using
the
FollowMe
TV
f
eature.
Install
the
appropriate
Smart
C
enter
application
to
your
mobile
device.
S
tart
the
application.
For
further
information
on
using
this
feature
refer
to
the instructions of the application you use.
Note:
This application may not be compatible with all mobile
devices. B
o
th
o
f t
h
e
d
e
v
ic
e
s
m
u
s
t b
e
c
o
n
n
e
c
te
d
t
o
t
h
e
s
a
m
e
network.
CEC and CEC RC Passthrough
This
function
allows
to
control
the
CEC-enabled
devices,
that
are
connected
through
HDMI
ports
by
using the remote control of the
TV
.
The
CEC
option
in
the
System>Settings>More
m
enu
should
be
set
as
Enabled
D
W
¿UVW
3UHVV
WKH
Source
button
and
select
the
HDMI
input
of
the
connected
CEC
device
from
the
Sources
List
m
enu.
W
hen
new
CEC
source
device
is
connected,
it
will
be
listed
in
source
m
enu
with
its
own
name
instead
of
the
connected
HDMI
ports
name(such
as
DVD
Player
,
Recorder 1 etc.).
The
TV
remote
is
automatically
able
to
perform
the
main
functions
after
the
connected
HDMI
source
has
been selected.
To
t
erminate
this
o
peration
and
control
the
TV
via
the
remote
again,
press
Quick
Menu
button
on
the
remote,
highlight
the
CEC
RC
Passthrough
a
n
d
set
as
2ႇ
b
y
pressing
Left
or
Right
button.
T
his
feature
can
also
be
enabled
or
disabled
under
the
System>Settings>More
menu.
The
TV
supports
also
ARC(Audio
Return
Channel)
feature.
T
his
feature
is
an
audio
link
meant
to
replace
other
cables
between
the
TV
and
the
audio
system
(A/V receiver or speaker system).
When
ARC
is
active,
T
V
does
not
mute
its
other
audio
outputs
automatically
.
So
you
need
to
decrease
TV
volume
to
zero
m
anually
,
if
you
want
to
hear
audio
from
connected
audio
device
only
(same
a
s
other
optical
or
co-axial
digital
audio
outputs).
If
you
want
to
change
connected
device’
s
volume
level,
you
should select that device from the source list. In that
case
volume
control
keys
are
directed
to
connected
audio device.
Note:
ARC is supported only via the HDMI1 input.
System
A
udio Control
$OORZV
DQ
$XGLR
$PSOL¿HU5HFHLYHU
WR
EH
XVHG
ZLWK
the
TV
.
The
volume
can
be
controlled
u
sing
the
remote
control
of
the
TV
.
To
a
ctivate
this
feature
set
the
Speakers
o
ption
in
the
System>Settings>More
menu
as
$PSOL¿HU
.
The
TV
speakers
will
be
muted
and
the
sound
of
the
watched
source
will
be
provided
from the connected sound system.
Note:
The audio device should support System
Audio Control
feature and
CEC
option should be set as
Enabled
.
E-Manual (if available)
<
RX
FDQ
¿QG
LQVWUXFWLRQV
IRU
\RXU
7
9
V
IHDWXUHV
LQ
the E-Manual.
To
u
se
E-Manual,
press
to
the
Info
button
while
m
ain
menu
is
displayed
on
the
screen
or
press
Quick
Menu
button, select
Information
Booklet
and press
OK
.
By
using
the
directional
b
uttons
select
a
desired
FDWHJRU\
(
YHU\
FDWHJRU\
LQFOXGHV
GLႇHUHQW
WRSLFV
Select a topic and press
OK
to read instructions.
To
c
lose
the
E-Manual
screen
press
the
Exit
o
r
Menu
button.
Note:
The contents of the E-Manual may vary according to
the model.