Finlux 42S9100-T Скачать руководство пользователя страница 18

English

   - 17 -

• 

Use 3D glasses only when watching 3D images at 

the correct angle. Remove the glasses in any other 

case. The picture may not be visible or may be 

dark if you look down or if you lie on your side while 

watching 3D images using 3D glasses.

• 

Flickering may be generated by the 3D glasses (60 

Hz) when watching the 3D screen when a magnetic 

fluorescent lamp (50 Hz) is on.

• 

The 3D picture may not be visible or become 

distorted when watching under intense light 

conditions.

• 

Connect a 3D compatible player via a “high speed” 

HDMI cable (required to watch 3D content). Refer 

to the players manual for settings.

• 

Press the 

SOURCE

 button and select the connected 

input.

• 

You should select a suitable 3D Mode before 

viewing.

• 

To view 3D contents or programmes in 3D mode  

you must wear the supplied 3D Glasses. 

Setting up 3D Mode for PS3

Ensure the PS3 has the latest firmware installed.

Have both the TV and console off. Connect the TV 

to the PS3 with a “high speed” HDMI cable.
Turn on the TV and wait for it to power up, then turn 

on the console (Hold power button until you hear a 

beep)
The PS3 will then identify the 3DTV and ask for 

resolution information and screen size.
Once selected the PS3 will then have the ability to 

play both games and Blu-ray 3D discs.

Setting up 3D Mode for Sky HD

IMPORTANT

: Please ensure you register to activate 

Sky 3D.
Connect the TV to Sky HD box with a “high speed” 

HDMI cable.
Press the MENU button and select the Picture icon 
using the “ ” or “ ” buttons and press OK.
Use “

” or “

” to select the 3D side by side 

setting and press OK to view.
Once selected the 3D channel can now be watched.

Note

: You will need to unselect this mode when going 

back to 2D channels.
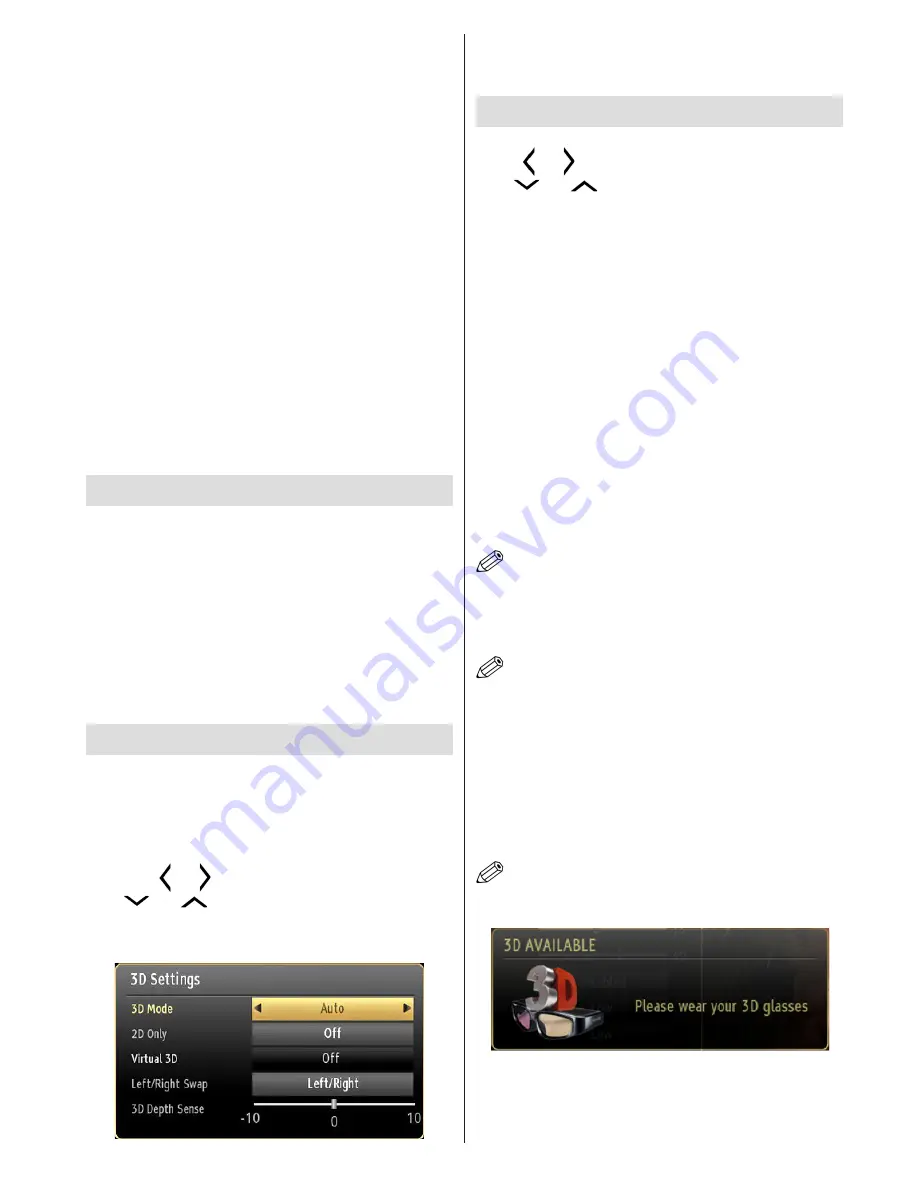
3D Settings

Press 

MENU

 button and select the Picture icon by 

using “ ” or “ ” buttons and press OK.
Use “

” or “

”  to select 3D settings and press 

OK to view.
You can customize the 3D mode settings to provide 

the best viewing experience. 

Select one of these 

modes to experience 3D image viewing:
Auto:

 Automatically switches to 3D mode if 3D 

information is detected from a HDMI source.

Side by Side:

 Displays 3D content which is originally 

in a form of side by side.

Top bottom:

 Displays 3D content which is originally 

in a form of top and bottom.

Off

: 3D function mode is turned off.

2D Only

If content is 3D but you want to watch it in 2D, you can 

switch to 2D only mode. There are 2 options (LEFT 

and RIGHT) to select which side of the content you 

want to watch in 2D.


NOTE

: This item is available when TV is in 3D mode.

Virtual 3D

Conversion from 2D to 3D. There are 3 different levels 

of depth: Low – Medium – High.


NOTE

: This item is available when TV is not in 3D mode. 

Once Virtual 3D is enabled, it remains so when the channel 

is changed. However, it will be disabled automatically if you 

switch to a different source.

Left/Right Swap

You can use this setting to shift the phase of the 3D 

left/right broadcast.

3D Depth Sense (optional)

This setting enables the control of 3D depth.


NOTE

: If you select 3D modes, wear the supplied 3D 

glasses when this message is displayed on the screen:

Содержание 42S9100-T

Страница 1: ......

Страница 2: ...Timeshift Recording 15 Instant Recording 15 Watching Recorded Programmes 15 Recording Configuration 15 Product Safety 15 Health Warning 3D Mode 16 Using the 3D Mode 16 Setting up 3D Mode for PS3 17 Se...

Страница 3: ...securely attached to the wall in accordance with the installation instructions Screen Occasionally a few non active pixels may appear on the screen as a fixed blue green or red point Please note that...

Страница 4: ...e set Use this device in moderate climates Operation temperature and operation humidity 5 C up to 45 C 85 humidity max Note Don t block ventilation holes Intended Use This device is used to receive an...

Страница 5: ...al Press the TV AV button in the control panel on the TV to switch betweenAV modes Note Function indications of the buttons will be displayed on the screen when pressed Operation with the Remote Contr...

Страница 6: ...T mode 27 Programme up down 28 Mute 29 Previous programme Now in EPG mode 30 Numeric buttons 31 AV Source TV NOTE The Remote Control range is approximately 7m 23ft Using My button 1 Thisbutton smainfu...

Страница 7: ...English 6 1 Standby On 2 Volume up down 3 Source selection 4 Info 5 Mute 6 Programme up down 7 Image size 8 Mono Stereo Dual II Audio Subtitle language Remote Control...

Страница 8: ...the scart socket When using the wall mounting kit optional we recommend that you plug all your cables into the back of the TV before mounting on the wall Insert or remove the CI module only when the...

Страница 9: ...mode To power down the TV completely unplug the power cord from the mains socket Note When the TV is switched to standby mode the standby LED can blink to indicate that features such as Standby Searc...

Страница 10: ...V by using the USB inputs of the TV This feature allows you to play files stored in a USB drive 2 5 and 3 5 inch hdd with external power supply external hard disk drives are supported IMPORTANT You sh...

Страница 11: ...ts Programmescanbe watchedin differentpicture formats depending on the transmission received You can changetheaspectratio imagesize oftheTVforviewing the picture in different zoom modes Press the SCRE...

Страница 12: ...om Sets the picture size to Auto 16 9 Subtitle 14 9 14 9 Zoom 4 3 or Cinema Movie Sense Movie Sense Press Use Left Right to set Movie Sense Low Med High or Off While Movie Sense is active it will opti...

Страница 13: ...nel supports that mode AVL Automatic Volume Limiting AVL function sets the sound to obtain a fixed output level between programmes For instance volume level of advertisements tend to be louder than pr...

Страница 14: ...r supports the additional narration track Auto TV Off You can set the timeout value of the auto off feature After the timeout value is reached and the TV has not been operated for a selected time the...

Страница 15: ...mer option The timer will be cancelled Note It is not possible to record two channels at the same time Recording a Programme IMPORTANT When using a new USB hard disk drive it is recommended that you f...

Страница 16: ...s Library Slow Forward If you press PAUSE button while watching recorded programmes the slow forward feature will be available You can use button to slow forward Pressing button consecutively will cha...

Страница 17: ...g when watching 3D images in poor light conditions you should turn the lamp off or dim the light You must use 3D glasses parallel to your TV The picture may not be visible or may look dark if you do n...

Страница 18: ...utton and select the Picture icon using the or buttons and press OK Use or to select the 3D side by side setting and press OK to view Once selected the 3D channel can now be watched Note You will need...

Страница 19: ...should adjust the volume so as to avoid excessive levels since this may cause hearing damage Vertical Viewing Angle It is recommended to place the TV at the correct seated eye height of the viewer If...

Страница 20: ...wing steps You must have a modem router connected to an active broadband connection Ensure that Nero Media Home software is installed to your PC for DLNA function See Appendix A for more information o...

Страница 21: ...ing Use a LAN connection for quicker file sharing between other devices like computers The frequency and channel differ depending on the area The transmission speed differs depending on the distance a...

Страница 22: ...uld like to share with your TV If the connection is established correctly you should now be able to access the shared files from your cell phone via the Media Browser of your TV Enter the Media Browse...

Страница 23: ...press the GREEN button You can press MENU to exit If available networks are found they will be listed on this screen Select media server or network that you want to connect to using the or buttons and...

Страница 24: ...Press the PLAY button to resume the playback Use the STOP button to stop the playback Press the EXIT button to exit iPlayer Press the RETURN button for going back to the previous screen Note Episode...

Страница 25: ...l Is the picture or teletext unrecognisable 4 Check if you have entered the correct channel frequency if you have done manual tuning 5 Please retune the channels 6 The picture quality may degrade when...

Страница 26: ...Click the Next button The integrated serial is displayed Do not change the serial number 6 Click the Next button The License Conditions EULA screen is displayed 7 Click the Next button The Select Inst...

Страница 27: ...85Hz 36 1360x768 60Hz 37 1400x1050 60Hz 38 1400x1050 75Hz 39 1400x1050 85Hz 40 1440x900 60Hz 41 1440x900 75Hz 42 1600x1200 60Hz 43 1680x1050 60Hz 44 1920x1080 60Hz 45 1920x1200 60Hz Appendix C AV and...

Страница 28: ...AAC AC3 EAC3 LPCM ADPCM H 264 1080Px2 25fps 1080P 50fpsOther 1080P 30fps50Mbit sec RMVB RM rv30 rv40 LBR cook AAC HEAAC 1080P 30fps 50Mbit sec avi MPEG1 2 4 Xvid H 264 VC1 WMV3 Sorenson H 263 Motion J...

Страница 29: ...the Sky remote control blinks twice 4 Key in 065 The light on the Sky remote control should blink twice 5 Press the STANDBY button on your Sky remote control If your TV switches off press SELECT The l...

Страница 30: ...50226408...

Отзывы: