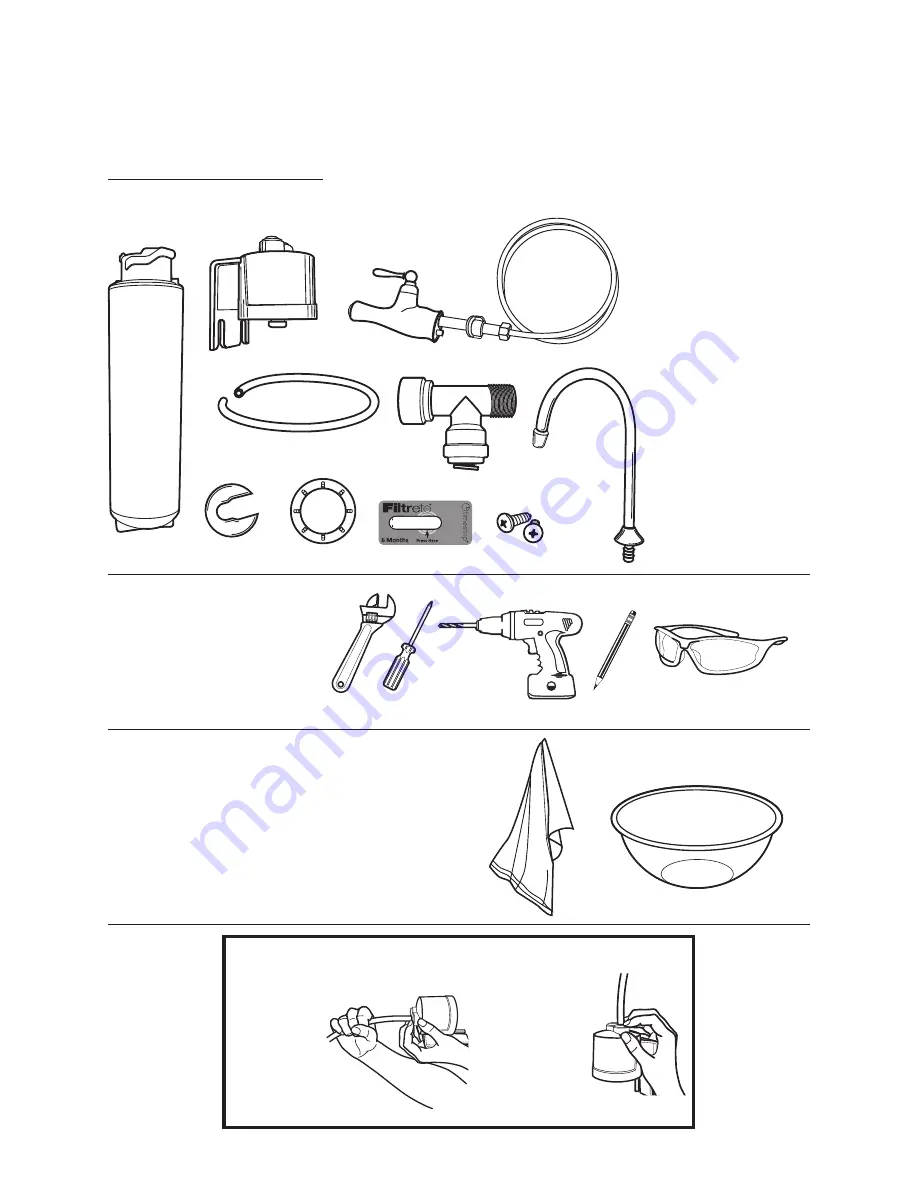
A.
B.
C.
D.
F.
G.
I.
J.
H.
E.
This system uses push-in fittings:
This easy-to-install system uses watertight, push-in fi ttings.
To Release Tubing:
Figure 1
Push in collet to
release tubing.
With collet held, pull
tubing straight out.
To Attach Tubing:
Push tubing in as far
as it will go. Tubing
must be inserted past
o-ring and hit backstop.
Pull tube to ensure it is secure.
IMPORTANT NOTES:
•Failuretofollowinstructionswillvoidwarranty.
•Allowaminimumof21/2"clearspace
under
filter to facilitate cartridge change.
•Installwiththeinletandoutletportsaslabeled.Makesurenottoreverseconnections.
3
PARTS AND MATERIALS: (included)
BEFORE YOU BEGIN:
• Remove items stored under the sink.
• Have a towel and bowl available in case dripping occurs.
TOOLS REQUIRED:
(Not included)
Two Adjustable wrenches
#2 Phillips head screwdriver
Drill
Pencil
Safety glasses
GETTING STARTED
• Filter (A)
• Filter head assembly (B)
• Faucet with tubing, nut (C)
• Coiled tubing (D)
• Water supply line adapter (E)
• Faucet mounting shim (F)
• Faucet gasket (G)
• Faucet spout (H)
• 2 mounting screws (I)
• Filter change indicator (J)


