Ferguson F1915LVD Скачать руководство пользователя страница 24

24

faSt fORWaRd / faSt ReVeRSe

1. Press the 

SeaRCH

   or 

SeaRCH

   button when a disc is playing.

  • The disc begins a fast scan at two times normal (x2) speed.

  • Each time the 

SeaRCH 

 /   button is pressed, the speed of the fast scan changes.

2. Press the   

PLay

 button when you have reached the desired point to resume playback at normal 

speed.

SLOW-MOtION PLay (dVd)

1. In Play mode, press the   

SLOW

 button on remote control. Each time the   

SLOW

 button is pressed, 

the speed of slow-motion playback changes in the following sequence: 


2. Press the   

PLay

 button to return to the normal playback speed.

aUdIO SeLeCtION (dVd)

On some discs, the sound is recorded in two or more formats. Follow the directions below to select 

the type of playback.

1. While a disc is playing, press the 

aUdIO

 button to show the 

current audio format number.

2. Press the 

aUdIO

 button repeatedly to select the desired audio format.

Note:

• If only one audio format is recorded, the number does not change.

• About two seconds later, playback continues in the new audio format.

SUBtItLe SeLeCtION (dVd)

1. While a DVD is playing, press the 

SUBtItLe

 button to display the current language setting.

2. Press the 

SUBtItLe

 button repeatedly to select the desired subtitle language.

Note:

• If only one language is recorded, the language does not change.

• About two seconds later, playback continues with the new subtitle you selected.

• The number of languages recorded differs depending on the disc.

• If no button is pressed within a few seconds, playback continues without changing the current subtitle.

• This function can only be used for discs on which subtitles have been recorded in multiple languages.

• On some DVDs, subtitles are activated from the main menu of the DVD. Press the 

dVd MeNU


button to activate the main menu.

CD / DVD OPERATION

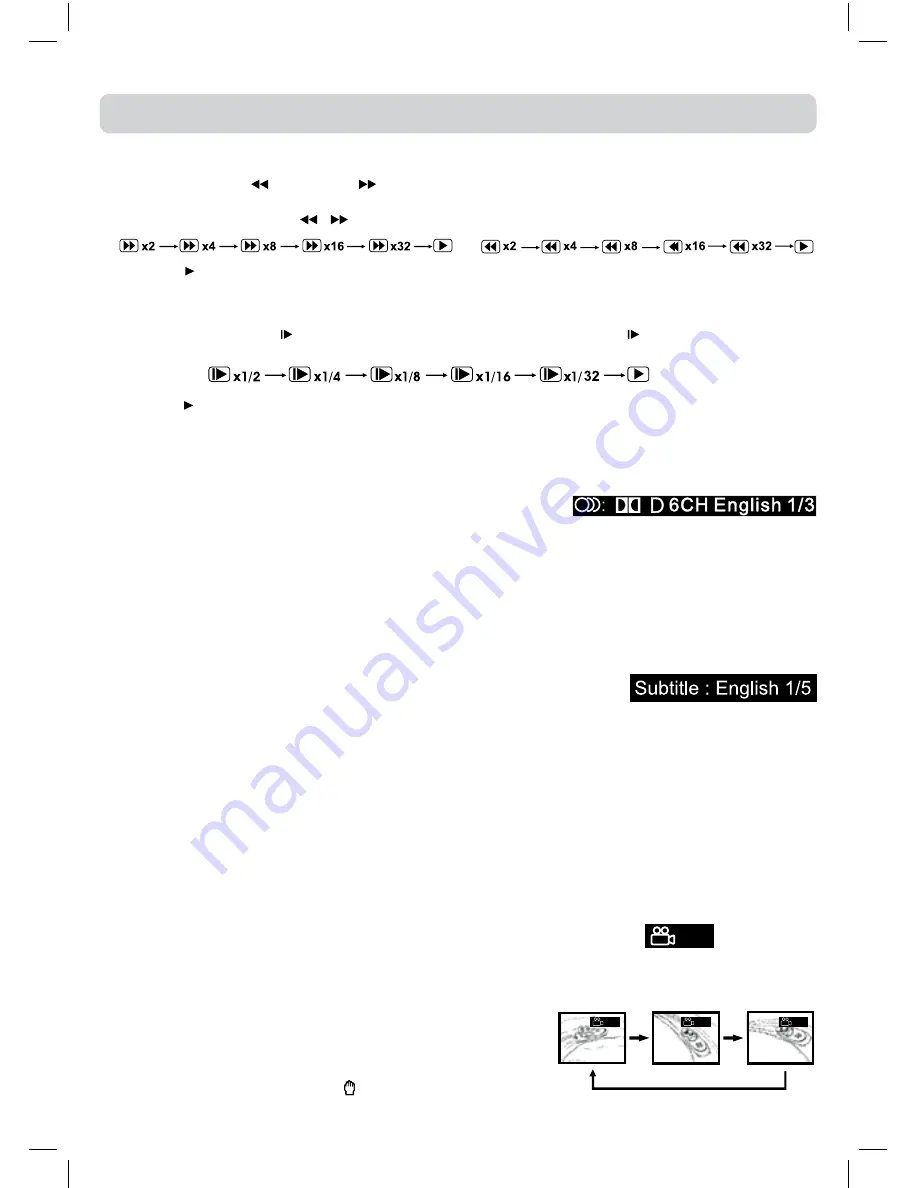
aNGLe SeLeCtION (dVd)

Some DVDs contain scenes which have been shot from a number of different angles. For these discs, 

the same scene can be viewed from each of these different angles. 

1. While you are playing a DVD with different angles recorded, press the 

aNGLe

 button to view the 

number of the current angle available.

2. Press the 

aNGLe 

button repeatedly to change the scene to 

the next angle in those recorded.

  • About two seconds later, playback continues from the new 

angle you selected.

  • If  no  button  is  pressed  within  10  seconds,  playback 

continues without changing the current angle.

Note:

• This function can only be used for discs on which scenes 

shot from multiple angles have been recorded.

• If only one angle is recorded, “ 


” is displayed.

Sequence of angle shots

(Example)

:1/3

:1/3

:2/3

:3/3

Содержание F1915LVD

Страница 1: ...1 Instruction Manual 19 HD READY DIGITAL LCD TV F1915LVD...

Страница 2: ...ay form inside the unit When there is condensation inside the unit the unit may not function normally Let the unit stand for 1 2 hours before turning the power on or gradually heat the room and let th...

Страница 3: ...it at the wall outlet SAFE USE OF YOUR EQUIPMENT This equipment has been designed and manufactured to meet UK safety standards but like any electrical equipment care must be taken to obtain the best r...

Страница 4: ...ource YUV 21 Using Headphones 21 Connecting HDMI 22 SOUND SYSTEM 22 CD DVD OPERATION 23 24 Playing a disc 23 Playing a picture file disc 23 Pausing playback still mode 23 Stopping playback 23 Skipping...

Страница 5: ...discs on this unit if they were purchased from outside your geographic area or made for business purposes Disc Function or Operation that is Not Available When the symbol appears on the screen it indi...

Страница 6: ...ds connected to the unit 2 Lay the unit down on a flat surface so the back is facing up making sure to place a soft cushioned material such as a pillow or thick piece of foam beneath the screen 3 Inst...

Страница 7: ...to be used for a long time remove the batteries to avoid damage caused by battery leakage corrosion Do not mix old and new batteries Do not mix ALKALINE standard CARBON ZINC or rechargeable NICKEL CAD...

Страница 8: ...s chapters or tracks on a disc 11 ANGLE button Press to switch the camera angle of the video presentation when scenes with multiple camera angles are recorded on a DVD SIZE button Press to set the let...

Страница 9: ...tton Press to start and resume playback of a disc GUIDE button Press to display the PROGRAMME Guide in DTV mode PAUSE button Press to pause playback and single frame advance INFO button Press to displ...

Страница 10: ...ay the on screen TV menu 5 PLAY button Press to start or resume playback of a disc 6 I button Turns the unit on and off 7 COMMON INTERFACE slot For optional Conditional Access Module 8 AUDIO IN jacks...

Страница 11: ...ongly as a fixed antenna Connect the AC power cord into a wall outlet Press the I button on the unit or remote control to turn the TV on Note Be sure the AC power cord is disconnected and the TV is sw...

Страница 12: ...outlet and remove the batteries from the remote control UNIT OPERATION TURNING THE UNIT ON FOR THE FIRST TIME The first time you turn the unit on it will go straight into Auto scan mode Simply follow...

Страница 13: ...ode Every Day Mode and Weekly Mode After setting is complete press the ENTER OK button to confirm and a timer indicator will display on the right upper corner of the screen Press the BLUE button again...

Страница 14: ...utton to select an audio language or audio format if available press the or button to select soud track between L R Stereo L L Mono Left and R R Mono Right Press the ENTER OK button to confrim Press t...

Страница 15: ...the CH PAGE button to skip to previous next page 2 Press the RED GREEN YELLOW BLUE button or the FAV button to edit the channel DELETE Press the RED button to delete the selected channel press the EN...

Страница 16: ...mode with NTSC signal Adjust the tint of the picture Colour Temperature Select the colour temperature of the picture Select Normal balanced Warm red white Cool blue white mode Note You can also select...

Страница 17: ...the 3 Use the or button to select the options OSD Language Audio Language Subtitle Language Restore Setting OAD adjust them using the or button 4 Press the TV MENU button to return to previous menu 5...

Страница 18: ...us menu 6 To exit the setup menu and return to the normal screen press the EXIT button Lock System Select to lock or unlock the programmes Change Password If you change the password remember your pass...

Страница 19: ...The text will be superimposed over the TV programme Press the MIX button again to return to the text page Page search whilst watching TV In Text mode press the CANCEL button Enter the page number you...

Страница 20: ...cting to Devices with a Composite yellow RCA type Video Output To connect to A V devices such as a VCR camcorder or video game system Connect to a VCR Video Game System Camcorder Connect the AUDIO VID...

Страница 21: ...other equipment COMPONENT VIDEO OUT and AUDIO OUT to this unit SCART and AUDIO IN To operate the connected device and play the source first press the FUNCTION button to select the YUV SCART mode May r...

Страница 22: ...ace DVI in one specification HDCP is used to protect digital content transmitted and received by DVI compliant or HDMI compliant displays HDMI has the capability to support standard enhanced or high d...

Страница 23: ...upt playback and press the PLAY button to resume playback You also can use the numbered buttons to enter the image number to quickly select any image Press the ANGLE button on the remote control to ro...

Страница 24: ...ct the desired subtitle language Note If only one language is recorded the language does not change About two seconds later playback continues with the new subtitle you selected The number of language...

Страница 25: ...apter you want 3 Press the ENTER OK button to confirm The unit will start playback about 3 second later DISPLAY While the disc is playing press the DISPLAY button repeatedly to display information on...

Страница 26: ...he current track is played repeatedly Repeating an entire disc 2 While the disc is playing press the REPEAT DISC button until the indicator displays on the screen The entire disc is played repeatedly...

Страница 27: ...u If this is the case press the DVD MENU button and choose the appropriate subtitle from the selection on the disc menu Some DVDs may not included your pre selected language In this case the DVD playe...

Страница 28: ...r Box When wide screen video is played in this mode on a conventional screen black bands appear at the top and bottom of the screen Wide screen This is the correct mode for playing wide screen videos...

Страница 29: ...remove dust IMPORTANT NOTE Before shipping the unit remove any disc from the disc compartment Password Use or button to shift and select PASSWORD use button to Change Enter your 4 digit security code...

Страница 30: ...ly with the playback side facing frontwards Clean the disc A non valid disc has been inserted The unit and disc region number are incompatible Condensation may have formed inside the unit due to a sud...

Страница 31: ...o picture or sound Make sure there are no unshielded electrical devices nearby that are causing interference Turn the unit off for 30 minutes then try it again Coloured patches of picture F u n c t i...

Страница 32: ...trical and electronic products must not be disposed of with household waste Please refer to the retailer from whom you purchased this item for disposal instructions WARNING Never dispose of batteries...

Отзывы: