background image

16

MAINTENANCE MANUAL MODELS 825Y, 825YA, 825, 825D, 825YD & 826YD

Service Procedures 825, 825D, 825YD and 826YD 

(2

1

/

2

–3") 

3a.  Valve Seat Removal (Sizes 2½

  –3") 

Threaded-in Seat Ring Type Models 
Model 825 (See Figure No. 13)

 1. 


Remove seat ring by un-threading in counterclockwise 
direction being careful not to damage the internal epoxy 
coating in valve. A tool to aid in this process is described in 
Figure No. 21 on page 30.

 2. 


Remove bushing and bushing nut (item 2A & 2B). 

 3. 


Remove o-ring. 

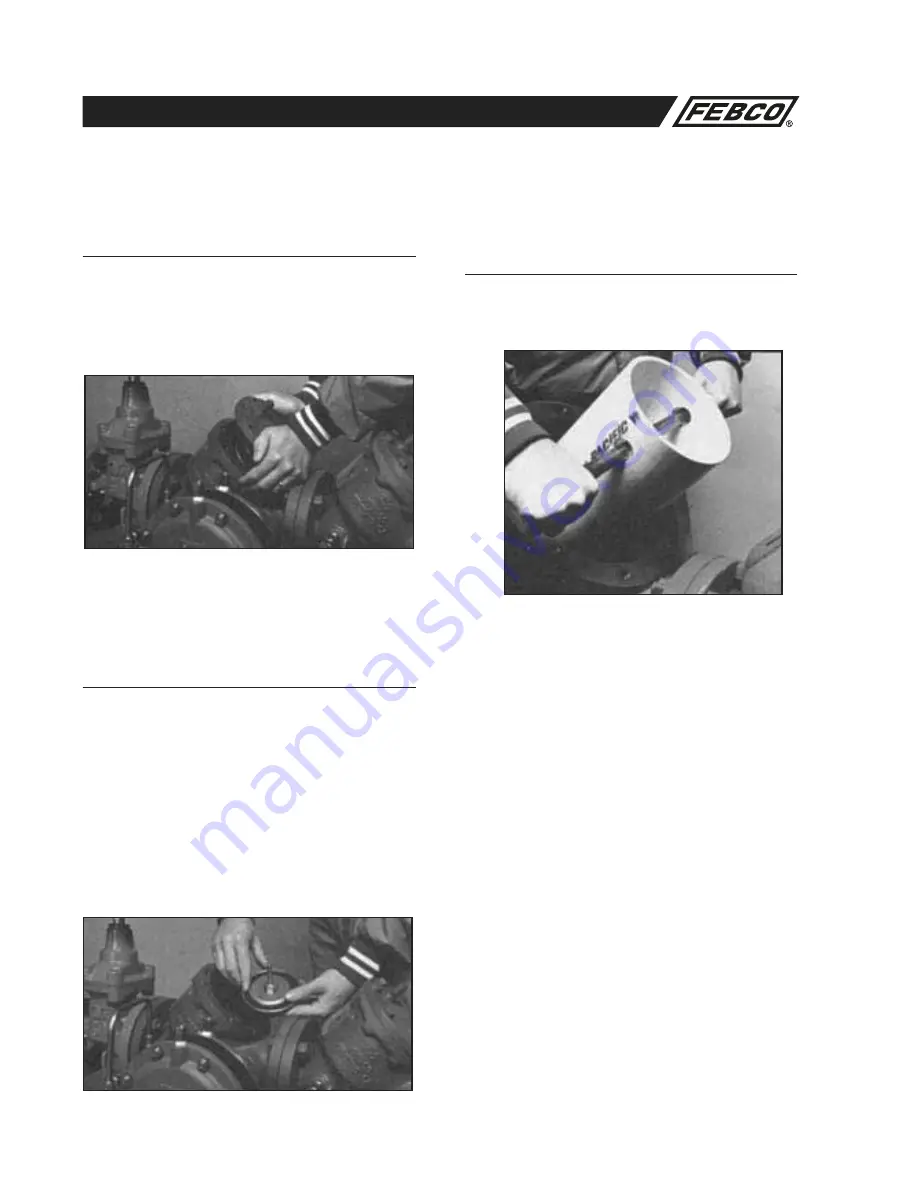
1.  Check Valve Disassembly Models 825, 825D 

and 825YD (Sizes 2

1

/

2

–3") (See Figure No. 13)

 a. 


Slowly close outlet shutoff valve and inlet shutoff valve. 
Bleed residual pressure by opening #4, #3 and # 2 test 
cocks. See Figure No. 8 for test cock location.

 b. 


Remove cover bolts uniformly while holding cover in place. 
Remove cover. 

  CAUTION: Spring is retained in body by cover.

 c. 


Lift check assembly from body being careful not to damage 
internal epoxy coating.

 d. 


If necessary, un-thread bushing (item 4A) from cover.

2.  Check Assembly Repair Models 825 825D 

and 825YD (Sizes 2

1

/

2

–3") (See Figures 

No. 15 & 16)

 a. 


Un-thread nut on stem and remove disc washer and seat 
disc.

 b. 


Inspect seat disc for wear or damage. Replace with new 
seat disc or turn used disc over if new disc is not available.    

   NOTE: The discs are symmetrical. It is usually possible to turn 

the disc over and obtain an effective seal. 

 c. 


If the seat disc has been severely cut along the seat disc 
ring diameter, the assembly is being subjected to extremely 
high back pressure from thermal water expansion, water 
hammer, or other causes of excessive water pressure. A 
disc damaged in such a manner should be replaced and not 
turned over to be reused. 

Содержание 825YA

Страница 1: ...loded View of Model 825Y 3 4 2 15 Service Procedures Models 825 825D and 825YD 21 2 3 16 17 Service Procedures Models 825 825D and 825YD 4 10 18 19 Parts Lists and Part Numbers Model 825 21 2 10 20 21...

Страница 2: ...he high pressure side hydraulically connected to the upstream side of the first check The low pres sure side is hydraulically connected to the reduced pressure zone thus the relief valve remains close...

Страница 3: ...bly 5 Since the FEBCO Reduced Pressure Assembly is designed to be serviced while in line the unit need not be removed from the line during servicing 6 Ensure the supply water pressure does not exceed...

Страница 4: ...rly drained to prevent freeze damage After draining procedure has been completed on the backflow prevention assembly position all ball valve shut offs and test cocks in a half open half closed 45 degr...

Страница 5: ...n backflow prevention assemblies installed in conjunction with fire sprinkler systems an alarm can be placed on the OS Y shut off valves that will sound if unauthorized closure should occur 2 A protec...

Страница 6: ...phragms seals and seating surfaces for damage or debris If the check valve seat disc has been severely cut at the seat ring diameter the assembly has been subjected to extremely high and repeated back...

Страница 7: ...ng freely in guide s c Inspect for dirt or other foreign material d Damaged seat or seat disc d Inspect and replace Seat disc can be reversed e Leakage at o ring on the seat ring or disc holder stem 8...

Страница 8: ...Guide not properly seated in cover 825 825D and 825YD only g Inspect and reassemble 6 Discharge from drain hole in relief valve spacer 825 and 825D only a Leakage under diaphragm retaining screw 8 pl...

Страница 9: ...han the relief valve opening pressure 1 Open test cock 4 to flow a small amount of water through the unit to restore normal pressures 2 Observe the differential gauge with bypass valve 1 closed and te...

Страница 10: ...ure Assemblies including the FEBCO Models 825Y 825YA 825YD Reduced Pressure Assemblies and the 826YD Reduced Pressure Detector Check Figure No 9 FEBCO Model 826YD 2 10 Reduced Pressure Assembly Figure...

Страница 11: ...g around the centering ring of the disc holder and reinsert the disc holder assembly into the check body NOTE Ensure the heavy check spring is installed in the No 1 check valve or the valve will not o...

Страница 12: ...rings bushings and gasket seals for damage Rinse all parts with clean water before reassembly d Close the 4 3 and 2 test cocks and slowly open first the inlet and then outlet shutoff valves and retur...

Страница 13: ...oid leakage d Lubricate the o rings and main stem using FDA approved lubricant Place the main stem and spring into the guide and replace the flat head screw located at the center button e Place the di...

Страница 14: ...0 125 630 137 630 137 14 Spring Outlet 1 630 115 630 115 630 115 630 118 630 118 15 Bolt 4 511 514 06 511 514 06 511 514 06 15 Bolt 8 511 515 07 511 515 07 16 Cover 1 101 029 101 029 101 046 101 035 1...

Страница 15: ...5 905 045 905 045 905 056 905 056 RV Seat Ring Kit 101 102 1 Kit 905 113 905 113 905 114 905 114 Complete Rubber Parts Kit 3 4 5 8 10 17 22 24 25 102 1 Kit 905 111 905 111 905 111 905 112 905 112 Asse...

Страница 16: ...bolts uniformly while holding cover in place Remove cover CAUTION Spring is retained in body by cover c Lift check assembly from body being careful not to damage internal epoxy coating d If necessary...

Страница 17: ...No 15 16 a Position the disc in the cleaned holder and retain with disc washer Insert stem into disc holder replace the nut on stem and tighten NOTE On older Model 825 valves the disc holder is seale...

Страница 18: ...SPRING BEFORE THE RUBBER SEAT DISC CAN BE REMOVED a Leave check assembly in body b Install long studs in body 180 degrees apart c Place spring removal tool over stud and retain with nuts See Figure No...

Страница 19: ...he seat ring 5 Remove the o ring 5a Valve Seat Reassembly Sizes 4 10 Threaded in Seat Ring Type Models Model 825 See Figure No 13 1 Lubricate o ring with FDA approved lubricant Reposition the o ring i...

Страница 20: ...0 338 780 338 780 338 780 338 9 Spring Outlet 780 341 780 342 780 343 780 344 780 345 780 346 10 Spring Inlet 780 349 780 350 780 351 780 352 780 353 780 354 11 Seat Disc 2 780 357 780 358 780 359 780...

Страница 21: ...060 905 061 905 062 905 063 905 064 Relief Valve Kit Rubber Parts 26 27 32 39 49 2 ea 905 066 905 066 905 067 905 067 905 067 905 067 LG Mounting Kit 16 17 17A 40 41 Both Ends 905 036 905 037 905 038...

Страница 22: ...780 366 780 367 780 368 780 369 780 370 17 Bolt 10 511 019 18 511 019 20 17 Bolt 18 511 019 22 511 020 26 511 020 28 17 Bolt 36 511 021 30 17A Nut 14 521 019 00 521 019 00 17A Nut 30 521 019 00 521 0...

Страница 23: ...gure No 14 42 1 1A 2C 50 2A 2D 2 12 50 13 14 4 16 42A 17 17A 39 43A 41A 41B 41A 41 40 44 43 121 Relief Valve for Model 825YD see Figure No 18 on page 26 for exploded view Denotes Commercial Parts Avai...

Страница 24: ...6 7 7A 7B 9 10 11 15 51 905 086 905 088 902 467 905 469 902 471 905 473 Seat Ring Kit 2 2A 2C 2D 12 902 386YD 902 385YD 902 384YD 902 383YD 902 382YD 902 381YD Rubber Parts CI DI Boddies 11 14 51 905...

Страница 25: ...780 388 780 389 780 389 780 389 780 389 30 Main Stem 1 780 391 780 391 780 392 780 392 780 392 780 392 32 Seat Disc 1 780 395 780 395 780 395 780 395 780 395 780 395 33 Disc Washer 1 780 397 780 397...

Страница 26: ...ody Model 825YD Model 825 Type YD 21 2 10 Parts Relief Valve Model 825YD Figure No 18 25 30 31A 31 27 27A 34 28 24 48 32 33 35 22B 22A 50 36 36A 37 39 23 38 22 905 104 Relief Valve Module 26 23 50 21...

Страница 27: ...05 127 905 127 905 127 905 127 61B Meter Std Gal 780 666 780 666 780 666 780 666 780 666 780 666 Relief Valve with Bypass Model 826YD The following information combined with the information in this Ma...

Страница 28: ...L OCCUR 5 Thread seat ring into main valve body and thread relief valve into seat ring 6 Reconnect copper tubing to relief valve 7 Slowly open inlet shut off valve and bleed air by opening first test...

Страница 29: ...t in DO NOT TWIST 13 Replace the outer diaphragm placing the fabric side against the button Work the rolled edge into the space between the mod ule and the body makings sure it is not pinched or buckl...

Страница 30: ...ial or to smaller dimensions than the minimums shown Seat Ring Tool NOTE This information is provided to expedite servicing of FEBCO products See pages 16 19 for instructions on use C DIA 2 PL S 1 DIA...

Страница 31: ...O ring BUNA N 568 228 568 231 568 238 568 246 568 254 568 264 568 273 10 5 16 x 2 1 4 x 2 1 2 x 1 8 2 5 8 x 2 7 8 x 1 8 3 1 2 x 3 3 4 x 1 8 4 1 2 x 4 3 4 x 1 8 5 1 2 x 5 3 4 x 1 8 7 1 2 x 7 3 4 x 1 8...

Страница 32: ...ck BRONZE 1 8 IPS 1 8 IPS 1 4 IPS 1 4 IPS 1 4 IPS 102 O ring BUNA N 568 019 568 019 568 026 568 026 Commercial Parts for Relief Valve Model 825YD 2 1 2 10 Item DESC Material SIZE SIZE SIZE SIZE SIZE S...

Страница 33: ...15 15 15 15 15 17 Bolt STEEL 5 8 11 x 2 1 4 5 8 11 x 2 1 2 5 8 11 x 2 3 4 3 4 10 x 3 3 4 10 x 3 1 4 7 8 9 x 3 1 2 Nut 12 12 24 24 24 36 40 Test BRASS 1 2 IPS 1 2 IPS 1 2 IPS 3 4 IPS 3 4 IPS 3 4 IPS C...

Страница 34: ...te item number and kit number in this maintenance manual 2 Verify the size of the valve the parts are to be used on 3 Provide full model number On large assemblies 21 2 10 the model number is located...

Отзывы: