7
10
If your PC’s video card has a DVI or HDMI port, you can also use an HDMI cable to connect your PC to
your projector’s HDMI port. For PC video cards that only have a DVI port, a DVI to HDMI adapter (not
included) is also required.
Your projector supports a 60 hertz refresh rate. Higher refresh rates are not supported.
C O NTRAST
BRIG HTNESS
HUE
C O LO R TEMP.
STANDARD
Pic ture
SATURATIO N
SHARPNESS
MO VE
SELEC T
EXIT
MENU
PC
Pressing the “MENU” button on the remote control will bring up the projector’s menu screen. The
four arrow buttons around the “MENU” button are used to navigate through the menu. Use the left
and right arrow buttons to select the menu screen you want. The up and down arrow buttons will
select the feature that you want to adjust. The feature you select will be highlighted in the menu
screen. Some features or menu screens may not be available depending on which video mode
you have the projector set to.
After you have adjusted a setting, you can press the “MENU” button to return to the menu
screen selection. Press the “MENU” button again to exit the menu.
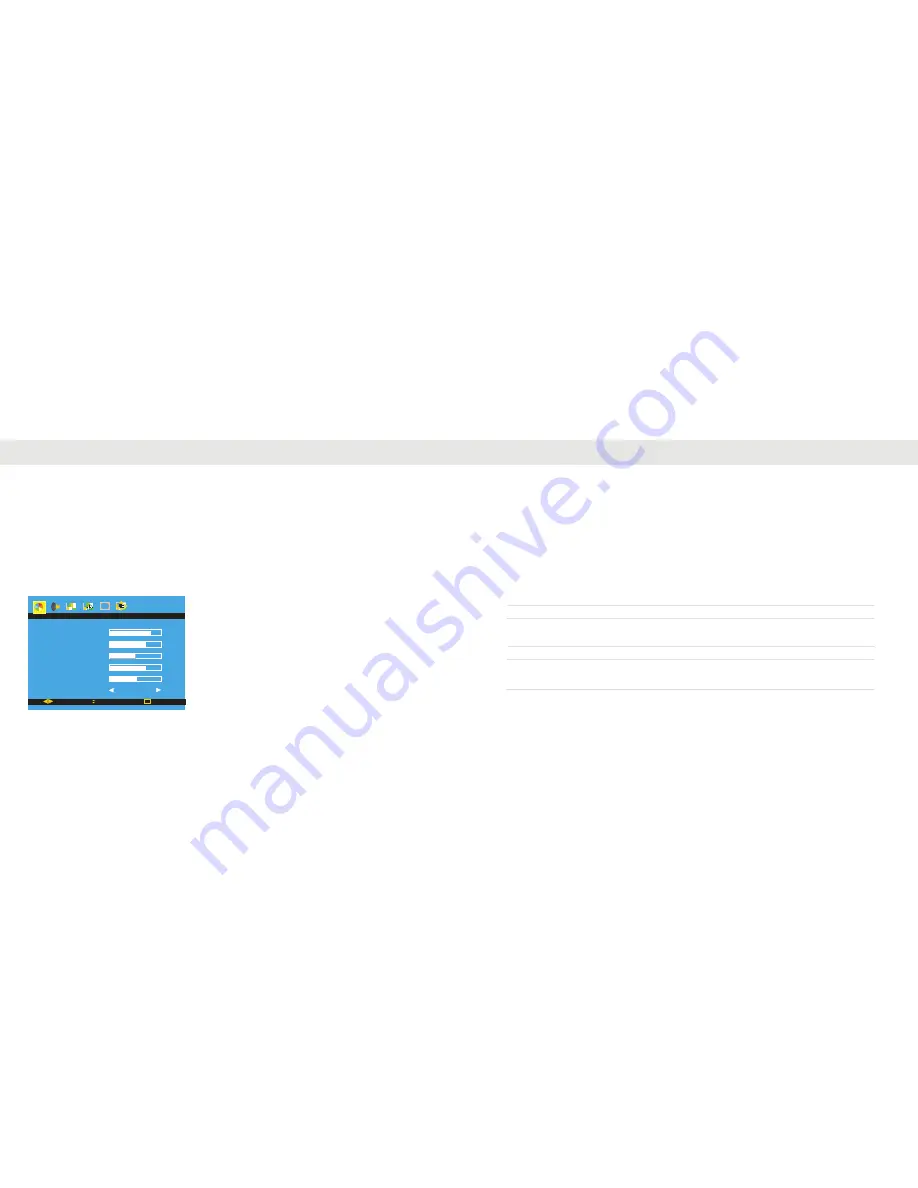
This is what the picture menu screen
looks like:
In this menu screen, you can adjust the brightness,
contrast, hue, color saturation level, sharpness, and
color temperature. The hue control may be
unavailable in Component and HDMI mode. This is
because Component and HDMI supports multiple
video modes. The hue control is only available in
NTSC
modes.
Menu settings
Connecting a PC to your projector
Recommended resolution settings:
1280x720 1280x960 1360x765 1600x900 1920x1080
Supported resolutions: (Small text may appear blurred or unreadable at these resolutions)
640x480 800x600 1024x768
There are several ways to connect your PC to your projector. The simplest method is to enable the TV out
feature on your PC’s video card (if supported), and use either Composite, S-Video, or Component video
cables. For PC’s that do not have a TV out feature, you can connect your PC to the projector’s built in VGA
port located on the rear of the projector.
Содержание RioHD-LED-2
Страница 1: ......


