FAVI A3-WiFi User Guide
FAVI Entertainment
15
To use an external USB disk, first make sure “Host Mode” is enabled. Using the supplied adapter cable,
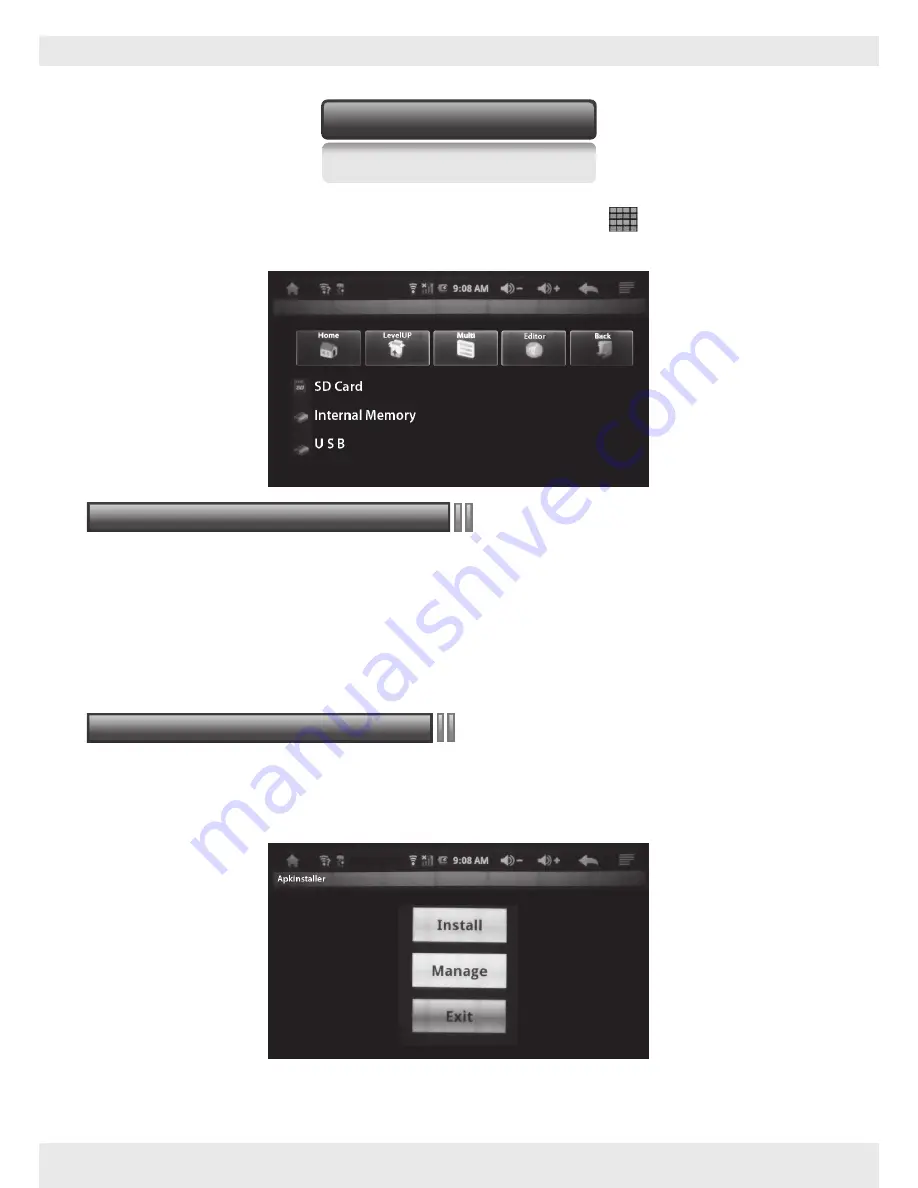
plug in the USB disk then open the “Explorer” app by clicking the icon located on the desktop by default.
The “Explorer” can also be accessed by clicking the application menu icon and locating the app
named “Explorer.” In the “Explorer” app, you should see the following screen:
Your projector has an integrated transflash card slot on the back of the unit just above the DC input and
headphone output jacks. This slot can accept a TF or Micro SD card up to 32 GB. You can store and transfer
files, apps, videos, music, and image files to and from the internal memory and TF/Micro SD card.
Your projector supports the installation of third party software that is designed to run on Android 2.1.
APK files (.APK) can be installed using the APK installer program located in the applications menu. Upon
opening the program, you should see the following screen:
APK files can be downloaded from the internet to either the internal memory, external TF/Micro SD
card, or USD disk if avaiable. To install an APK file, click the “Install” button.
Transflash (Micro SD) card storage
Installation of third party software
External Storage
Insert the card into the slot with the metal contacts facing down and push the card in until it clicks into
place. If the card does not go in all the way, do not try to force it in. Remove the card and make sure it is
oriented correctly then try inserting it again.


