Step 3
–
(
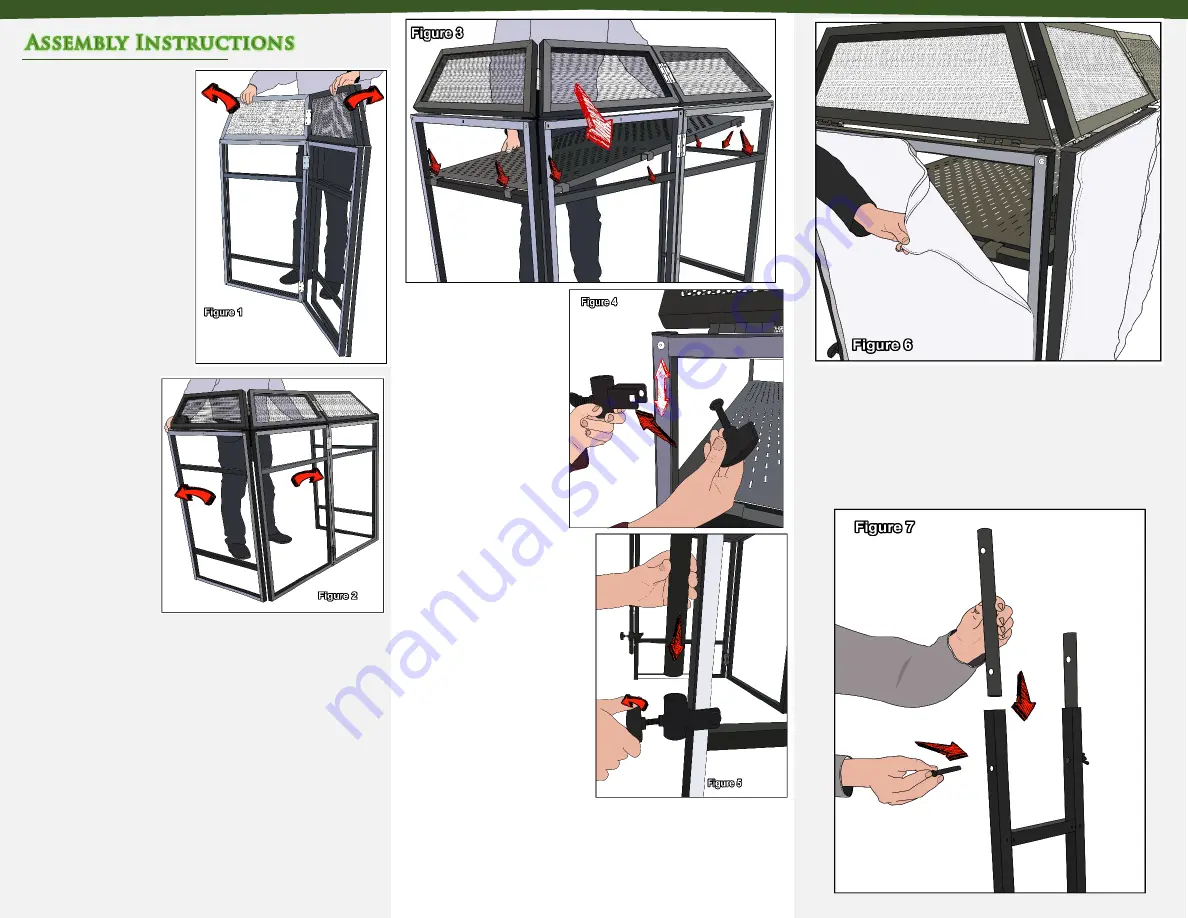
Figure 3
) The
removable tabletop
(
PART D
) installs using
the pre-
installed “C
channels” placed over
the top of the first
horizontal frame rails
that are open all the
way around. Begin by
opening the right side
Step
1
–
Stand
the
mainframe (
PART G
) up in
front of you with the
center hinges facing you.
Then grab the two panels
on each side (2 panels in
each hand) and unfold
evenly
towards
you.
(
Figure 1
)
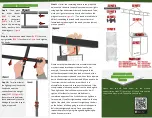
Please scan the QR Code below for the product
demonstration video. Or go to the URL shown here and find
the product video. www.FattoadPro.com/Videos
Step 2
–
Unfold the two
remaining panels (one on
each side) evenly away
from you. (
Figure 2
)
Step 4
–
Install the four
pole clamps (
PART C
) as
shown in
Figure 4
. Place
the C-shaped clamp
around the vertical pipe
and insert the bolt
through the holes. Twist
the knob to secure.
There are two on each
side -- one at the top and
one at the bottom.
Step 5
–
The vertical pipes
(
PART H
) can then be
installed (one on each side)
by sliding down into the
clamps installed in Step 4.
For stability, these can be
slid all the way to the floor
and the knobs on the
clamps tightened. (
Figure 5
)
Step 6
–
The four scrim
sheets (
PART F
) can then be
installed using the pre-attached Velcro. These sheets may
be washed using a gentle detergent either by hand or in a
washing machine set on gentle cycle. DO NOT PLACE IN
DRYER. HANG DRY ONLY. (
Figure 6
)
Step 7
–
Take the 1 pc of “I
-
Beam” Truss Sections (
PART E
)
and insert 1 pc of Beam Connectors (
PART A
) to one end.
(
Figure 7
) This part will be the center I-Beam of the truss
section. Secure these using a bolt, washer, nut and
wingnut. Repeat this process on the other side of the I-
beam.
of the frame slightly and placing the tabletop “C clamps”
over the rail. Then gently pull the right side back into
place setting the rest of the tabletop “C clamps” on top
of the rail. You may need to use some pliers to gently
open one or more of the “C clamps” so they sit on the
rail.


