1.
On/Off
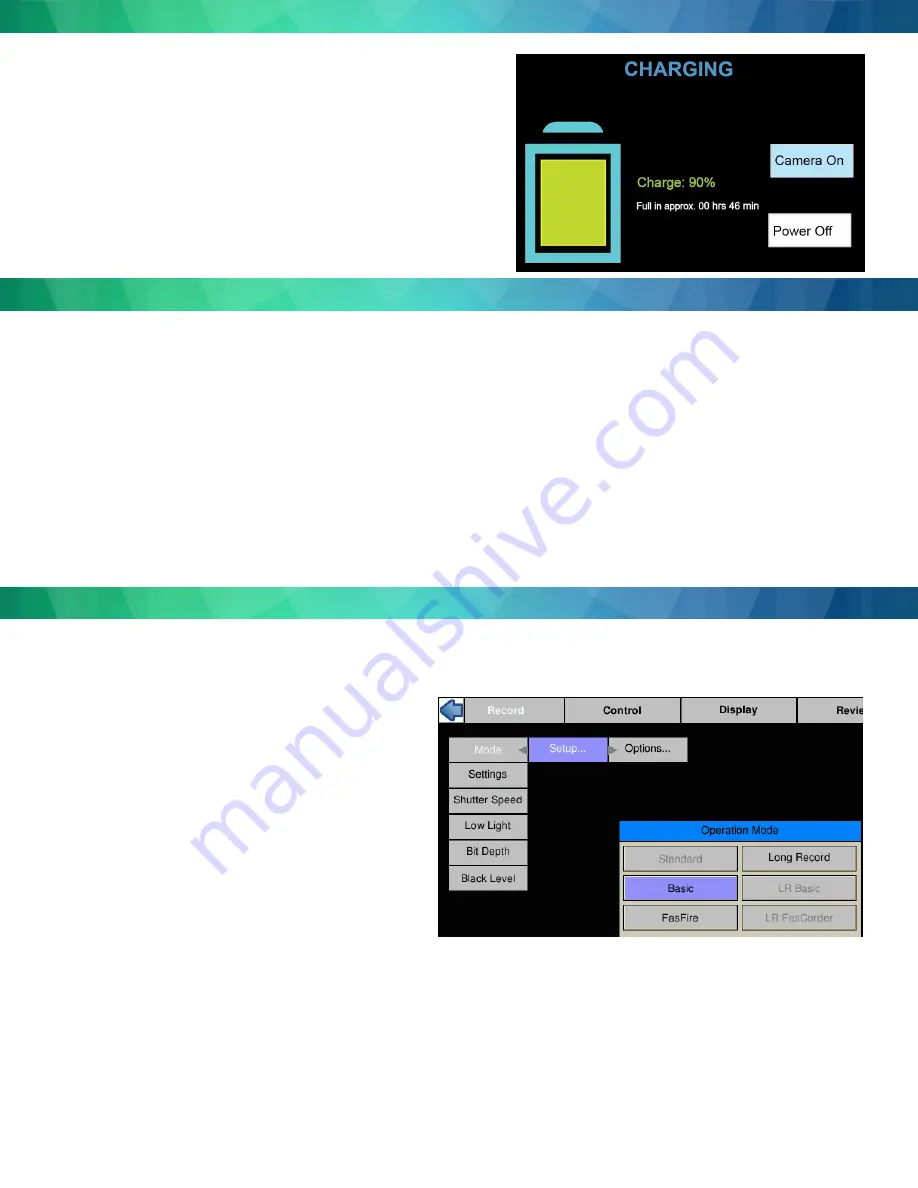
button powers the camera on and off. If the battery is installed and the power adapter is attached, the battery charging dialog will
appear (see the section on Power, below).
2. DISP
button toggles the Display through several modes: Display on, Display on with Histogram, and Display off. When reviewing clips, it also
turns playback controls and per frame metadata on and off.
3. Menu
button toggles the on screen menus on and off. While navigating menus, the Menu Button is used to go backward through levels of the
menu. (When touch-enabled the icon in the upper left of the screen has the same function.)
4.
Directional Pad
(D-Pad) for navigating and selecting items on the camera menu.
5. Arm
button begins or cancels recording.
6. Trigger
button function is dependent on the camera state and recording mode. If the camera is not armed (in any mode) pressing the Trigger
will capture one still image. In Basic mode the Trigger will initiate a record cycle on an Armed camera, which will end with the camera saving
or playing back the recording. On the TS4 In Long Record ROC mode, the Trigger will toggle the camera between Recording and Armed. In Long
Record BROC mode, the Trigger will capture a specified number of frames then return to Armed.
7.
Touch Control.
With touch enabled you can navigate through the menus and dialog boxes simply by touching the display. If Touch is not
enabled, navigate to the System menu and down to “Touchscreen” using the D-Pad. Click on the “Disabled” button. The display will go blank
except for a small icon in the upper left corner. Touch that icon to display the menus.
1.
In the Record Menu Select Mode Setup. The choices available will depend on the camera model. The TS4 will have both Standard and Long
Record options available, while the TS3 and TS5 will only have the Standard options. (The TS4 will reboot when going back and forth from
Standard to Long Record.)
2.
Select the desired options using the Mode Options dialog. These will vary depending on the selected mode:
•
In Standard modes and Long Record Basic, one of the settings
is Trigger Position. Setting the trigger point divides the inter
-
nal memory into two sections: 1) a circular buffer reserved
for pre-trigger frames; 2) a second buffer for post-trigger
frames. The images recorded before the trigger are given
negative frame numbers (oldest is most negative, the newest
is -1), the image taken at the time of the trigger is “frame
0,” and all frames taken after the trigger are given positive
numbers. Note that with an “End” trigger, all frames will have
negative numbers except for frame 0, which will be the last
frame. With a “Start Trigger” the recording will begin at frame
“0” and all subsequent frames will have positive numbers.
•
LR FasCorder modes (ROC and BROC) the trigger position is
always “Start.”
3.
Select Settings to change Frame Rate or Resolution.
4.
Set the Shutter Speed using the presets or select Advanced on
the Shutter Speed menu to use the Exposure Setting Slider.
5. Press the Arm Button to begin recording. Note that while a recording is in progress it will not be possible to change resolution or frame rate. It
is possible, however, to change the shutter speed in order to accommodate changes in lighting while recording.
5. Trigger the camera via the Trigger Button or a Trigger Signal to the Sync I/O port to initiate the record cycle. If you are using Standard Basic or
Long Record Basic, the camera will enter Playback when the recording is finished. If you are using FasFire or Autosave, the camera will save the
recording to storage media and re-Arm. If you are using LR FasCorder ROC mode, the camera will toggle between Armed and Recording each
time you trigger. If you are using LR FasCorder BROC mode, the camera will record a specified number of frames with each trigger, then return
to the Armed state.
2
•
Turn the camera on by pressing the Power button. The camera will also power
up whenever the battery is installed or the DC power adapter is attached and
powered up.
•
If the DC power adapter is attached and the battery is installed, the battery
charge dialog will appear on the screen. By default, the camera will begin
charging the battery if it is not already fully charged.
•
From the charging dialog, the user must select “Camera On” to boot the
camera.
•
The camera battery does not charge while the camera is in use. With the
camera powered on and attached to the DC power adapter, press the Power
Button once to open the Charging dialog. While the camera is charging the
Battery LED will blink. When the battery is completely charged the camera will
fully power down. This may take up to 5 hours.
Power
Controls and Buttons
Record


