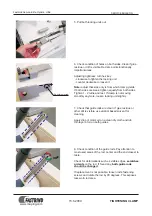
10. Slide locking unit with spring into the clamp pipe.
Note 1: Locking unit is upside down
Note 2: See the angle of the locking unit - it slides in easily
11. Ensure that locking unit holes are aligned with
pipe holes. Push clamp back to guide rods. Test that
lifting clamp handle moves both locking units (clamp
starts to hold).
Re-install plastic end caps, guide support and knobs.
www.maping.com
15.6.2009
SERVICE BULLETIN
Fastbind Secura, Elite, Optima, Ultra
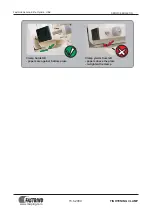
12. Perform functional test with paper: load 30 mm
paper to clamp. Turn the table up.
Test clamp holding capability by pressing the
papers down with your thumb. Press hard from left,
center and right.
Turn the table down and see if papers are still
against bottom plate (see the next page).
TIGHTENING CLAMP
9. Re-assembling clamp:
Turn clamp upside down so that the handle points to
you. Note the position of eccentric cams inside the
clamp.


