background image


Part #??? 

Revised ?????? 

Part # FAST4-207 

Revised 6/16/14 

FAST


3400 Democrat Rd. 

Memphis, TN  38118 

Phone:  901.260.3278  

Toll Free: 1.877.334.8355 
www.fuelairspark.com 


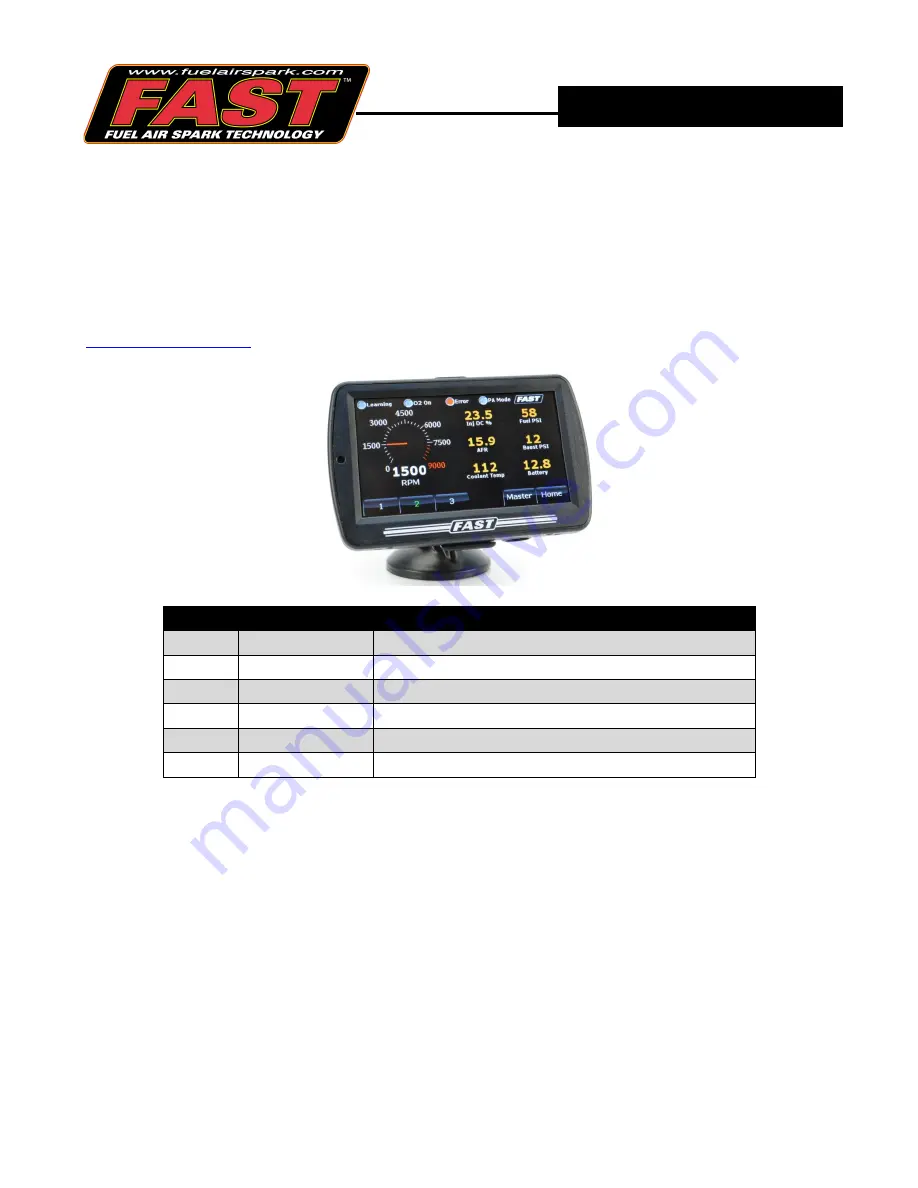
XFI eDash 
PN 301517 


Thank  you  for  choosing  FAST

  products;  we  are  proud  to  be  your  manufacturer  of  choice.    Please 

read this instruction sheet carefully before beginning installation, and also take a moment to review the 
included  limited  warranty  information.  Contact  us  toll  free  at  1.877.334.8355  or  at 

www.fuelairspark.com

 under Tech Help with any questions. 


QTY 

PART# 

DESCRIPTION 

301517B 

eDash 

30310 

Handheld Cable 

30319 

Handheld Cable to CALPORT Adapter 

30321 

XFI 2

nd

 Comm Port Pigtail 

30493 

Suction Cup Mount 

170671 

USB Cable, A to Mini-B 


eDash Notes 


The mini-USB port on the top of the eDash is used to connect the eDash to a computer in the 
event that an eDash update becomes available.  The supplied USB cable is not used in normal 
operation of the eDash. 


Please do not attempt to operate the eDash while driving.  For safety, have a passenger monitor 
live data or adjust settings as needed if the vehicle is moving. 


The eDash is compatible with mounting brackets that fit a Garmin Nuvi 2455LT GPS unit.  A 
suction cup mount for the eDash is included in the kit.   


The  eDash  has  a  touch  screen  calibration  procedure  that  can  be  accessed  by  pressing  and 
continuing to hold anywhere on the screen as the eDash is powered on.  After about 4 seconds, 
the  calibration  screen  will  appear  and  walk  you  through  the  short  calibration  process.    The 
purpose  of  this  calibration  is  to  sync  up  the  touch  sensitive  screen  with  the  graphics  on  the 
display so that where you see a “button” on the screen is also where you need to touch to select 

INSTRUCTIONS 

Содержание XFI eDash

Страница 1: ...he eDash is used to connect the eDash to a computer in the event that an eDash update becomes available The supplied USB cable is not used in normal operation of the eDash Please do not attempt to ope...

Страница 2: ...d to be repeated Wiring Connections A long handheld cable is supplied to connect the eDash to the ECU s harness XFI 2 0 When using an eDash with an XFI 2 0 ECU there are two options for connecting the...

Страница 3: ...The handheld cable will connect to the installed pigtail Again there is a loose pink wire that needs to be connected to a switched 12V source to power the eDash When the 2nd Comm port is used for the...

Страница 4: ...to allow new wires to be inserted It is easiest to slide the locks out by pushing down through the top of the connectors Pictured below is the bottom side of a connector with the lock slid out and re...

Страница 5: ...the handheld cable connects directly to the HANDHELD connector on the ECU harness eDash Screens Home Screen Live Data Pressing the Live Data icon navigates to a series of dashes that display live ECU...

Страница 6: ...t screen Across the top of every dash are 4 LEDs that indicate the following LABEL DESCRIPTION OFF ON Learning This indicates that all of the enable conditions for learning are met and that learning i...

Страница 7: ...278 Toll Free 1 877 334 8355 www fuelairspark com Dash 2 Dash 3 Master Dash The Master Dash is designed for easy viewing of all sensors and user accessible values that the eDash will view For example...

Страница 8: ...ontrol This is the position of the idle motor At idle it will move around to maintain the target idle speed Displayed in counts Higher counts mean the idle motor is open more and allowing more air to...

Страница 9: ...is value TPS Throttle Position Sensor This tells you how far the throttle blade s are open Diagnostics Codes When an error code is set the Error LED displayed on the eDash s Live Dashes will turn on I...

Страница 10: ...is section shows information about the ECU and Handheld XIM This section shows information about the XIM if being used Enabled Options This section shows what options have been enabled on the XFI Hand...

Страница 11: ...Navigation Buttons CANCEL Discard changes Return to Adjustments screen CONFIRM Save changes Return to Adjustments screen Set Startup Screen The Set Startup Screen allows you to select the first scree...

Страница 12: ...ges too The Calibration Loaded number is the calibration that is currently active Press the button indicating the tune you wish to load WARNING The new calibration will not be loaded until the ECU has...

Страница 13: ...for the adjustment of the Rev limiter 1 and 2 This can be done by selecting the value to adjust typing the value on the keypad and pressing Enter TCC Lockup The TCC Lockup screen sets the minimum MPH...

Страница 14: ...installer to ensure that all of the components are correct before installation We assume no liability for any errors made in tolerances component selection or installation There is absolutely no warr...

Отзывы: