Assembly Instructions
VISION
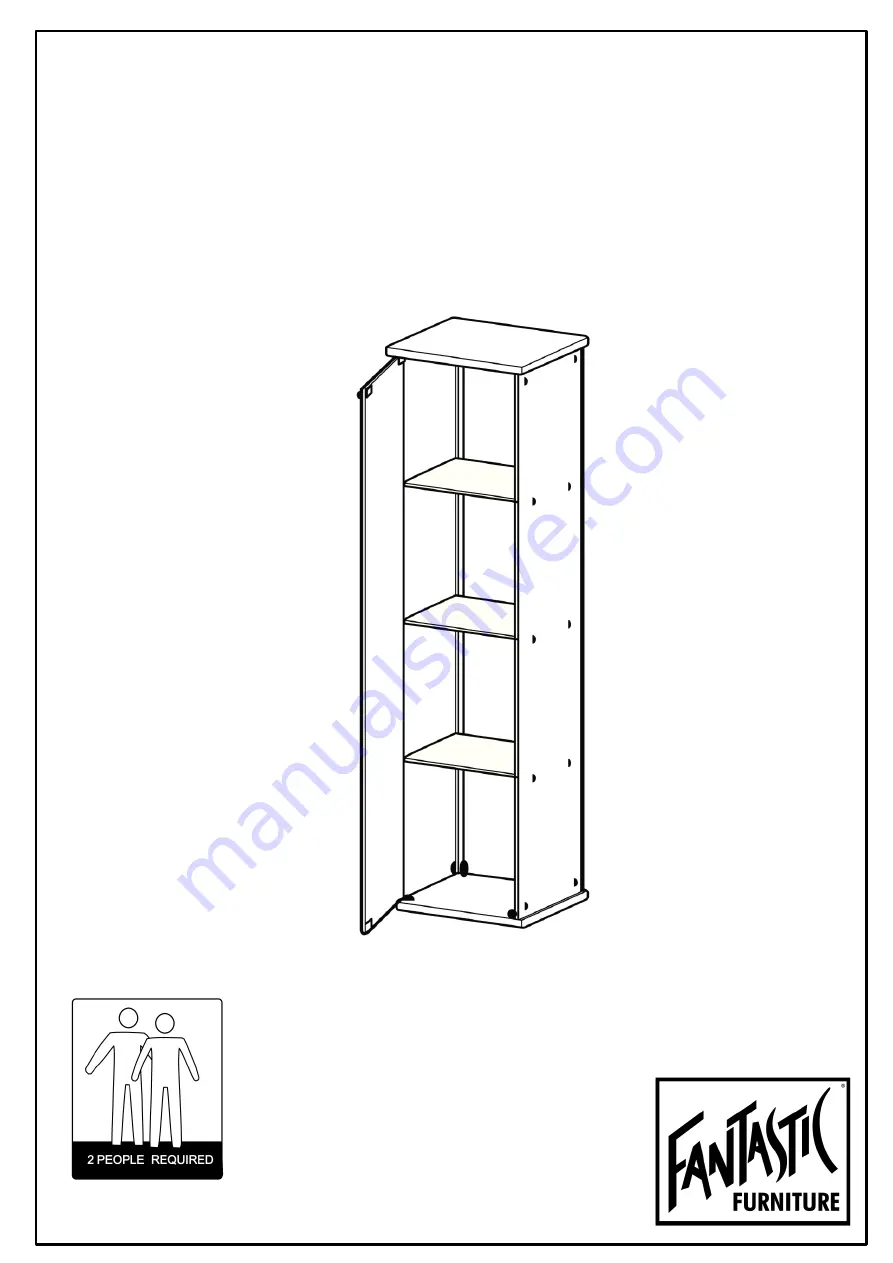
Display Cabinet
TEMPERED GLASS SHOULD ALWAYS BE
HANDLED WITH CARE
Ver:1.1
Страница 1: ...Assembly Instructions VISION Display Cabinet TEMPERED GLASS SHOULD ALWAYS BE HANDLED WITH CARE Ver 1 1 ...
Страница 2: ... hardware pack and rest each one in its proper location before fastening DO NOT fully tighten screws leave slightly loose When the item is fully assembled tighten the screws but do not over tighten DO NOT set glue until you are certain that the parts belong together Carefully identify each component especially those that are similar The most common mistake is getting things back to front Page 2 ...
Страница 3: ...glass is designed to break into small relatively harmless pieces and not sharp fragments Care Instructions Wipe clean with a cloth dampened in water or window cleaner only Wipe dry with a clean cloth Good to know Never place extremely hot or cold objects directly onto the glass surface This may weaken the integrity of the glass and cause it to break suddenly and without warning Dropping heavy glas...
Страница 4: ...ront brackets H2 8 x M3 x 13 mm Screws H3 12 x Bolts H4 4 x Feet H5 4x M4 x 22 mm Screws H6 12 x Shelf lugs H7 2 x Magnetic Catch H9 1 x Door handle Foam Insert H11 1 x Wall Strap H12 1x M4 x 14 mm Screws H13 2 x Washer H14 1 x Strike Plate Foam Insert H10 2 x Sleeve H15 Please make sure you have all these parts before you start Joiner Strip P3 Shelf P7 Shelf P7 2 x Door hinges H8 ...
Страница 5: ... will need Back P2 Base P1 Base P1 H5 H5 H6 H5 H6 H5 H6 Page 5 Attach Feet H5 to Base P1 using 4 x Screws H6 and tighten using phillips head screwdriver Turn the Base P1 to let it stand on its feet Insert one short edge of Back Panel P2 into the groove of Base P1 H6 ...
Страница 6: ...Panel P4 Page 6 With the help of another person attach 2x Strip Joiners P3 to the sides of Back Panel P2 Insert one short edge of Side Panel P4 into the groove of Base P1 and the adjacent long edge into the Strip Joiner P3 Repeat with the other Side Panel P4 Base P1 ...
Страница 7: ...H1 H3 Page 7 Place Top P5 so that the top edges of the two Side Panels P4 and Back P2 are in the grooves of Top P5 Attach 4 x Rear Corner Brackets H1 to Back P2 Side Panels P4 Top P5 and Base P1 with 4 x Screws H3 and 8 x Bolts H4 Top P5 Base P1 Side Panel P4 Side Panel P4 Back P2 Attach 4 x Front Brackets H2 to Side Panels P4 Top P5 and Base P1 with 4 x Screws H3 and 4 x Bolts H4 ...
Страница 8: ...Catch H9 on the right side 2 x Magnetic Catch H9 H9 H9 H8 Page 8 Insert a magnetic catch H9 each into the top P5 and Base P1 Attach 12 x shelf lugs H7 to the side panels P4 Top P5 Base P1 Side Panel P4 Side Panel P4 Back P2 Peel off the backing from foam inserts and paste them on two corners of the Door P6 Attach the Door Hinges H8 to the Door P6 using the hinge bolts with a Phillips screw driver ...
Страница 9: ...P6 with a Phillips screw driver Insert the top hinge into the sleeve H15 on the Top P5 Slide the top corner of Door P6 into the hinge Tighten the bolts on the top door hinge with a Phillips screw driver Remove the foam insert from the Strike Plate H10 Peel off the backing from foam insert and paste it onto the bottom corner of the Door P6 Slide the Strike Plate H10 into position Repeat with the Do...
Страница 10: ...2 Page 10 F Shelf P7 Shelf P7 Shelf P7 Move the cabinet to the desired position against a wall Mark a line on the wall at the center top edge of the cabinet Remove the cabinet mark a point about 10 cm below the line Attach the wall strap H12 with the appropriate screw system and washer H14 Carefully move each Shelf P7 into the cabinet above the lugs Place each Shelf P7 onto the lugs making sure it...
Страница 11: ...vironment Please dispose of all packaging thoughtfully Step 13 1x M4 x 14 mm Screws H13 1 x Washer H14 You will need H13 H14 Page 11 Step 14 Reposition the cabinet Attach the cabinet at its top to the wall strap H12 using 1 x screw H13 and washer H14 ...