⑧
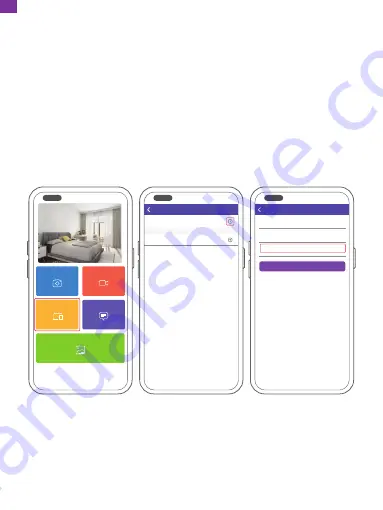
Confirm the binding request on your frame. Go to Settings
→
User Management
→
Pending User Requests, click Accept.
Note:
Please make sure that you turn on the "Accept New Users" to receive
the binding request.
④
Enter the Frame ID.
Note:
Frame ID is a 6-digit series number which can be found on your frame.
Go to Settings
→
Device Info.
⑤
Create a device name for your frame.
Note:
We recommend you to name your frame after the Frame ID for easy
identification, for example, if the Frame ID is 123456, please name your frame
Frame123456.
⑥
Create a unique email address for your frame.
Note:
We recommend you to create the address with the Frame ID for easy
identification, for example, if the Frame ID is 123456, please create an email
address [email protected].
⑦
Then click Bind.
My Devices
Bound Devices
Back
Devices
Device name frame123456
Device Email frame123456@
ourphoto.cn
Frame ID 123456
Bind
Devices
Devices Bind
Devices
Messages
Video
Photo
Media
07
EN
Содержание Smart 10
Страница 1: ...USER MANUAL Faminode Smart 10 Digital Photo Frame V1 1 ...
Страница 2: ...01 19 English 20 38 Deutsch 39 57 Español 58 76 Français 77 95 Italiano 96 114 日本語 ...
Страница 99: ...箱の中身 フレームの概要 Faminodeスマート10デジタル フォ トフレーム 電源ケーブル付き 電源アダプタケーブル スタンド USBケーブル 1 2 97 JP ...
Страница 100: ...1 2 3 4 10 IPSタッチスクリーン PIR人感センサー 磁気吸引 リセッ ト 5 6 7 8 マイクロUSB端子 USB端子 DC電源端子 マイクロメモリカードスロッ ト 4 6 7 8 5 3 98 JP ...


