Chapter 2
Unpacking and Installing the Switch
2 - 10
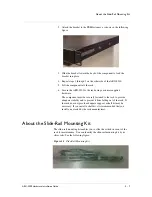
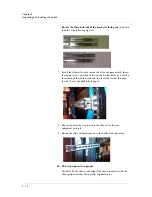
Ensure the three-hole side of the bracket is facing out
(as shown
in both of the following figures.)
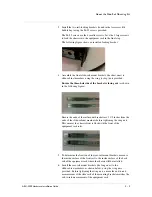
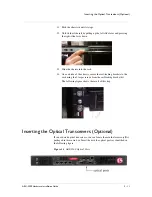
7. Install the slide rails on the inside rail of the equipment rack. Insert
the thumb screws provided in the top and bottom holes by screwing
them through the cabinet rails and into the slide-bracket threaded
inserts. (Leave the middle hole open.)
8. Repeat the previous step to secure the slide rail to the rear
equipment rack rail.
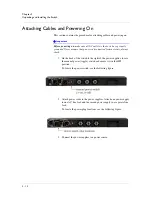
9. Extend the slide-cabinet members to their fully-locked position.
10. This step requires two people.
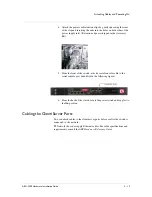
Carefully lift the chassis and align slide-chassis members with the
slide-cabinet member black plastic alignment pins.
Содержание ARX-2500
Страница 1: ...ARX 2500 Hardware Installation Guide MAN 0417 00 ...
Страница 2: ......
Страница 6: ...vi ...
Страница 7: ...Table of Contents ...
Страница 8: ......
Страница 10: ...Table of Contents x ...
Страница 11: ......
Страница 12: ...Table of Contents xii ...
Страница 14: ......
Страница 22: ...Chapter 1 Introduction 1 10 ...
Страница 24: ......
Страница 36: ...Chapter 2 Unpacking and Installing the Switch 2 14 ...
Страница 38: ......
Страница 55: ...4 Maintenance POST Diagnostics ...
Страница 56: ......
Страница 60: ......
Страница 64: ...Appendix A Replacing Optical Transceivers or Chassis A 6 ...
Страница 65: ...Index ...
Страница 66: ......
Страница 68: ...Index Index 4 ...

