


f1.mts-gruppe.com
16
EN
In
s t
alla
t
ion
Caution!
Remove the battery pack prior to assembly.
A
tt
aching
t
he addi
t
ional handle
1. Place the additional handle on the device.
2. Screw the additional handle in place with the
hexagon key.
A
tt
aching
t
he polishing disk
1. Press and hold the axle lock button.
2. Screw the polishing disk onto the spindle of
the polishing disk holder.
Use
Charging
t
he
s
to
r
age ba
t
tery
•
The storage battery should be fully charged
prior to first use.
•
Regularly check the charge of the battery pack
when stored for extended periods.
•
Fully charge the battery every month, even if
the device has not been used.
1. Connect the mains plug of the charger to a
230 V mains socket.
2. Insert the battery pack in the charger until the
battery pack clicks into place.
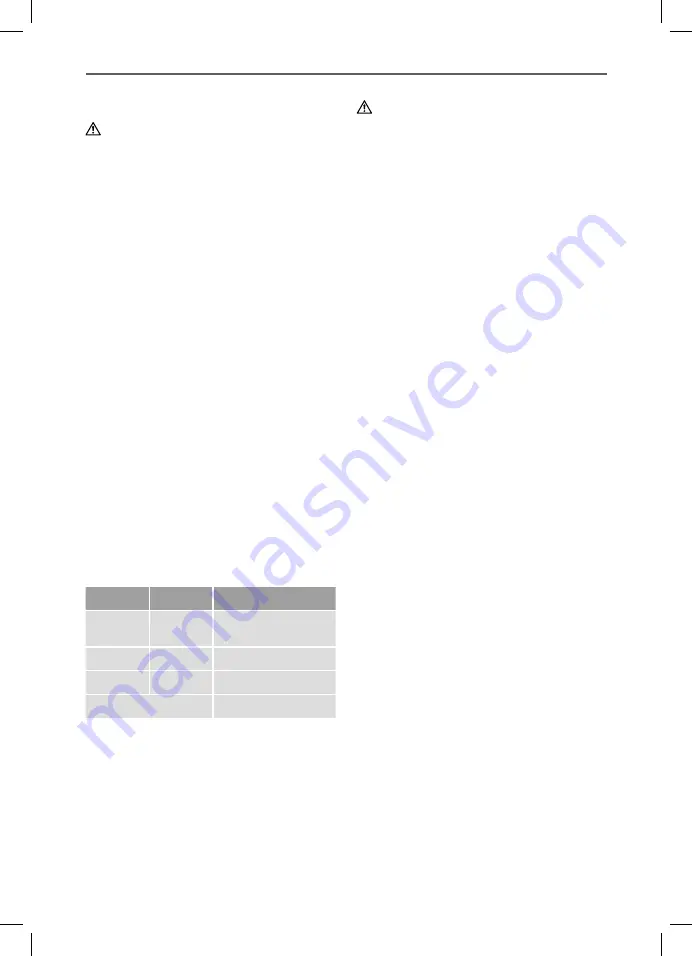
3. The battery will now start charging. The LEDs
on the charger indicate the current status.
Green LED
Red LED
Meaning
steady light steady light Battery pack fully
charged.
flashing
steady light Battery pack charging.
off
flashing
Battery pack too hot.
flashing alternately
Battery pack defective.
4. When the battery pack is fully charged, press
the release button on the battery pack and
remove the battery pack from the charger.
Using
t
he acce
s
sorie
s
Warning!
Always remove the battery pack before attaching
or removing accessories.
Set the device on a level surface with the polish-
ing disk facing up.
Application
Use the polishing sponge to apply the polish.
Ensure the polishing sponge is clean and always
fixed in the middle of the polishing disk.
•
4 cm polishing sponge: For applying paint care
products, low speed.
Polishing
To polish, remove the polishing sponge and use
the polishing bonnet. Ensure the polishing bonnet
is clean and pull the polishing bonnet taut and
evenly over the polishing disk.
•
Microfibre polishing bonnet: suitable for paint
cleaning products, low to medium speed.
•
Cotton polishing bonnet: suitable for high-gloss
finish, low to high speed.
Switching
t
he polisher on/o
f
f
1. Insert the battery pack in the device until the
battery pack clicks into place.
2. Hold the switch lock and press the on/off
switch to switch the device on.
3. Release the on/off switch to stop the device.
4. After using the device, press the battery re-
lease button and remove the battery pack.
Speed control
This device is equipped with control electronics
which maintains a consistent speed when differ-
ent forces are applied. The speed can be set with
the wheel on the top of the handle. The wheel is
marked „1, 2, 3, 4, 5, 6“. For maximum power, set
the wheel to setting „6“.
Polishing
•
Observe the manufacturer instructions when
using waxes and polishes.
•
Always ensure all polishing attachments are
clean. The polishing disk must always be
applied flat to the painted surface. Corners
and edges should be polished by hand, as for
untrained individuals may remove paint or paint
may flake.
•
For optimal results, we recommend NIGRIN
paint care products.
Содержание PM200
Страница 1: ...Polishing Machine PM200 ...
Страница 3: ...Polishing Machine PM200 3 1 2 3 4 5 6 7 8 ...
Страница 126: ...f1 mts gruppe com 126 NO ...


