background image

22

User Manual


ECO 200

Maintenance


F+D

 Feinwerk- und Drucktechnik GmbH

                    Kirchenstraße 38, D-69239 Neckarsteinach
                    Tel.: 06229 7000, Fax: 06229 70067
                    E-Mail: [email protected], Internet: http://www.fuddruck.de

4. Maintenance

4.1 Ribbon- and Paper-Changing

Change the paper or transfer ribbon respectively as described under 2.5.

4.2 Cleaning of the Thermal Print Head

Depending on the application- as well as the environmental- conditions of the thermal printer, the print head
must be cleaned every 10 to 20 working hours.
1. Switch printer off.
2. Release the print head upper and rotate upwards
3. Wipe with a spirit dampened cloth several times smoothly over the printing

Notice

: Do not use any hard or sharp-edged objects.

4.3 Cleaning of the Feed Rollers

Above all paper and dust particles stick to the feed rollers, and have to be removed.
1. Switch printer off.
2. Release the print head upper and rotate upwards.
3. Clean feed roller with spirit and bobble free cloth.
4. After the rollers are dry, hinge print head device down and latch.

Notice

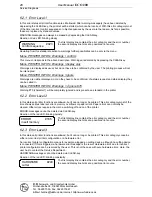
: Do not use acetone or any other solvents

.

4.4 Changing of Thermal Print Head

Notice

: The thermal print head is a sensitive (mechanical, electronic and electro-static) component. 

Do not

use any sharp-edged items, and take care that you are 

not electro-statically

 charged. Electrostatic charges

can damage the thermal print head, therefore it is absolutely necessary to execute a charge equalization in
advance..

1. Switch printer off and unplug mains plug.
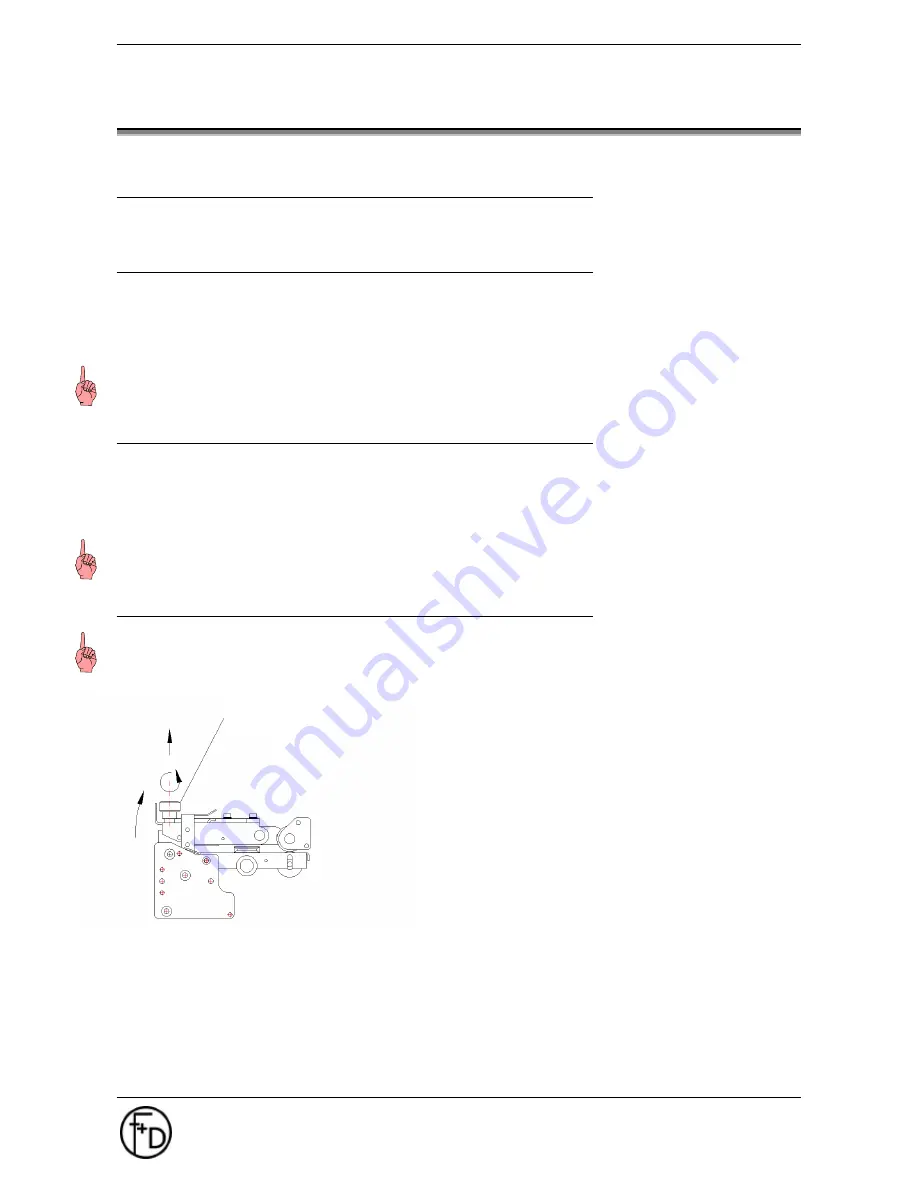
2. Release the print head upper and rotate upwards.
3. Unlock knurled screw in the middle of the print head upper

and pull print head forwards.

4. Disconnect cables.
5. Fit the new thermal print head. The thermal print head is pre-

assembled onto an adapter and also pre-adjusted.

6. Connect cables to new thermal print head. Here, the correct

positioning of the connector has to be paid attention to.

Knurled screw

Содержание ECO 200

Страница 1: ...User Manual User Manual Label Printer ECO 200 ECO 200 Revision January 2003 3073 02 994 90 06...

Страница 2: ......

Страница 3: ...3 3 1 Menu and Parameters 13 3 3 2 Printer Infos 14 3 3 3 Macro Navigater 15 3 3 4 Label Data 16 3 3 5 Print Parameters 18 3 3 6 Printer Specs 19 3 3 7 Character LCD 21 4 Maintenance 22 4 1 Ribbon and...

Страница 4: ...er line a new generation of printers was created Above all the printing speed as well as the printing quality have been improved considerably In addition many more possibilities for comfort and operat...

Страница 5: ...g never pull at the cable Interrupt operation immediately if liquids or parts enter the interior of the ECO 200 Shut off at the mains plug and inform qualified service personnel Before transporting th...

Страница 6: ...erial into the right and left paper guide while print head device is opened 5 Adjust paper guide width by the black knurled screw The label material should not be depressed down by this action leave a...

Страница 7: ...clearance A 5 mm from the edge of the paper Therefore the depth D of the synchronization mark should be at least 6 mm from the left paper edge in order to have an edge radius R of less than 3 mm The...

Страница 8: ...interface The serial interface also serves for communication with the PC but it is slower than the parallel interface By using the keyboard you can set Baud rate 4800 9600 19200 38400 Data bits 7 8 St...

Страница 9: ...site should always be displayed when printer is switched on Meaning of the status symbols XON status XOFF status no label set edited n label set edited 1 Macro 1 active Number of labels which still ha...

Страница 10: ...ain By depressing this key for a longer time period that particular part of the menu can be skipped to where the last skip back took place During a print job this can be stopped by depressing the key...

Страница 11: ...menu continue to depress the key Sub menus as long as they are not chosen are displayed in the 2nd LCD line in capital as well as small letters For this example the main menu LABEL DATA has been chos...

Страница 12: ...0 places a simple editor at your disposal Example Change the number of labels from 10 to 60 Input Key l to call up editor Input key l for first numerical position Input key l for next numerical positi...

Страница 13: ...no print key l with print key aut papersensor l start man papersens or l Value 22 LED CHARACTER LCD schedule country l ANSI l ASCII l multilingual l USA l England l Germany l Denmark l France l Swede...

Страница 14: ...gos stored in the printer will be displayed here You can print the select logo by using the SAVE key Insert data Amount of data submitted to the ECO 200 The amount is displayed in a hexadecimal number...

Страница 15: ...e printer knows all printing options when it is switched on Macro 0 has been preset by the manufacturer as default macro This cannot be changed Macros 1 2 and 3 also contain preset values like macro 0...

Страница 16: ...image area there are only blanks The image abort encourages the image creation at high printing speeds Parameter d image abort 8 mm in number of motor steps automatically image abort d 0000 Display 0...

Страница 17: ...g Position 000 999 steps To the position of the start of the label an additional forward feed is effected in order to cut the previously printed label Parameter d cutting position 8 mm in number of mo...

Страница 18: ...on no labels will be lost as no forward feed takes place The PRO 300 assumes that when the printer is switched on the label paper is already positioned correctly If this is not the case positioning ca...

Страница 19: ...ositioned in the area of the paper sensor 11 Point of switching B determine of after 12 The correct sensor value Z is the mean value of the two measurements Dispensing When dispensing labels the label...

Страница 20: ...nored in case the cutting device is logged on Notice When single labels should be cut off it is important that each label has a minimim height of 25 mm yes always Each label within a print job should...

Страница 21: ...e PC 2 Change to the menu CHARACTER LCD Update FlashData 3 Activate the Update mode by pressing the l key 4 In the display the following message will be shown 5 Data to be transmitted has to be prepar...

Страница 22: ...nter off 2 Release the print head upper and rotate upwards 3 Clean feed roller with spirit and bobble free cloth 4 After the rollers are dry hinge print head device down and latch Notice Do not use ac...

Страница 23: ...ial or parallel port to the ECO 200 Please take note that an update is only possible if the present version is 1 20 or higher Running Update 1 Connect the printer via the parallel port to the LPT port...

Страница 24: ...t on the carrier foil rewinding device In case the clamp strap is inserted into groove and drilled hole the rewinding device is turned one full circle anti clockwise and thus the carrier foil is tensi...

Страница 25: ...Internet http www fuddruck de 25 5 7 External Rewinder Winder The external rewinder is an accessory to the label printer which rewinds large label rolls after printing This unit is connected to the p...

Страница 26: ...e used paper transfer ribbon combination not suitable apply combination as preset by manufacturer or determine by tryout Inside the printed image small islands are not printed Dust particles on the pa...

Страница 27: ...at all Transport rollers are not driven Manufacturer Service Transfer ribbon is not transported at all Transfer ribbon torn Insert transfer ribbon anew and depress Print Key Unauthorized Paper Jam Pap...

Страница 28: ...splay they can be called in Menu PRINTER INFOS Warnings ignore 70 Warning 70 character will be completely ignored and is preset as a standard in the printer 6 2 2 Error Level 2 In this status all prin...

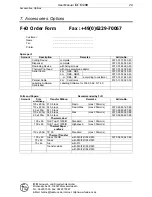
Страница 29: ...customer 3073 01 914 40 40 Parallel Cable 2 m Centronics 9120 11 303 20 00 Labelling Software SprintLabel Labelling Software for Win 95 98 NT 4 0 Foils and Papers Recommended by F D Amount Size width...

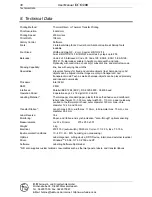
Страница 30: ...ory in transparent non transparent mode Text as well as barcode objects can be placed precisely and indexed numerically Processor Intel 32 bit RAM 8 MB Interfaces Parallel IEEE 1284 ECP RS 232S 4800 3...

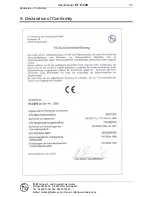
Страница 31: ...Declaration of Conformity F D Feinwerk und Drucktechnik GmbH Kirchenstra e 38 D 69239 Neckarsteinach Tel 06229 7000 Fax 06229 70067 E Mail hotline fuddruck de Internet http www fuddruck de 31 9 Declar...

Страница 32: ...r Winder 25 Front Rewinder 24 Hardware Modifications 24 Heating Time TPH 18 Image Abort 16 Image Height 16 Image Width 16 Improvement of the Printing Quality 26 Insertion of Paper 6 Keys 10 Label Data...

Страница 33: ...echnik GmbH Kirchenstr 38 D 69239 Neckarsteinach Tel 49 0 6229 700 0 Fax 49 0 6229 700 67 Mail hotline FuDdruck de Web www FuDdruck de Copyright by F D 3073 02 994 90 06 Spezifications subject to chan...

Отзывы: