background image

4

Adjust the mouting base's position 

and tighten the screws. 

Put the wires in th groove and 

insert the buckle. 

Slide the panel into the mounting 

base. 

Installation complete.
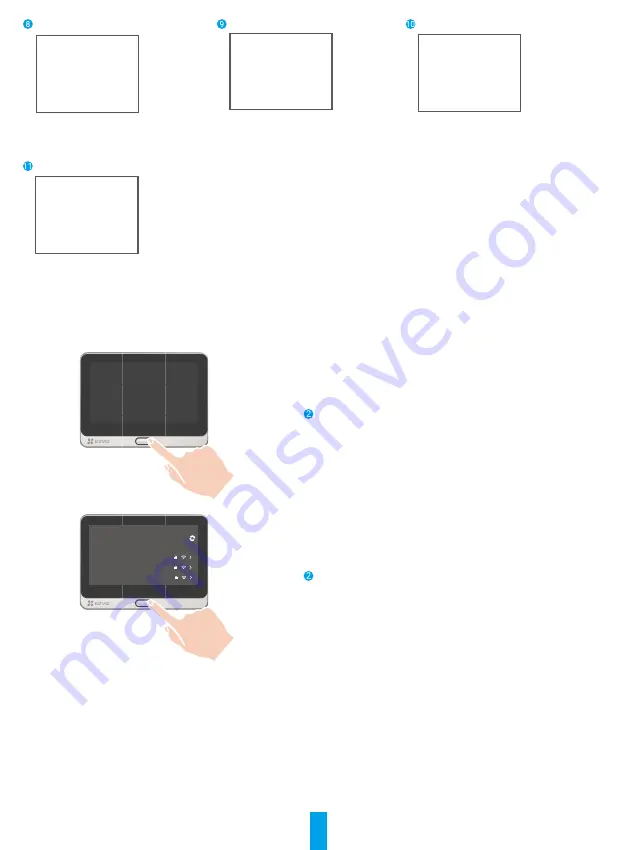
Power on

Hold the power button for 3 to 5 seconds to power on the 

panel.

ezviz_xxxxx

ezviz_yyyyy

ezviz_zzzzz

Before using, connect to network

Select Wi-Fi of your router, and enter password.

Cannot find Wi-Fi of your router?

Follow the wizard to select your Wi-Fi and enter password.

Содержание CSDP26E2

Страница 1: ...INFRINGEMENT OF THIRD PARTY IN NO EVENT WILL EZVIZ ITS DIRECTORS OFFICERS EMPLOYEES OR AGENTS BE LIABLE TO YOU FOR ANY SPECIAL CONSEQUENTIAL INCIDENTAL OR INDIRECT DAMAGES INCLUDING AMONG OTHERS DAMAG...

Страница 2: ...Base 2 4 Get the EZVIZ App 2 Setup 2 Installation 3 1 Micro SD Card Installation Optional 3 2 Installation the peephole 3 Power on 4 Add to EZVIZ App 4 ChargethePanel 5 RestoretoFactorySettings 5 Vie...

Страница 3: ...due to inappropriate operation is not included in the warranty Use the exclusively power adapter to charge the panel otherwise the system may be damaged Box Content Camera x1 Panel x1 Mounting Base x...

Страница 4: ...ng EZVIZ in the App Store or Google PlayTM Launch the app and register an EZVIZ user account EZVIZ App If you have already used the app please make sure that it is the latest version To find out if an...

Страница 5: ...the peephole If you already have a peephole install the device in the same place If not please drill a hole of diameter about 18mm and about 145cm distance from the ground to have a good viewing effec...

Страница 6: ...into the mounting base Installation complete Power on Hold the power button for 3 to 5 seconds to power on the panel ezviz_xxxxx ezviz_yyyyy ezviz_zzzzz Before using connect to network Select Wi Fi o...

Страница 7: ...ngs Firmware to see QR code Charge the Panel Power Outlet Power Adapter When battery is low connect the panel with the power outlet via power adapter 5V 2A sold separately Do not charge through type C...

Страница 8: ...e video definition as needed Swipe left and right across the screen to see more icons Icon Description Share Share your device Settings View or change the device settings Video History View Recordings...

Страница 9: ...reen Setting Auto wake up When a person is detected the screen automatically wake up with higher power consumption Brightness You can select the brightness level the higher level you select the bright...

Страница 10: ...the device is found you can control it with your voice Speak simple commands to Alexa Your device s name for example show xxxx camera can be changed in the EZVIZ app Each time you change the name of...

Страница 11: ...ces To see a list of compatible devices under your EZVIZ account tap on the EZVIZ service icon 9 Now try some commands Use the name of the camera that you created when you set up the system Users can...

Страница 12: ...V228 CS C8W CS C8C CS W2H CS W2H 4MP W1 CS W3C WD1200G CS T8 B CS C3T CS C3TN CS C3HX CS C8PF CS C8T CS C8TN Shenzhen Honor Electronic Co Ltd ADS 12FG 12N 12012EPCU US ADS 12FG 12N 12012EPB UK ADS 12F...

Страница 13: ...ndard s Operation is subject to the following two conditions 1 this device may not cause interference and 2 this device must accept any interference including interference that may cause undesired ope...

Отзывы: