Ezdirect EzCam VCS-C9 Скачать руководство пользователя страница 3


  Ezdirect srl a socio unico via Garbuio snc Montignoso (Ms) 0585821163 
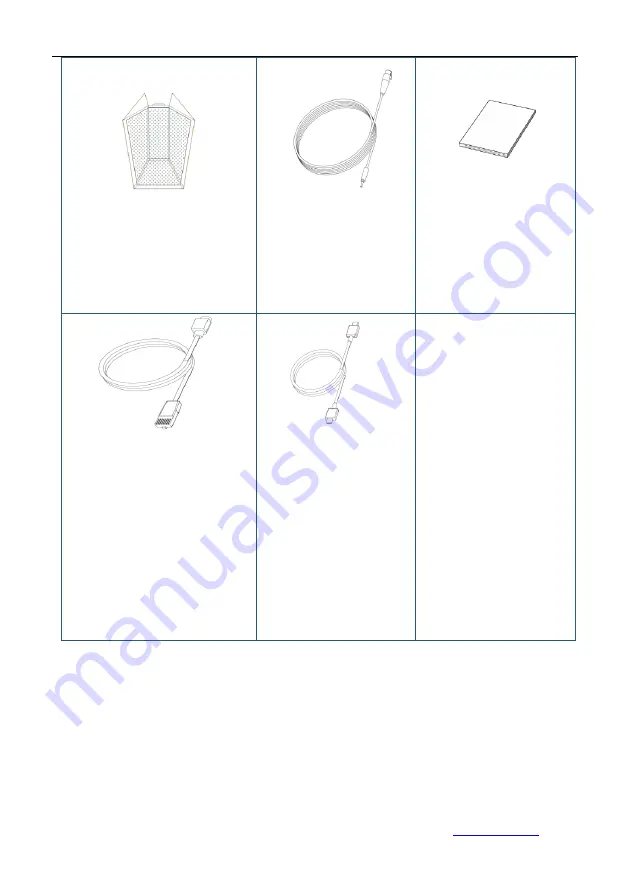
www.ezdirect.it


Microphone (x1): 

Collect audio signals during the 

conference.   


Audio Cable (x1): 

XLR cable 


Quick Installation Guide, Quick 

Start Guide, Administrator 

Guide (x1) 


Serial Cable (x1): 

Connect the terminal to cameras for 

the control of external cameras and 

transfer infrared signals from cameras 

to the terminal. 


HDMI Cable (x1, 1.5 meters):   

Connect the terminal to video 

device.


Introduction


The terminal is a compact and powerful HD Video Conference System. With built-in system design, the 

terminal supports HD codec, H.323 and SIP protocols at 1080P. Featuring independent design for 

convenient and quick installation, the terminal can be connected to networks, microphones and TV sets 

for communications by simply plugging in the power supply. The terminal is available for mutual 

transmissions between audio and video, which can save conference time and cost, improve work 

Содержание EzCam VCS-C9

Страница 1: ...Via Nerino Garbuio SS1 Aurelia 54038 Montignoso Massa Carrara Dichiara che i prodotti con denominazione EzCam VCS C9 C9S SDI CS9 HDMI Sono conformi alle seguenti disposizioni legislative e direttiva...

Страница 2: ...ut further notice Warning This equipment has been tested and found to comply with the limits for a Class A digital device The equipment may generate radio interference in daily environment Proper acti...

Страница 3: ...he terminal HDMI Cable x1 1 5 meters Connect the terminal to video device Introduction The terminal is a compact and powerful HD Video Conference System With built in system design the terminal suppor...

Страница 4: ...hone into the microphone connector to receive audios 2 AUDIO IN 3 5mm headphone jack for audio input and audio reception via connection to PC and cellphones 3 AUDIO OUT 3 5mm headphone jack for audio...

Страница 5: ...ce to DVI I IN input connector Press button on the remote control to send secondary video source to the terminal 9 NETWORK Use the network cable to connect the terminal to the Internet 10 DC 12V Conne...

Страница 6: ...The terminal can be placed on desk surface or mounted to TV sets or walls The following pictures show how to mount the terminal on TV sets Fig 1 and walls Fig 2 Note mounting brackets are not included...

Страница 7: ...unted on TV sets please use proper screws for the mounting according to TV thickness 3 Adjust the terminal direction to avoid direct light source It is suggested to put the terminal towards the meetin...

Страница 8: ...N by using a DVI cable Audio Input connect a microphone to the MIC by using a XLR adapter Audio Device Input connect an audio device to AUDIO IN by using a 3 5 headphone cable Primary Video Output con...

Страница 9: ...lease check if power cables and power adapters are correctly connected to related devices Please make sure the AC voltage range is within 100V 240V and frequency is 50Hz or 60Hz The sequence of live l...

Страница 10: ...ct Network for network setup 2 Move down the menu and select Time and Date for time setup Parameters Descriptions Time Zone Set up time zone in the user s area Time Server Set up NTP time server Auto...

Страница 11: ...t Settings in the main menu and select Account Select Display Name enter System Name and select Save H 323 account Settings optional Set up the terminal s H323ID and number Specify GK address and get...

Страница 12: ...setting menus Only when GK is active the terminal can be registered otherwise the terminal will not be registered or log off from GK Note 1 If GK is activated the account will be registered in GK aft...

Страница 13: ...col TCP UDP optional SIP Proxy server IP or DNS of SIP proxy server optional User Name Set up user name or SIP URI User Name Authentication Set up User Name Authentication optional Password Authentica...

Отзывы: